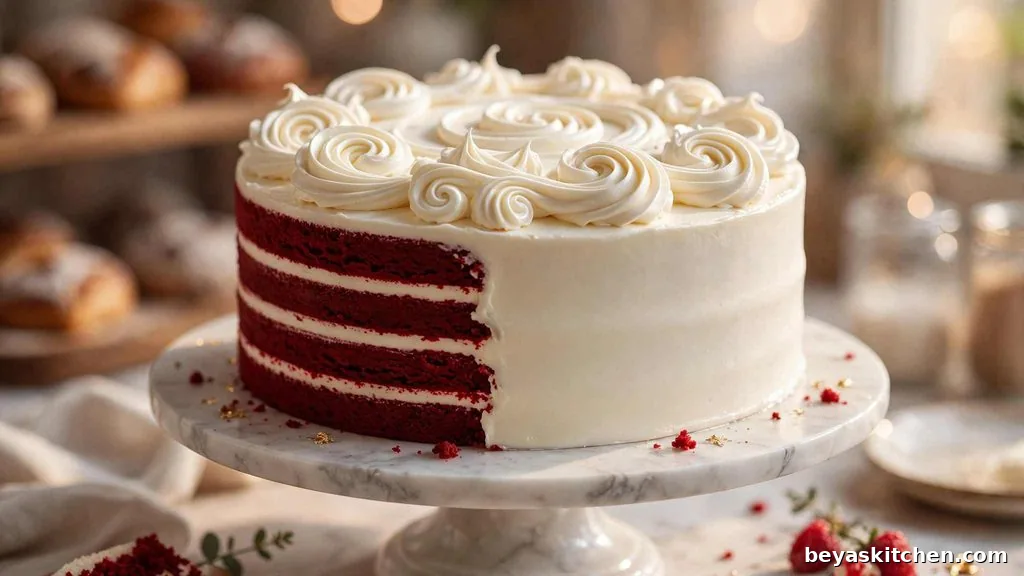
Ingredients
Method
- Heat your oven to 350F or 175C. Rub butter all over the inside of both 9 inch round cake pans. Cut a circle of parchment paper to fit the bottom of each pan, press it in, then rub a little butter on top of the paper too. Set the pans aside on a flat surface near your oven.
- Sift the flour, cocoa powder, baking soda, baking powder, and salt into a medium bowl together. Whisk them for about 30 seconds until everything looks even and no cocoa clumps remain. Set the bowl to one side.
- In a large bowl, whisk together the sugar, vegetable oil, eggs, buttermilk, white vinegar, vanilla extract, and red gel food coloring. Keep whisking until the color is fully even throughout. No clear streaks should remain. The batter will look a deep, bright red at this point.
- Add the dry ingredients to the wet ingredients in three separate additions. Fold gently with a silicone spatula after each one. Stop mixing the moment you see no more dry flour in the bowl. Overmixing at this point develops the gluten in the flour and makes the cake tough instead of tender.
- Divide the batter as evenly as you can between the two prepared pans. Tap each filled pan firmly on the counter three times to pop any air bubbles hiding in the batter. Place both pans on the center rack of the oven side by side. Bake for 28 to 30 minutes.
- Take the pans out of the oven and set them on a wire rack. Leave them in the pans for 10 full minutes. Then run a butter knife gently around the inside edge of each pan. Flip each layer out onto the wire rack. Peel off the parchment paper. Let the layers sit and cool for 1 full hour before you touch them with frosting.
- Place the softened cream cheese and butter in your mixer bowl. Beat on medium speed for 2 minutes until the mixture looks smooth and fluffy. Add the sifted powdered sugar one cup at a time, mixing on low after each cup. Add the vanilla and the pinch of salt. Once all the sugar is in, turn the mixer to medium and beat for 1 more minute. The frosting should look thick, white, andeasy to spread.
- Put one cooled cake layer on your serving plate or cake stand. Scoop about one third of the frosting onto the top of that layer. Spread it all the way to the edges using your offset spatula. Carefully place the second layer on top, flat side facing up. Scoop the rest of the frosting on top and spread it across the top first, then work it down the sides. Smooth it with long, steady strokes going in one direction.
- Put the fully frosted cake in the fridge for at least 30 minutes before you cut into it. The frosting firms up during that time. This is what gives you those clean, neat slices with the red layers clearly visible inside.
Notes
• Room temperature matters more than you think. Cold eggs and cold buttermilk do not blend smoothly into the batter. They leave the texture uneven. Take them out of the fridge at least 30 minutes before you start.
• Use gel food coloring, never liquid. Liquid food coloring makes the batter watery and weakens the final color. Gel coloring gives a deep red without changing the batter texture.
• Use natural cocoa powder, not Dutch process. Dutch process cocoa has been treated with an alkali, which changes how it reacts in the batter. Natural cocoa keeps the acid balance that helps the red color stay bright.
• Make-ahead tip: Bake both cake layers the day before. Wrap each cooled layer tightly in plastic wrap and leave them at room temperature overnight. Make the frosting fresh the next morning.
• Storage tip: Once frosted, store the finished cake covered in the fridge for up to 4 days. Take slices out 20 minutes before eating so the crumb softens back to room temperature.
• Do not skip the vinegar. White vinegar reacts with the baking soda to give the cake lift. It also helps the red color stay bright after baking. You will not taste it at all in the finished cake.