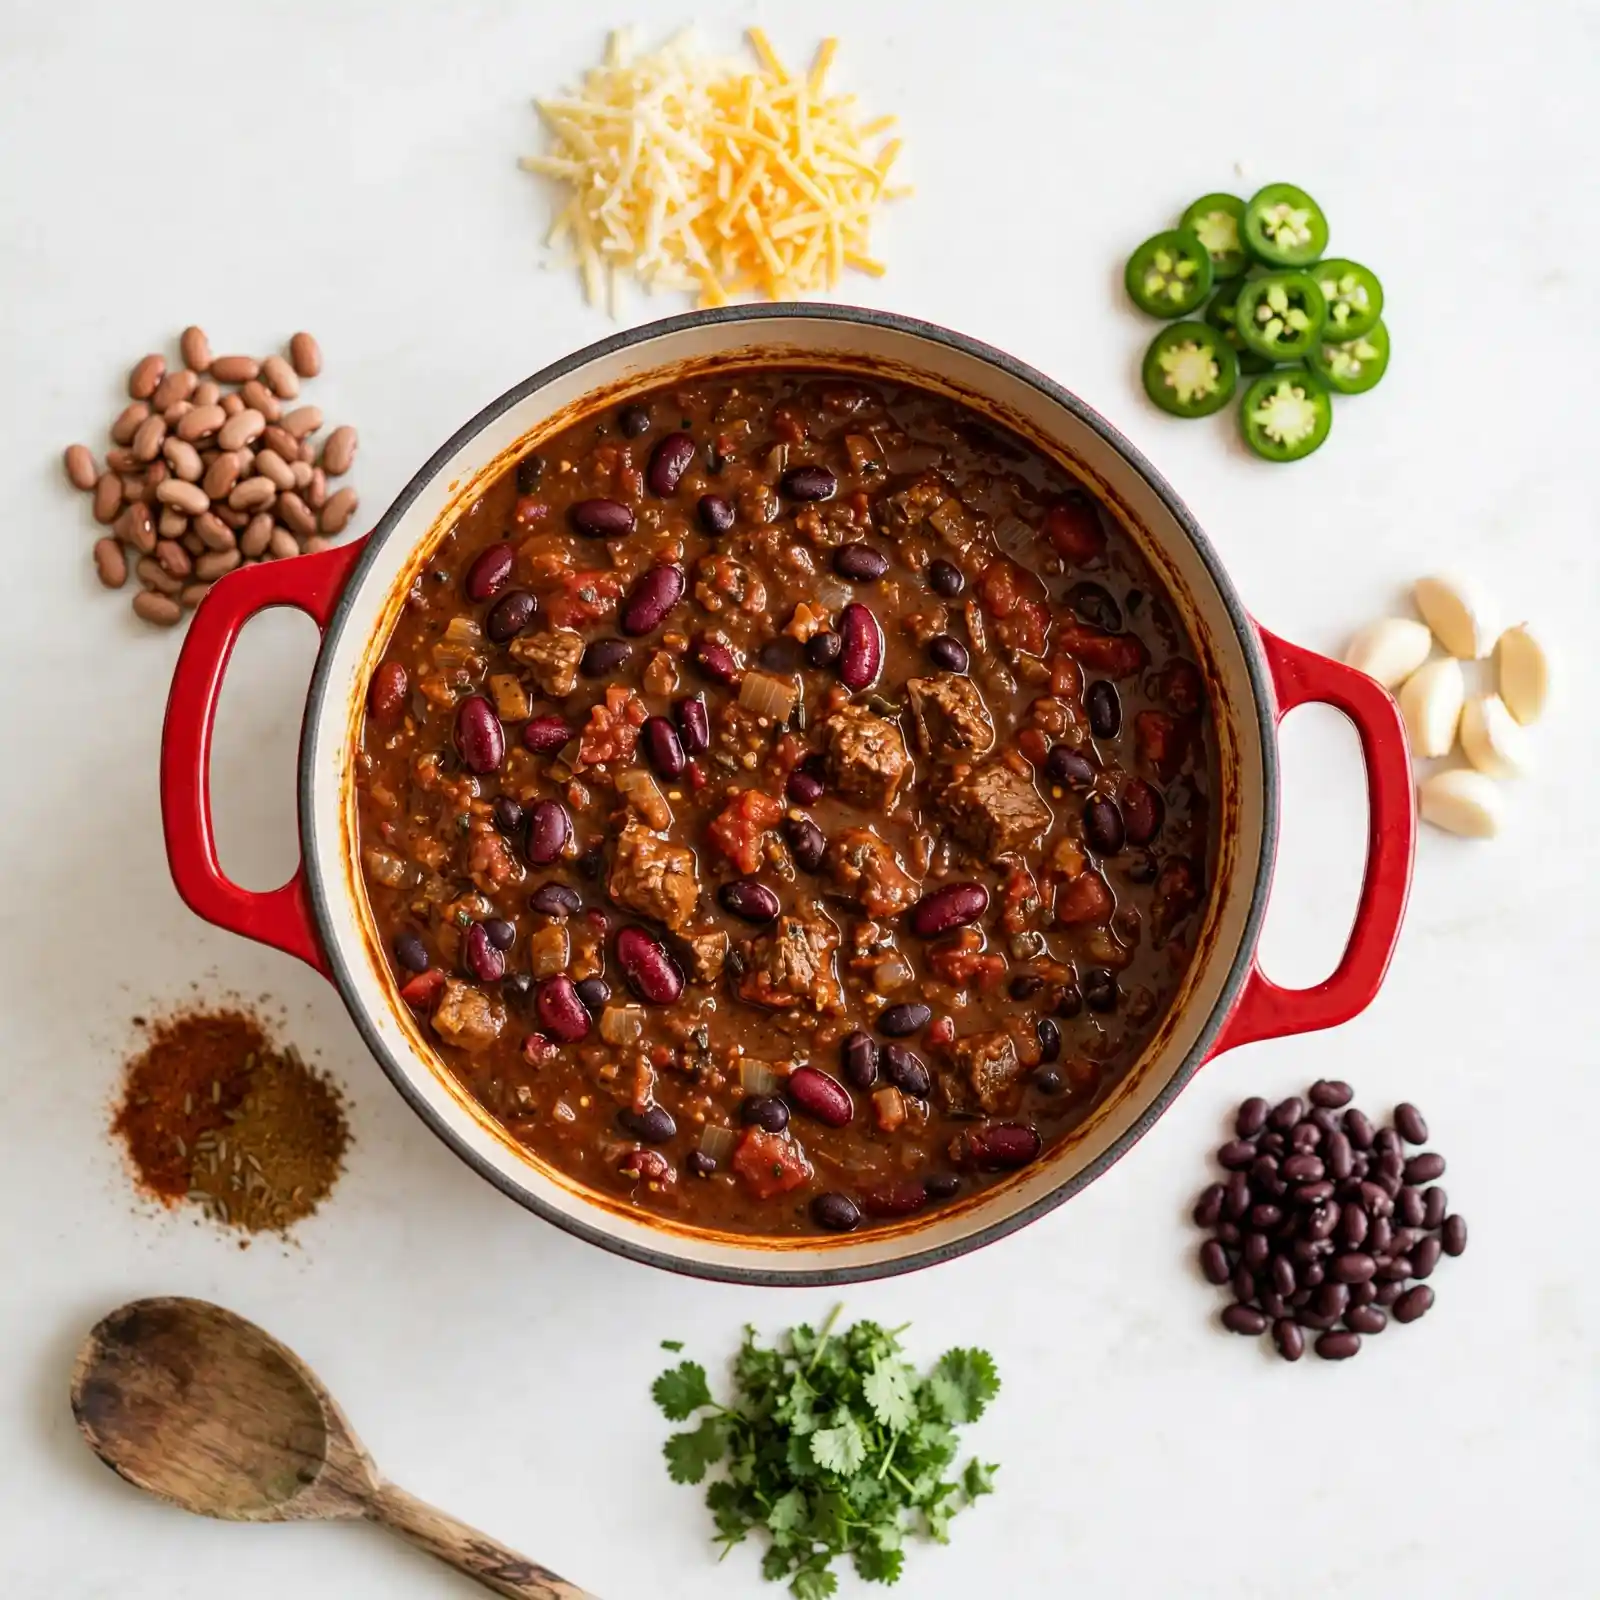
The Best Chili Recipe Thick, Hearty, and Full of Flavor
A great chili recipe does not need a long ingredient list or three hours on the stove. What it needs is properly browned meat, a bold spice blend added at the right moment, and enough simmer time for everything to pull together into something thick, deeply savory, and genuinely satisfying.
What makes this chili recipe worth choosing is the spice approach. The chili powder, cumin, and smoked paprika go directly into the hot pan with the beef and aromatics before any liquid is added.
That 60 seconds of blooming in fat extracts the fat-soluble flavor compounds from the spices and builds a depth in the base that simmering alone cannot create.
One pot, 55 minutes, and the kind of chili people ask to take home in a container.
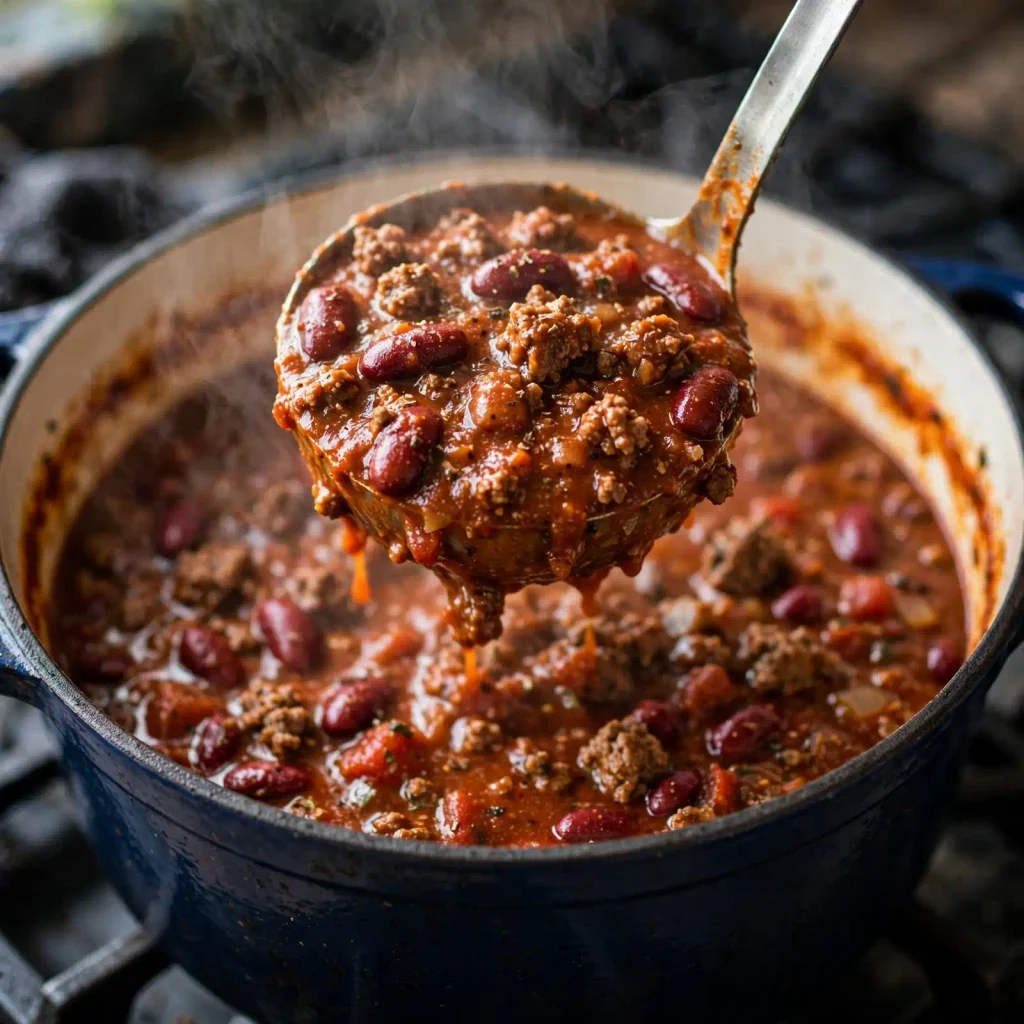
Why You Will Love This Recipe
- The spice blend blooms directly in the pot before liquid is added, which builds a depth that a packet of seasoning cannot replicate
- Ready in 55 minutes on the stovetop with no special equipment beyond a heavy-bottomed pot
- Tastes noticeably better the next day as the flavors continue to develop overnight in the refrigerator
- Freezes perfectly for up to 3 months, making it one of the best recipes to double and store
- Thick enough to eat in a bowl without a spoon chasing liquid across the bottom
- Easily scaled up for a crowd without adjusting technique or timing
Ingredients
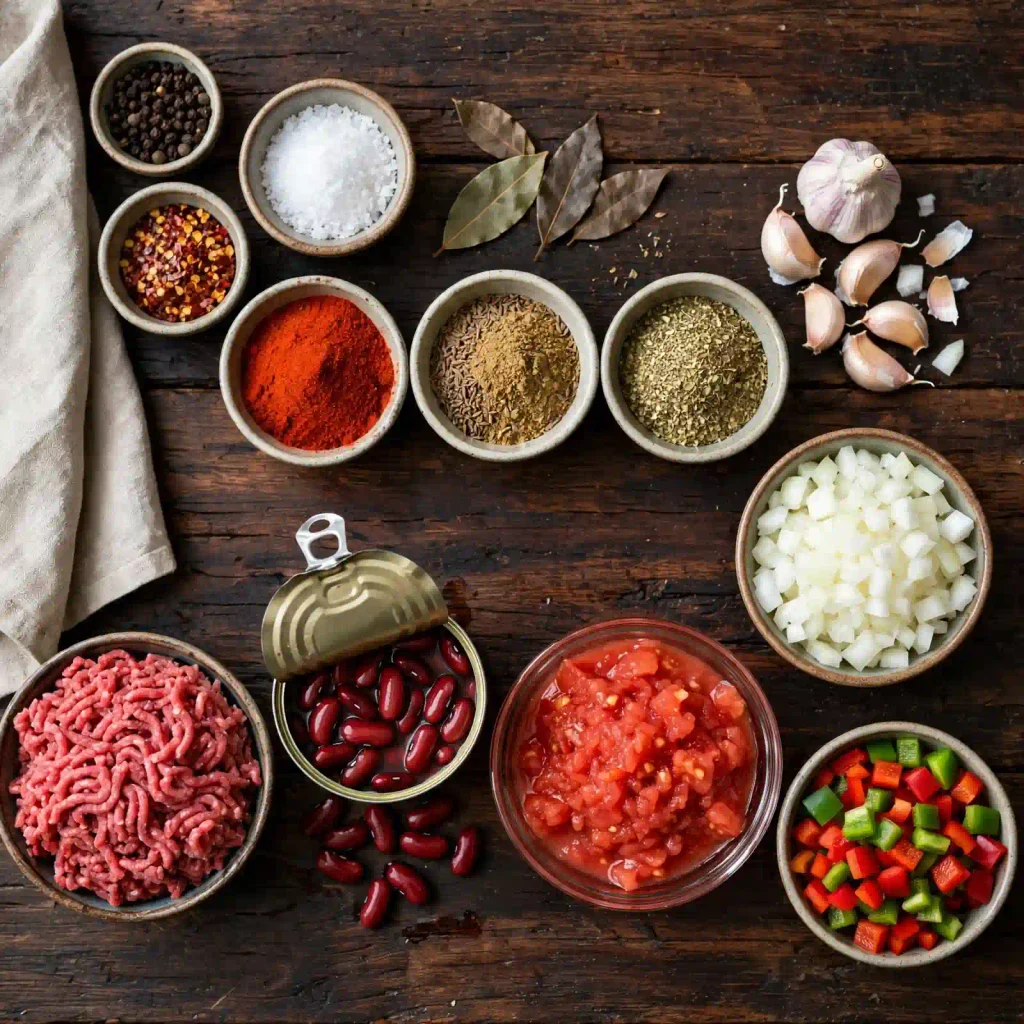
For the Chili:
- 1½ lbs (680g) lean ground beef, 85% to 90% lean
- 1 medium yellow onion, diced small (about 1½ cups)
- 1 medium green bell pepper, diced small
- 4 garlic cloves, minced
- 2 tablespoons neutral oil such as vegetable or canola
- 1 can (15 oz / 425g) dark red kidney beans, drained and rinsed
- 1 can (15 oz / 425g) light red kidney beans, drained and rinsed
- 1 can (28 oz / 794g) crushed tomatoes
- 1 can (14.5 oz / 411g) diced tomatoes, undrained
- 1 cup (240ml) beef broth, low sodium
For the Spice Blend:
- 2½ tablespoons chili powder
- 1½ teaspoons ground cumin
- 1 teaspoon smoked paprika
- 1 teaspoon garlic powder
- ½ teaspoon onion powder
- ½ teaspoon dried oregano
- ½ teaspoon fine salt, plus more to taste
- ¼ teaspoon black pepper
- ¼ teaspoon cayenne pepper (optional for heat)
Allergen and Dietary Disclosure
Contains: No common allergens in the base recipe. Check beef broth and canned tomato labels for hidden gluten or soy in additives.
Gluten-Free Option: Use a certified gluten-free beef broth. Most plain canned tomatoes are naturally gluten-free but always verify the label. Serve over rice or with gluten-free cornbread rather than flour-based bread.
Dairy-Free Option: The base chili recipe contains no dairy. Common toppings like shredded cheese and sour cream contain dairy. Swap for dairy-free alternatives or skip toppings entirely.
Vegetarian Option: Replace the ground beef with 2 cans of black beans and 1½ cups of roughly chopped mushrooms sautéed until golden. Use vegetable broth in place of beef broth. The texture and protein content differ but the spice base carries the dish well.
Nut-Free: No nuts in this recipe. Check individual broth and spice blend labels for shared-facility warnings if severe nut allergies are a concern.
Disclaimer: Always confirm ingredients with your specific brand labels, as formulations vary by manufacturer.
Step-by-Step Instructions
Step 1: Brown the Ground Beef
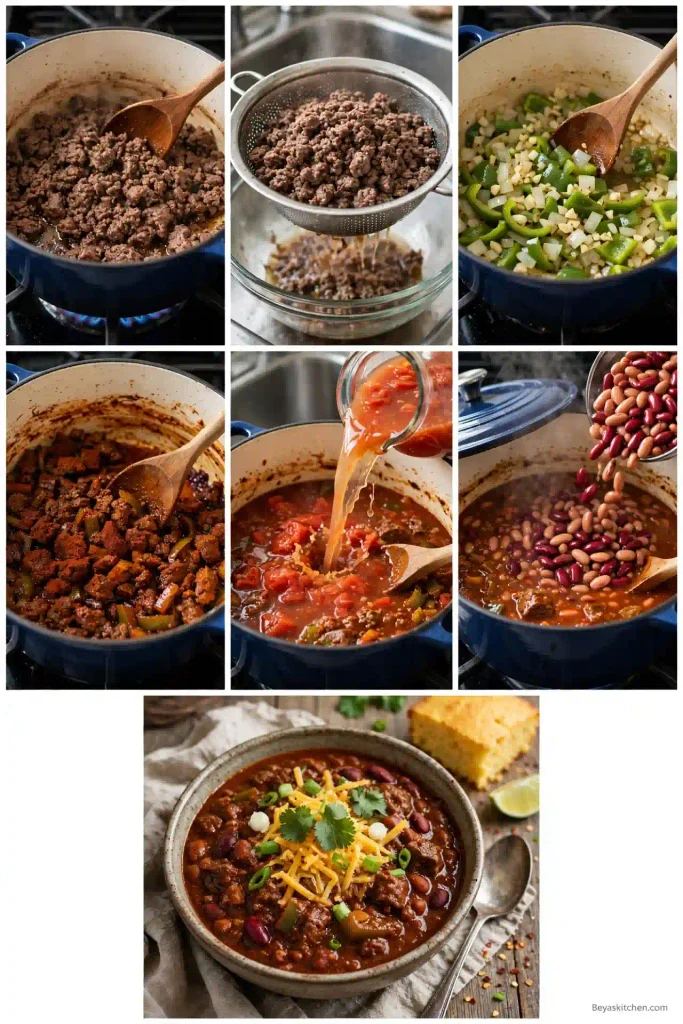
Heat the neutral oil in a Dutch oven over medium-high heat until shimmering. Add the ground beef and spread it into an even layer across the bottom of the pot. Leave it undisturbed for 2 minutes before breaking it apart. Brown the beef until no pink remains and a deep crust has formed on the bottom of the pot, about 6 to 8 minutes total.
Chef’s Note: The crust that forms on the bottom of the pot during browning is where a significant amount of flavor lives. It dissolves into the liquid later and gives the chili a roasted, savory depth that you cannot get from meat that’s been stirred constantly.
Step 2: Drain Excess Fat
Tilt the pot slightly and spoon off any excess fat that has pooled, leaving about 1 tablespoon behind. Too much fat in the pot makes the finished chili greasy rather than rich. Too little and the aromatics have nothing to cook in. One tablespoon is the right amount.
Step 3: Cook the Aromatics
Reduce the heat to medium. Add the diced onion and green bell pepper to the pot. Cook for 4 to 5 minutes, stirring occasionally, until the onion turns translucent and the pepper softens slightly. Add the minced garlic and cook for 1 more minute until fragrant. The garlic should smell toasty and sweet rather than sharp and raw.
Chef’s Note: Building the aromatics on top of the browned beef residue rather than in a clean pan pulls all that flavor from the bottom of the pot and into the vegetables as they soften.
Step 4: Bloom the Spices
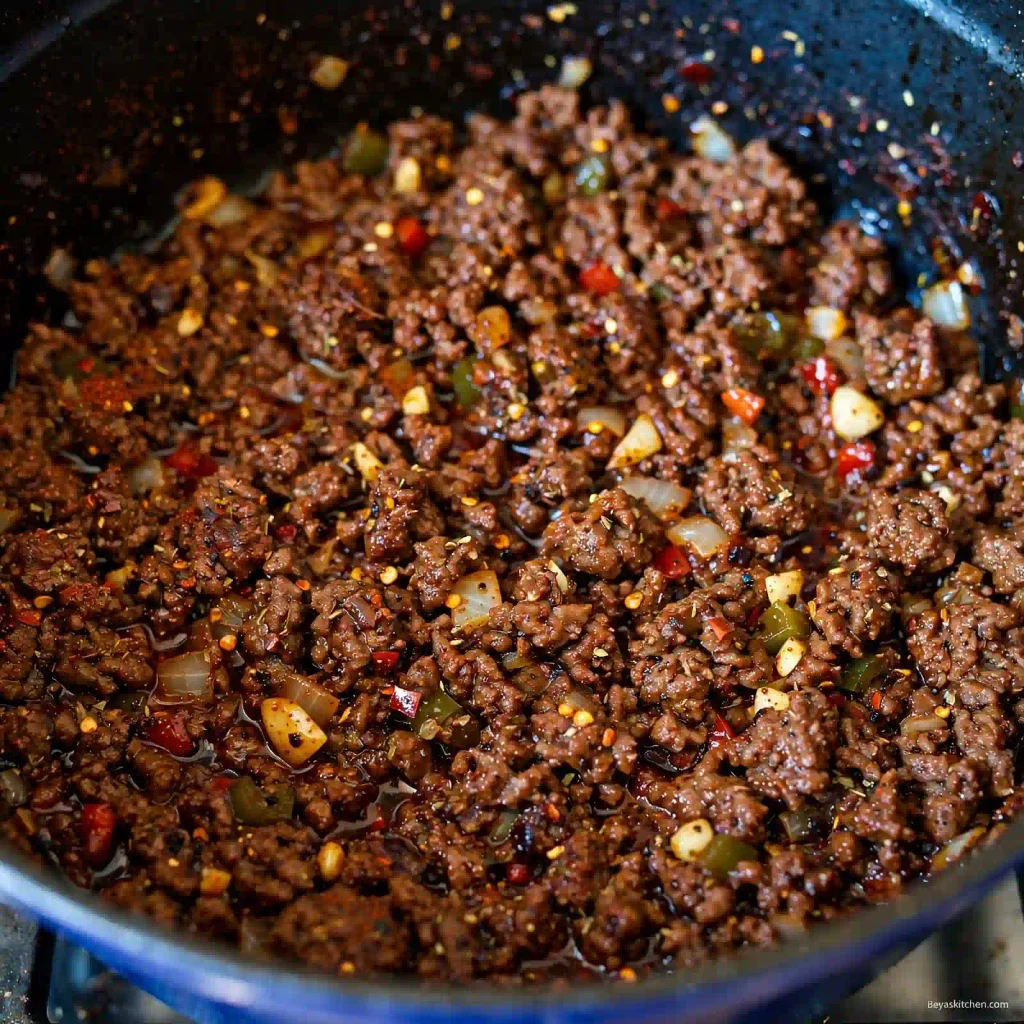
Add the entire spice blend directly to the pot. Stir constantly for 60 seconds, coating the beef and vegetables evenly. The spices will smell intensely fragrant and the mixture will look dry and deeply colored. This is the correct moment to add the liquid. Do not skip or shorten this step.
Chef’s Note: Fat-soluble flavor compounds in chili powder, cumin, and smoked paprika release during this 60-second bloom in a way that water-based cooking cannot replicate. It is the single step that separates a flat-tasting chili from one with genuine complexity.
Step 5: Add the Tomatoes and Broth
Pour in the crushed tomatoes, diced tomatoes with their liquid, and beef broth. Stir firmly, scraping any browned bits from the bottom of the pot as you go. Those bits dissolve into the liquid immediately and add a roasted depth to the entire base. Bring the mixture to a boil over medium-high heat.
Step 6: Add Beans and Simmer
Add both cans of drained and rinsed kidney beans and stir to combine. Reduce the heat to low, cover the pot partially with the lid to allow some steam to escape, and simmer for 30 minutes. Stir every 10 minutes and scrape the bottom each time to prevent any sticking.
Chef’s Note: Partially covering the pot rather than sealing it lets moisture escape steadily, which thickens the chili naturally over the simmer time. A fully covered pot traps all the steam and keeps the chili thin.
Step 7: Adjust and Serve
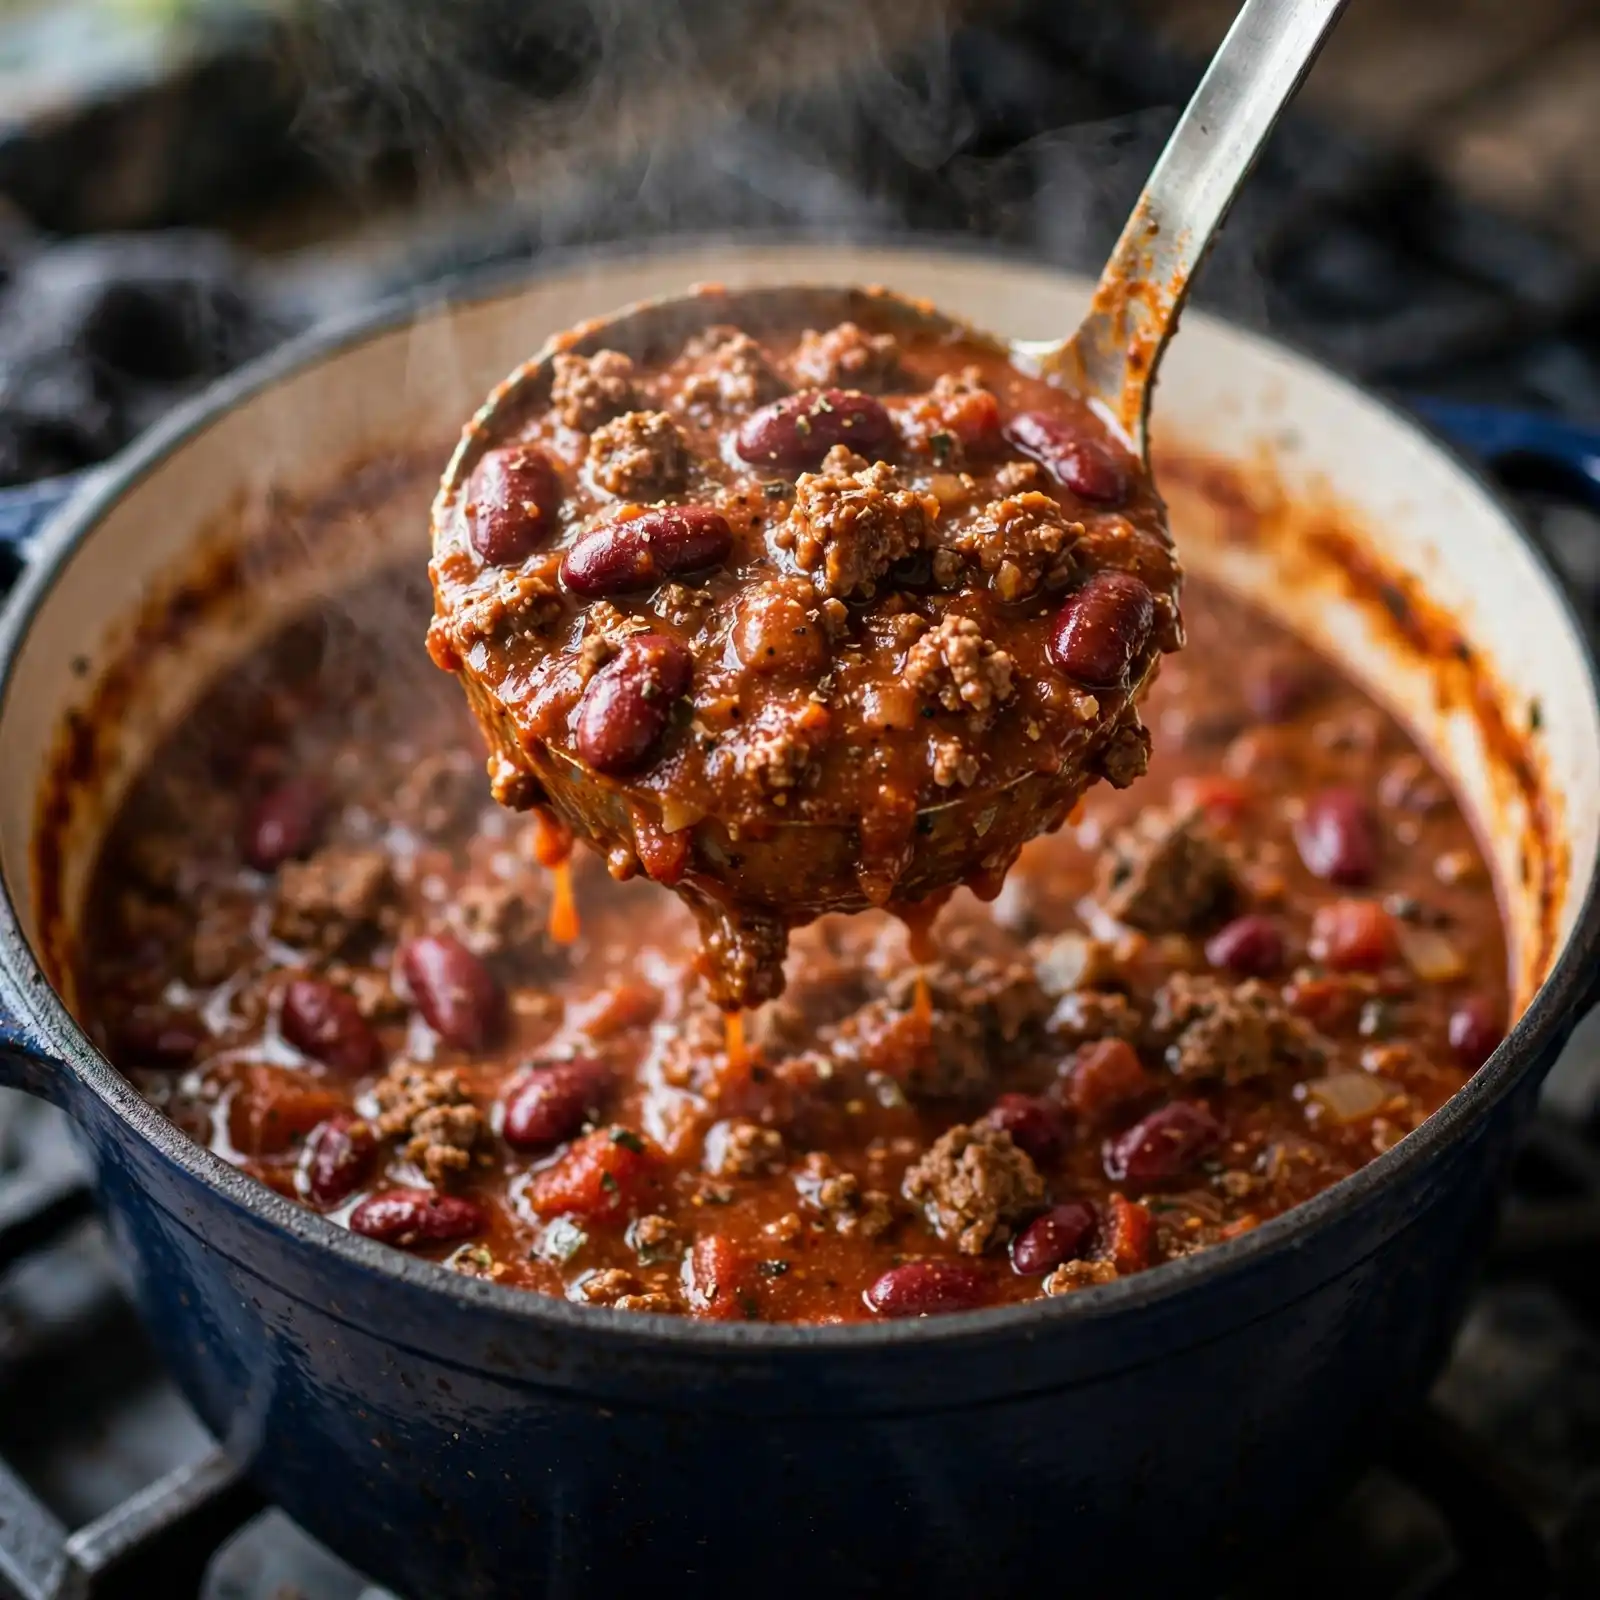
Taste the chili and adjust salt, pepper, or cayenne to your preference. The chili should be thick enough that a spoon drawn through the center leaves a trail that holds for 2 to 3 seconds before filling back in. If it looks thin, simmer uncovered for 5 more minutes. Serve hot with your choice of toppings.
Bloom the Spices Before Adding Any Liquid
Adding the spice blend to the hot pot for 60 seconds before the tomatoes go in is the step most people skip and the reason their chili tastes flat compared to a restaurant version. Fat-soluble compounds in chili powder and cumin activate in the oil during that brief bloom and create a flavor base that simmering in liquid simply cannot build. Sixty seconds. That is all it takes.
Expert Tips and Tricks
- Brown the beef in batches if your pot feels crowded. Overcrowding drops the pan temperature and steams the meat rather than browning it, which means you lose the crust and the flavor that comes with it.
- Rinse the canned beans before adding them. The starchy liquid in the can makes chili cloudy and adds a tinny aftertaste that rinsing removes completely in 10 seconds.
- A splash of apple cider vinegar, about 1 teaspoon, stirred in at the very end of cooking brightens the entire pot and makes the tomato flavor taste fresher without making the chili taste sour.
- Make-Ahead: Chili tastes significantly better on day 2. Make a full batch the day before you plan to serve it, refrigerate overnight, and reheat gently on the stovetop before serving.
- Storage: Leftover chili keeps in an airtight container in the refrigerator for up to 5 days and freezes well for up to 3 months.
- For extra thickness without extra simmer time, mash about ¼ cup of the beans against the side of the pot with the back of a spoon before the final 10 minutes of cooking. The starch thickens the base immediately.
Allergen-Specific Cooking Notes
For the gluten-free version, the only change needed is verifying the beef broth label. The rest of the recipe is naturally gluten-free. For the vegetarian version using mushrooms and black beans, reduce the initial cook time for the mushrooms to 5 minutes over high heat until golden before adding the aromatics. Mushrooms release significant moisture and need high heat to brown rather than steam.
Storage Instructions
Room Temperature: Safe for up to 2 hours after cooking. Beyond that, refrigerate immediately.
Refrigerator: Airtight container for up to 5 days. The flavor deepens considerably by day 2 as the spices continue to meld with the tomato base overnight.
Freezer: Portion into freezer-safe containers and freeze for up to 3 months. Thaw overnight in the refrigerator. The texture holds well after freezing, which makes this one of the most practical recipes to batch-cook and store.
Reheating: Reheat on the stovetop over medium-low heat with a splash of beef broth or water to loosen the consistency as it warms. Stir occasionally. Microwave individual portions for 2 minutes, stirring once halfway through.
Make-Ahead Notes: Cook the full batch up to 2 days before serving. Refrigerate in the pot or transfer to a container. Reheat gently on the stovetop and adjust seasoning before serving since flavors concentrate during refrigeration and may need a touch more salt.
Variations and Substitutions
Extra Spicy Version: Double the cayenne pepper to ½ teaspoon and add 1 to 2 diced jalapeños with the bell pepper in step 3. The heat builds gradually rather than hitting immediately, which makes the spice feel more integrated into the chili rather than sitting on top of it.
Mild Version for Kids: Omit the cayenne entirely and reduce the chili powder to 1½ tablespoons. The chili still tastes bold and savory from the cumin, smoked paprika, and tomato base without any heat that younger eaters find off-putting.
Vegetarian Version: Replace the ground beef with 2 cans of black beans and 1½ cups of roughly chopped cremini mushrooms sautéed in oil until deeply golden before the aromatics go in. Use vegetable broth instead of beef broth. The spice base carries the dish well.
Gluten-Free Version: Verify the beef broth label for hidden gluten. Every other ingredient in this recipe is naturally gluten-free. No other substitutions are needed.
Nutrition Information
| Nutrient | Per Serving (approximately 1½ cups) |
| Calories | approximately 380 |
| Protein | 32g |
| Carbohydrates | 30g |
| Fat | 14g |
| Fiber | 9g |
| Sugar | 8g |
| Sodium | 680mg |
Serving Size: approximately 1½ cups
Servings per Recipe: 6
At 32 grams of protein and 9 grams of fiber per serving, this chili is one of the more nutritionally complete single-bowl meals you can make on a weeknight. The fiber comes from the kidney beans and tomatoes together. The sodium is on the higher end primarily because of the canned tomatoes and broth. Using no-salt-added canned tomatoes and a low-sodium broth brings the sodium down to approximately 420mg per serving without affecting the flavor significantly.
Disclaimer: Nutrition values are approximate and calculated per serving using standard ingredient amounts. Values may vary based on brands used and portion sizes.
Follow on Pinterest for new updates at Beyaskitchen
Frequently Asked Questions
Can I make chili ahead of time?
Yes, and it genuinely tastes better the next day. Make the full batch, cool it completely, and refrigerate overnight. Reheat on the stovetop over medium-low heat with a splash of broth to loosen it before serving. The spices meld overnight and the flavor is noticeably deeper than a freshly cooked pot.
Why does my chili always taste flat and bland no matter how much seasoning I add?
The most common reason is skipping the spice bloom. Adding spices directly to liquid rather than to the hot fat first means their fat-soluble compounds never fully activate. Bloom the spice blend in the pot for 60 seconds before any liquid goes in. That single step makes more difference than doubling the seasoning amount.
Can I make this chili recipe in a slow cooker?
Yes. Brown the beef and bloom the spices on the stovetop first since the slow cooker cannot reach the temperature needed for those steps. Then transfer everything to the slow cooker and cook on low for 6 to 8 hours or high for 3 to 4 hours. The flavor is excellent. The texture is slightly softer than the stovetop version.
How do I make chili thicker without cooking it longer?
Mash about ¼ cup of the beans against the side of the pot with the back of a spoon during the last 10 minutes of simmering. The starch from the crushed beans thickens the base immediately. Alternatively, remove the lid and simmer uncovered for the final 10 minutes to let excess moisture cook off.
Can I use dried beans instead of canned beans in chili?
Yes, but cook them fully before adding to the chili. Dried kidney beans must be soaked overnight and boiled until completely tender before they go into the pot. Adding uncooked or undercooked dried beans to chili extends the cook time unpredictably and the beans may stay firm regardless of how long you simmer. [PERSONAL NOTE: Share whether you have tested both versions and whether the dried bean version was worth the extra prep time compared to rinsed canned beans.
Chili Always Tastes Better the Next Day
The spices, tomatoes, beef, and beans need time to fully meld together after cooking. A freshly made pot tastes good. The same pot after an overnight rest in the refrigerator tastes noticeably deeper, more cohesive, and more balanced. If you are making this for a gathering, cook it the day before and reheat it. The difference is real enough to be worth the advance planning.
Conclusion
A reliable chili recipe is one of those things worth having completely figured out. The technique is straightforward once you understand why each step matters: browning builds the base, blooming the spices builds the flavor, and the simmer gives everything time to become something greater than the sum of its parts.
Make it once on a weekend, taste it the next day, and it will become the recipe you default to every time the weather turns cold or someone needs feeding on short notice.
If you loved this recipe, save it to your Hearty Dinner Recipes Pinterest board so you can find it easily later.
Get updates of new recipes visit: Beyas kitchen
The Best Chili Recipe
Ingredients
Method
- Heat oil in a Dutch oven over medium-high. Add ground beef in an even layer and brown undisturbed for 2 minutes, then break apart and cook until no pink remains, 6 to 8 minutes total.
- Drain excess fat, leaving about 1 tablespoon in the pot.
- Reduce to medium heat. Add onion and bell pepper and cook 4 to 5 minutes until softened. Add garlic and cook 1 more minute.
- Add the full spice blend and stir constantly for 60 seconds until fragrant and deeply colored.
- Pour in crushed tomatoes, diced tomatoes, and beef broth. Scrape the bottom of the pot to dissolve any browned bits.
- Add both cans of drained kidney beans. Stir to combine and bring to a boil.
- Reduce to low, partially cover, and simmer for 30 minutes, stirring every 10 minutes.
- Taste and adjust salt, pepper, and cayenne. Serve hot with desired toppings.
Notes
- Bloom the spices in the hot pot for 60 seconds before adding any liquid. This step is not optional.
- Mash ¼ cup of beans against the pot wall in the last 10 minutes to thicken naturally
- Chili tastes significantly better the next day. Make it ahead when possible.