The Best Peanut Butter Cookies, Soft Centers and Crisp Edges
A warm tray of peanut butter cookies can fix a plain day. The smell alone fills the whole house. These cookies bake up with crisp edges and a soft middle. The peanut taste is deep and rich in every single bite. You mix the dough in one bowl with a spoon. No mixer is needed, and there are no hard steps. A short chill in the fridge keeps the cookies thick. A fork makes the classic marks on top.
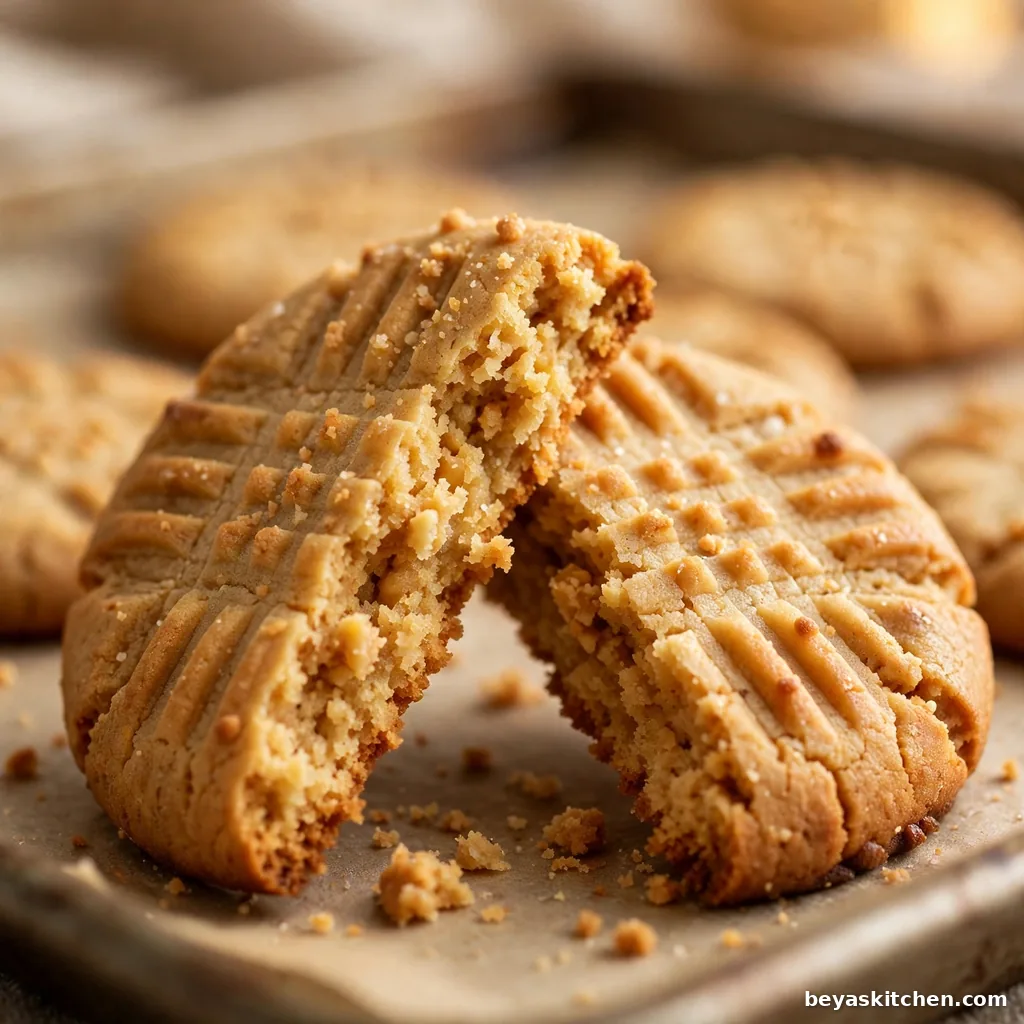
The secret to soft peanut butter cookies is simple. Cream the butter and sugars well at the start. Then pull the tray out of the oven while the centers still look soft. The cookies finish on the hot tray as they cool. That one small habit keeps the middle tender instead of dry and crumbly.
Why You Will Love These Peanut Butter Cookies
- One bowl and one spoon, so there is very little to wash at the end
- Soft centers and crisp edges in every cookie, never dry or hard
- Deep peanut taste from a full cup of peanut butter in the dough
- The dough freezes well, so fresh cookies are never far away
- A classic bake sale and lunch box treat that kids and adults both reach for
Ingredients
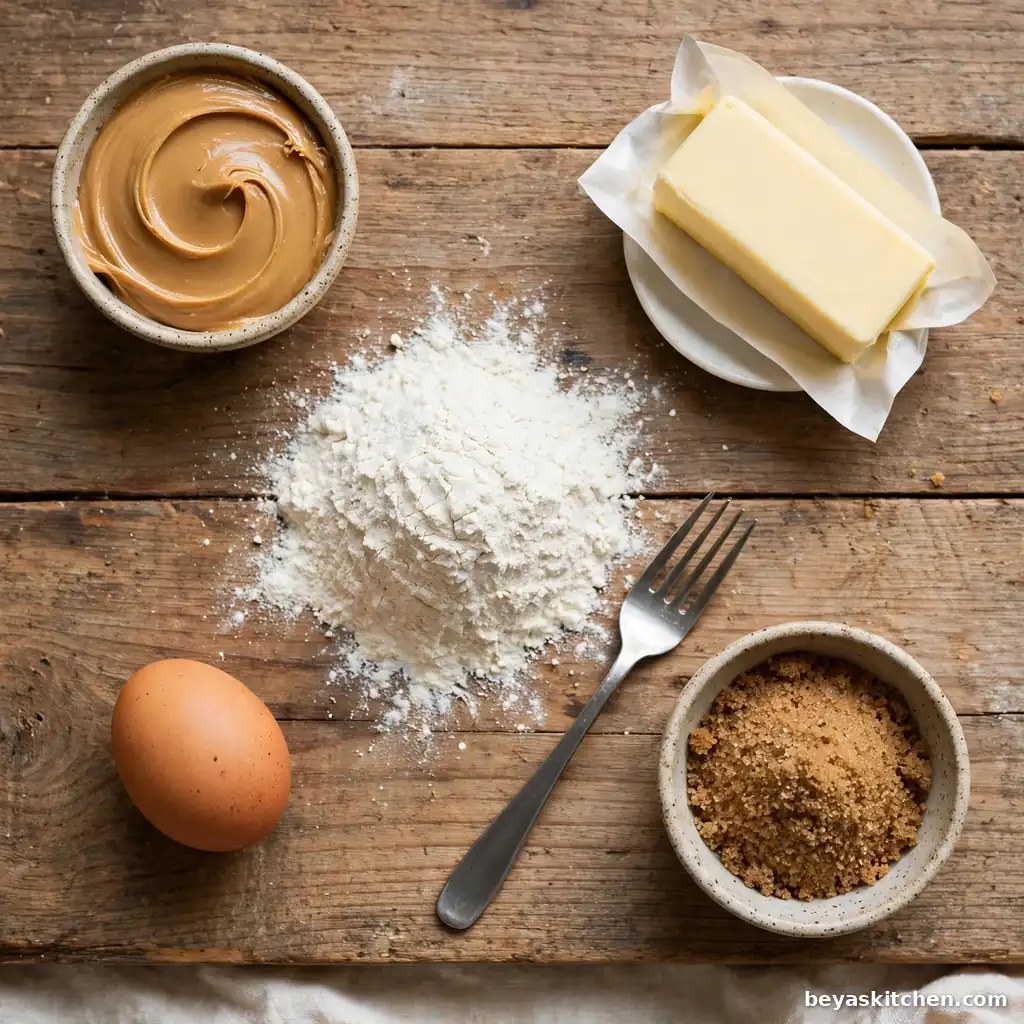
- 1 cup smooth peanut butter, like Jif Creamy (the smooth kind gives an even dough and a soft bite; natural peanut butter makes the dough oily and the cookies crumbly) (swap with crunchy peanut butter for small peanut bits in every bite)
- 1/2 cup unsalted butter, soft at room temperature (swap with salted butter and leave out the added salt)
- 1/2 cup granulated sugar, plus 2 tablespoons more for rolling the balls
- 1/2 cup packed light brown sugar (swap with dark brown sugar for a deeper, richer taste)
- 1 large egg, at room temperature
- 1 teaspoon pure vanilla extract
- 1 1/4 cups all purpose flour, spooned into the cup and leveled off (swap with a 1 to 1 gluten free flour blend for gluten free cookies)
- 3/4 teaspoon baking soda
- 1/4 teaspoon fine sea salt
Spoon the flour into the cup and level it off with a knife. If you scoop from the bag, the cup packs in too much flour, and extra flour is the top reason these cookies turn out dry.
Allergen and Dietary Disclosure
Contains: PEANUTS are the main allergen in this recipe, and the cookies are not safe for anyone with a peanut allergy. The recipe also has egg, milk from the butter, and wheat (gluten) from the flour.
Gluten-Free Option: Use a 1 to 1 gluten free flour blend in the same amount. Keep the full chill time, as gluten free dough spreads a little more.
Dairy-Free Option: Swap the butter with a firm plant based butter stick in the same amount. The taste stays close and the edges still crisp.
Peanut-Free Option: Peanut butter is the heart of this cookie, so use sunflower seed butter in the same amount for a close taste. The centers may turn a light green after a day, which is normal and safe.
Egg-Free Option: Mix 1 tablespoon ground flaxseed with 3 tablespoons water, rest it for 5 minutes, and use it in place of the egg.
Disclaimer: Always confirm ingredients with your specific brand labels, as formulations vary by manufacturer.
Step by Step Instructions
- Heat the oven to 350 degrees F. Line two baking trays with parchment paper and set them aside.
- Put the soft butter, granulated sugar, and brown sugar in a large bowl. Beat with a spoon or a hand mixer for 1 to 2 minutes, until the mix looks light in color and fluffy.
- Add the peanut butter and mix until smooth. Add the egg and the vanilla, then mix again until the dough comes together in one even mass.
Chef’s Note: Soft butter and a room temperature egg mix in fast and smooth. Cold butter makes lumps, and a cold egg can make the dough look curdled for a bit.
- Sprinkle the flour, baking soda, and salt over the dough. Stir with the spoon until no dry flour shows. The dough will be thick and soft.
Do not taste the raw dough. It holds raw egg and raw flour. Bake the cookies all the way through before you eat them.
- Cover the bowl and chill the dough in the fridge for 30 minutes. Cold dough spreads less in the oven and bakes up thick.
Chef’s Note: Warm dough melts fast in the oven and gives you thin, flat cookies. The short chill is what keeps these cookies thick with soft centers.
- Scoop the dough into balls of about 1 1/2 tablespoons each. Roll each ball in the extra sugar, then set the balls on the trays with 2 inches of space between them.
- Dip a fork in sugar so it does not stick. Press the fork down on each ball in two directions, first one way and then across it, to make a criss cross pattern on top.
The Fork Marks Do Real Work
Peanut butter dough is thick and rich, and it does not spread flat on its own in the oven. The fork press flattens each ball to an even thickness, so the edges and the center bake at the same speed. You get the classic look and an even bake from the same one second press.
- Bake one tray at a time for 9 to 11 minutes. The edges will look set and the tops a light gold color. The centers will still look soft and a little pale, and that is exactly right.
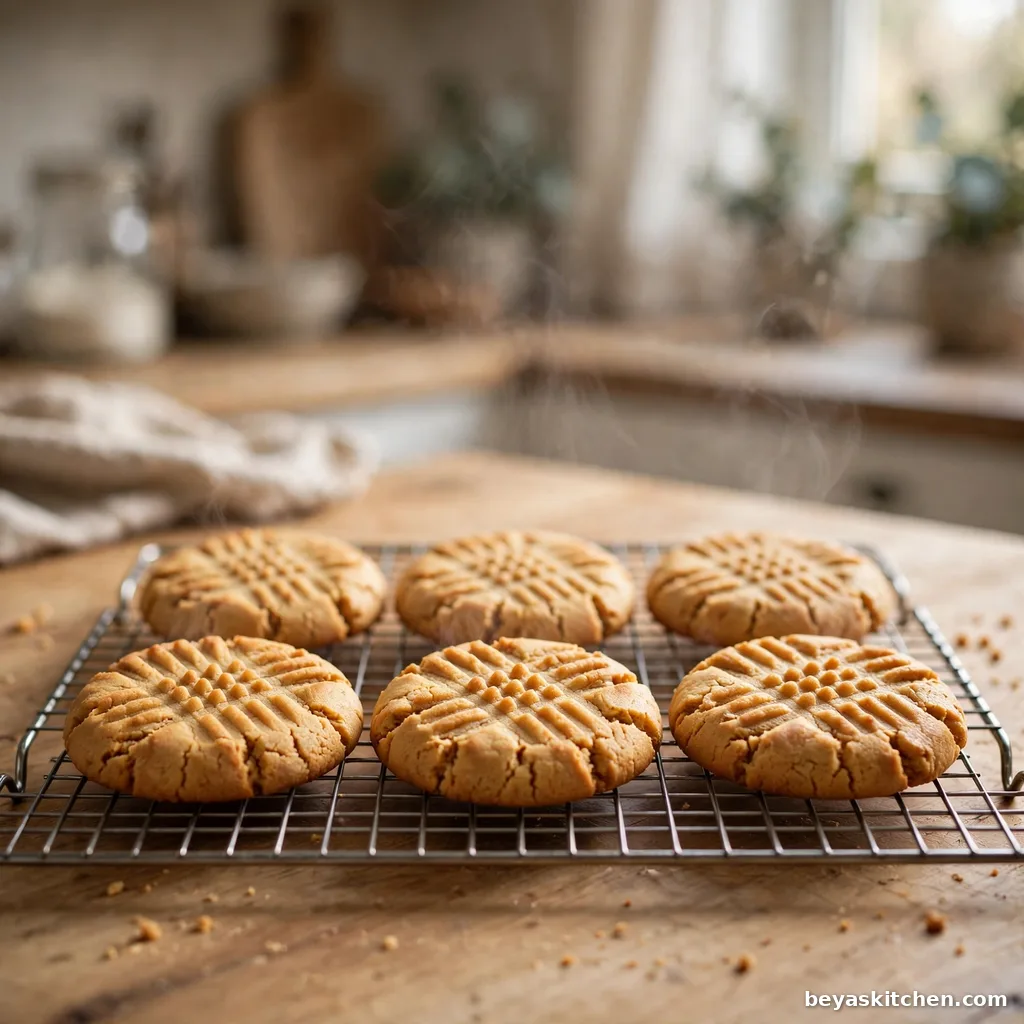
- Let the cookies rest on the hot tray for 5 minutes. Then lift them with a spatula onto a rack to cool. They firm up as they cool, so give them time before you stack them.
Chef’s Note: Pull the tray out while the centers still look soft. The cookies keep cooking on the hot tray, and that rest is what sets the soft middle. Two extra minutes in the oven is all it takes to turn them dry.
Expert Tips and Tricks
- Use a small cookie scoop so every ball is the same size. Even sizes bake at the same speed, and no cookie burns while a bigger one stays raw in the middle.
- Roll the balls in sugar before you press the fork marks. The sugar coat gives a light crisp shell and keeps the fork from sticking to the dough.
- Bake one tray at a time in the center of the oven. Two trays at once block the heat and bake in an uneven way.
- Make the dough on Sunday and keep it in the fridge for up to 3 days. Scoop and bake a few cookies fresh each night.
- Store baked cookies in a sealed tin with a slice of plain bread. The cookies take in the moisture from the bread and stay soft for up to 5 days.
- Freeze the raw balls on a tray, then bag them. Bake from frozen and add 1 to 2 minutes to the bake time.
Soft Centers Are the Goal
Most dry peanut butter cookies are not a recipe problem. They are a timing problem. The cookies look pale and soft when they are ready, and they only set as they cool on the tray. Trust the clock and the set edges, not the soft middle, and your cookies will stay tender.
Allergen-Specific Cooking Notes
Sunflower seed butter dough spreads a little more than peanut butter dough, so keep the chill and give the balls extra space on the tray. The gluten free flour blend works best with the full 30 minute chill as well. Cookies made with the flax egg are a bit more tender and fragile while warm, so let them cool on the tray for the full 5 minutes before you move them.
Storage Instructions
Room Temperature: Keep baked cookies in a sealed tin or box for up to 5 days. Keep them away from heat and direct sun.
Refrigerator: The baked cookies do not need the fridge. Raw dough keeps well in the fridge for up to 3 days, covered tight.
Freezer: Baked cookies freeze for up to 3 months in a freezer bag with the air pressed out. Raw dough balls also freeze for up to 3 months.
Reheating: Warm cookies in a 300 degrees F oven for 3 to 4 minutes to bring back the crisp edges. A 10 second turn in the microwave makes the center soft again.
Make-Ahead Notes: Roll the balls and freeze them raw. Bake from frozen with 1 to 2 extra minutes, and fresh cookies are ready with no prep at all.
Variations and Substitutions
Chocolate Chip Batch: Stir 3/4 cup semisweet chocolate chips into the dough at the end. Peanut butter and chocolate are a classic pair, and the chips melt into soft pockets.
Peanut Butter and Jam Thumbprints: Press a small dip into the top of each baked cookie while it is still warm. Fill the dip with a little strawberry or grape jam once the cookies cool.
A Little Heat: Add 1/4 teaspoon cayenne pepper with the flour. The heat is gentle and sits at the back of the bite, and it makes the peanut taste stand out more.
Double Peanut Crunch: Use crunchy peanut butter and press a few chopped roasted peanuts onto the top of each ball before you bake. The tops come out crisp and full of texture.
Sea Salt Finish: The mild base stays the same, so this one is kid friendly too. Sprinkle a tiny pinch of flaky sea salt over the warm cookies for a sweet and salty top.
What to Serve With These Cookies
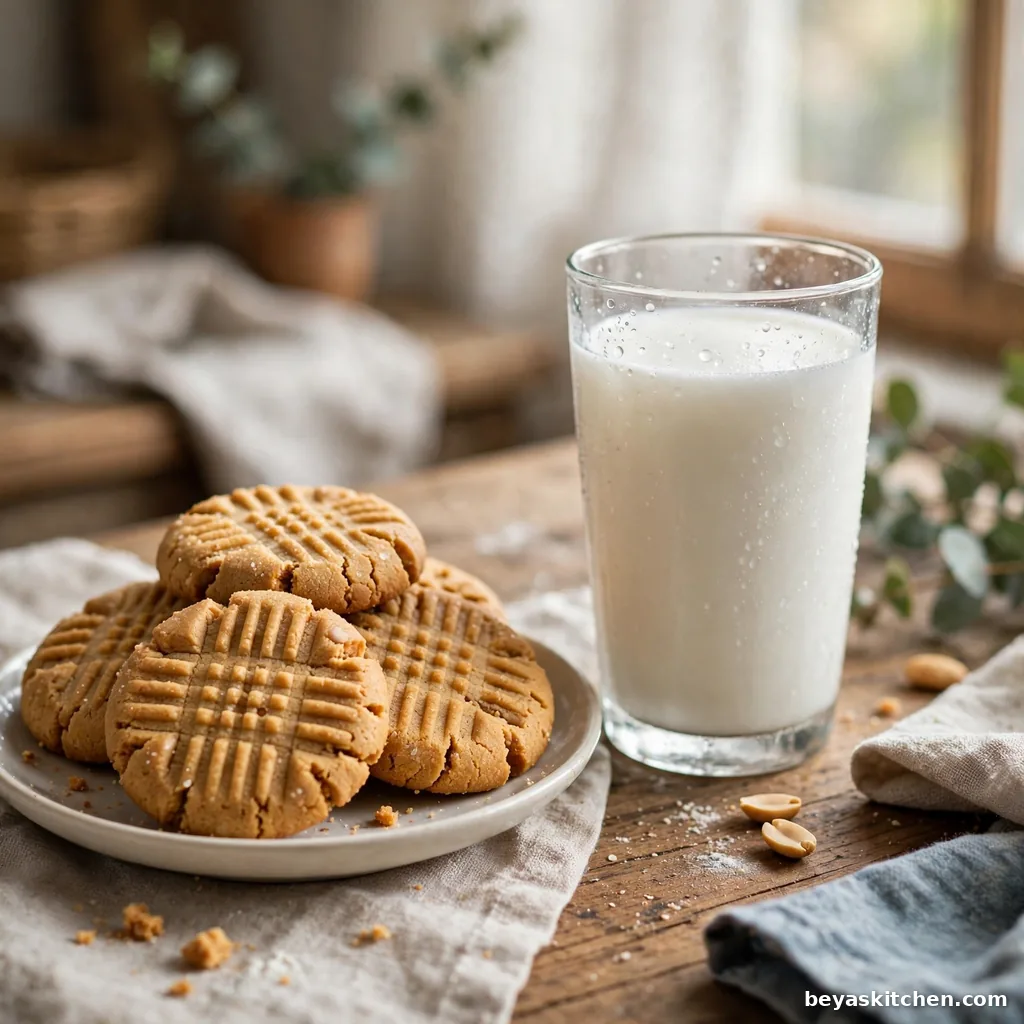
Cold Milk: A cold glass of milk is the classic match. It cuts the rich peanut taste and makes each bite feel fresh again.
Vanilla Ice Cream: Sandwich a small scoop of vanilla ice cream between two cookies. Press gently, then eat at once or freeze for 30 minutes for a firm sandwich.
Hot Tea or Coffee: A plain hot drink balances the sweet cookie well. The warm drink also softens each bite in a pleasant way.
Fresh Fruit Plate: Apple slices and grapes on the side keep the plate light. The crisp fruit is a nice contrast next to the soft, rich cookie.
Nutrition Information
| Calories per Serving | approximately 160 |
| Protein | 4g |
| Carbs | 15g |
| Fat | 10g |
| Fiber | 1g |
| Sugar | 10g |
| Sodium | 90mg |
| Serving Size | 1 cookie |
| Servings per Recipe | 24 cookies |
Peanut butter brings protein and filling fats to this cookie, so one cookie with milk makes a snack that holds you for a while. The brown sugar adds a deep taste, so the cookies feel rich even in a small portion. If you want a lighter tray, make the balls a little smaller and bake 24 to 28 cookies from the same dough.
Disclaimer: Nutrition values are approximate and calculated per serving using standard ingredient amounts. Values may vary based on brands used and portion sizes.
Follow on Pinterest for new updates at Beyaskitchen
Frequently Asked Questions
1. Why are my peanut butter cookies dry and crumbly?
Too much flour and too much time in the oven are the two main causes. Scooping flour straight from the bag packs in extra flour, so spoon it into the cup and level it off. Then take the tray out while the centers still look soft. The cookies finish on the hot tray. Those two fixes solve the dry cookie problem in most kitchens.
2. Can I make the dough ahead and freeze it?
Yes, and it works very well. Roll the dough into balls, freeze them on a tray until firm, then store them in a freezer bag for up to 3 months. Bake the balls from frozen at 350 degrees F and add 1 to 2 minutes to the bake time. The fork marks press in more easily if the balls sit out for 5 minutes first.
3. Can I use natural peanut butter instead?
You can, but the cookies change. Natural peanut butter has oil that sits on top, and that oil makes the dough loose and greasy. The cookies spread more and turn crumbly. If it is all you have, stir the oil in very well, chill the dough for a full hour, and expect a more rustic cookie. A standard smooth peanut butter gives the soft, even result in this recipe.
4. How do I know the cookies are done?
Look at the edges, not the center. The edges should look set and dry, and the tops should be a light gold color. The centers will look soft, pale, and a little underdone, and that is the sign to take the tray out. The cookies set as they rest on the hot tray for 5 minutes. If the centers look firm in the oven, the cookies will be hard once cool.
5. why do my cookies spread flat every time
Flat cookies almost always start with warm dough or butter that melted instead of staying soft. Your butter should bend with a finger press, not shine or slump. Chill the dough for the full 30 minutes, and chill shaped balls for 10 more minutes if your kitchen is warm. Also check that your baking soda is fresh. Old baking soda gives weak lift, and weak lift means spread.
Conclusion
Good peanut butter cookies ask for very little. One bowl, one spoon, a short chill, and a close eye on the oven clock. Keep the flour light, keep the butter soft and not melted, and pull the tray out while the centers still look soft. Do those small things, and you get crisp edges, tender middles, and that deep peanut taste in every bite. Bake a tray this week, and keep a bag of dough balls in the freezer for the next time the craving hits. If you loved this recipe, save it to your cookie Pinterest board so you can find it easily later!
Get more updates at: beyaskitchen
Peanut Butter Cookies
Ingredients
Method
- Heat the oven to 350 degrees F and line two baking trays with parchment paper.
- Beat the soft butter, granulated sugar, and brown sugar in a large bowl for 1 to 2 minutes, until light and fluffy.
- Mix in the peanut butter until smooth, then mix in the egg and vanilla until the dough comes together.
- Stir in the flour, baking soda, and salt until no dry flour shows.
- Cover the bowl and chill the dough in the fridge for 30 minutes.
- Roll the dough into balls of about 1 1/2 tablespoons each, roll them in the extra sugar, and set them on the trays 2 inches apart.
- Press a sugar dipped fork onto each ball in two directions to make a criss cross pattern on top.
- Bake one tray at a time for 9 to 11 minutes, until the edges look set and the centers still look soft.
- Rest the cookies on the hot tray for 5 minutes, then move them to a rack to cool.