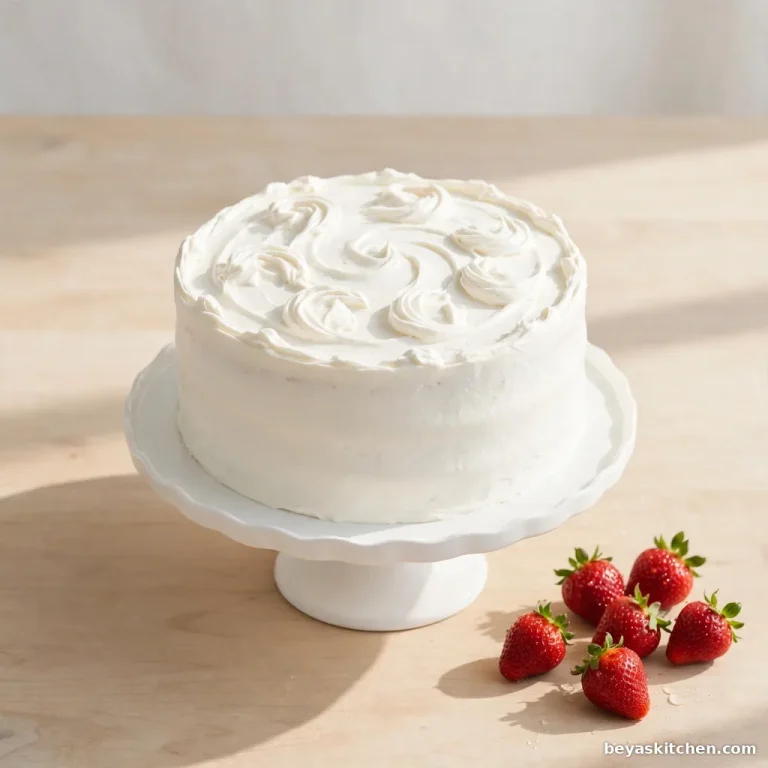
The Best Wedding Cake Recipe: Classic White and Easy to Make
A wedding cake looks hard to make at home, but this one is calm and simple. You get soft white layers, smooth creamy frosting, and clear steps from start to finish. The taste is rich and light at the same time, with a soft vanilla flavor in every bite. You need no pro tools and no hard skills, just plain ingredients and a little time. Follow the plan below and you will serve a cake that looks like it came from a bakery.
Why You Will Love This Recipe
- The layers bake up white, soft, and even, so every slice looks clean on the plate.
- The buttercream is smooth and not too sweet, and it spreads like a dream.
- You can bake the layers days ahead and frost the cake the day before the party.
- The flavor is gentle vanilla with a hint of almond, the classic taste guests expect.
- The steps use one batter and one frosting, so nothing feels messy or rushed.
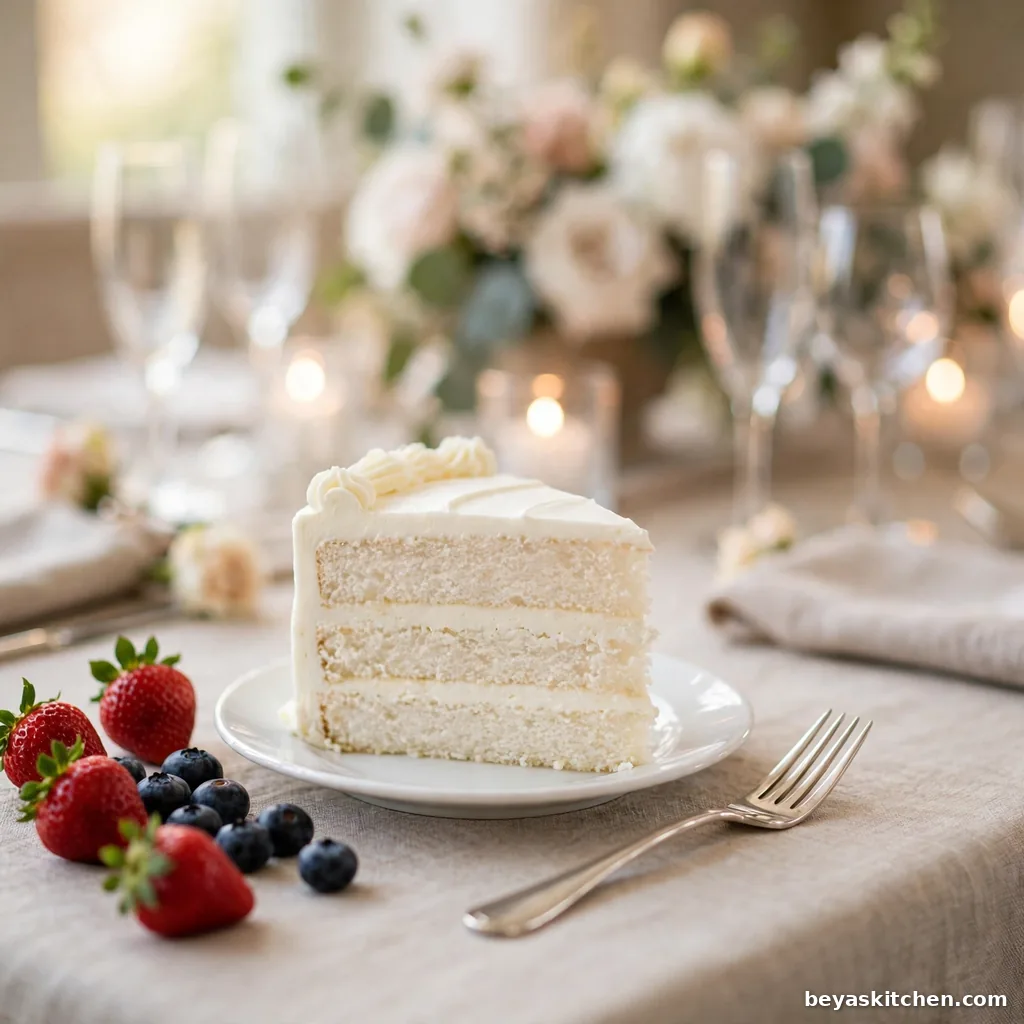
- It cuts into 24 neat slices, which is just right for a small wedding or family party.
Ingredients
For the Cake Layers
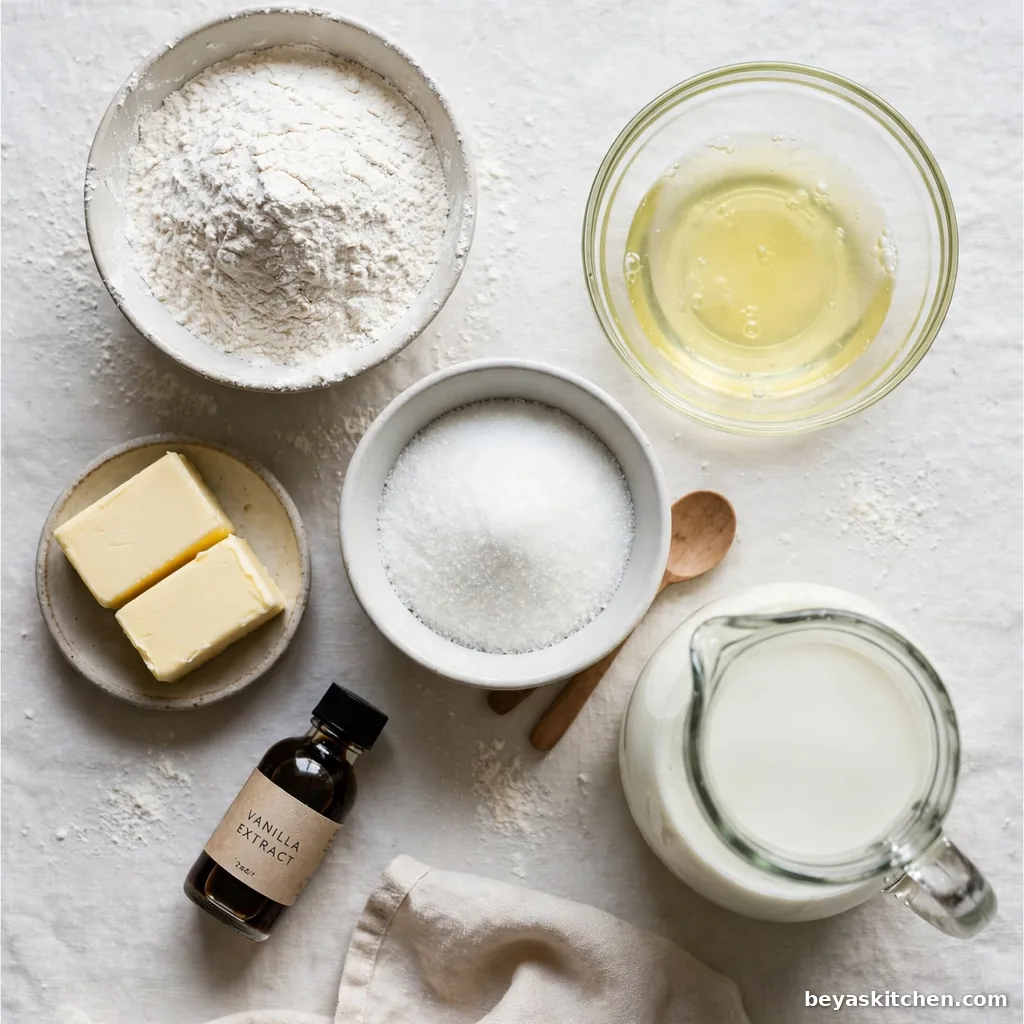
- 3 1/2 cups cake flour, spooned and leveled (or all purpose flour, see the FAQ)
- 4 teaspoons baking powder
- 3/4 teaspoon fine salt
- 1 cup unsalted butter, at room temperature (2 sticks)
- 2 1/4 cups granulated sugar
- 8 large egg whites, at room temperature (save the yolks for another dish)
- 1 1/2 cups whole milk, at room temperature
- 2 teaspoons alcohol free vanilla extract
- 1/2 teaspoon alcohol free almond extract (optional, but it gives the classic wedding flavor)
For the Buttercream Frosting
- 2 cups unsalted butter, at room temperature (4 sticks)
- 8 cups powdered sugar, sifted
- 1/2 teaspoon fine salt
- 2 teaspoons alcohol free vanilla extract
- 6 to 8 tablespoons heavy cream, added a little at a time
For the Filling and Finish
- 1 cup seedless raspberry jam or strawberry jam (optional filling)
- Fresh berries or food safe fresh flowers, for the top (optional)
Allergen and Dietary Disclosure
Contains: Wheat, milk, and eggs are in this cake.
Gluten-Free Option: Use a good 1 to 1 gluten free flour blend in place of the cake flour. The layers will be a little more tender, so handle them with care.
Dairy-Free Option: Swap the butter for plant based baking sticks and the milk for oat milk. The flavor will change a bit, but the cake still works well.
Nut-Free: The almond extract is optional. Leave it out and add a little extra vanilla, and the cake is nut free in flavor. Always read your labels to be sure.
Egg-Free Option: This cake is not easy to make egg free. Egg whites give the layers their lift and white color, so a swap changes the cake a lot.
Please check your own brand labels before you bake, since recipes and formulas can change.
Step-by-Step Instructions
Step 1: Heat the oven to 350°F (175°C). Grease three 9 inch round cake pans, line the bottoms with parchment rounds, and grease the paper too.
Step 2: Whisk the flour, baking powder, and salt in a large bowl. Set it aside. This mix should look light and even, with no lumps.
Step 3: Beat the butter and sugar in a big bowl for 3 to 4 minutes. The mix should turn pale and fluffy, like soft clouds.
Step 4: Add the egg whites in three parts, beating well after each part. Mix in the vanilla and almond extract. The batter may look a little curdled at this point, and that is fine. Wash your hands and tools after they touch raw egg whites.
Chef’s Note: Room temperature egg whites whip into the batter with ease and help the layers rise tall. Cold whites can make the batter heavy and flat.
Step 5: Add the flour mix and the milk in turns, starting and ending with flour. Mix on low speed only until you see no dry flour. Stop as soon as it comes together.
Chef’s Note: Too much mixing makes a tough cake. The batter should look smooth and thick, like soft ice cream, not runny and not stiff.
Step 6: Split the batter evenly between the three pans. A kitchen scale helps each layer bake the same. Smooth the tops with a spoon.
Step 7: Bake for 30 to 35 minutes. The layers are done when a toothpick in the center comes out clean and the top springs back when you tap it with one finger.
Step 8: Cool the layers in the pans for 15 minutes. Turn them out onto racks, peel off the paper, and let them cool all the way, about 1 hour. Warm layers will melt the frosting, so do not rush this step.
Step 9: Make the frosting. Beat the butter for 3 minutes until it looks pale. Add the powdered sugar one cup at a time on low speed, then the salt and vanilla. Add cream a spoon at a time and beat 2 to 3 minutes until the frosting is smooth and fluffy.
Step 10: Level the top of each layer with a long knife so they stack flat. Put the first layer on your cake stand. Spread a thick layer of frosting on top, or spread jam first and then a thin layer of frosting.
Step 11: Stack the second and third layers the same way. Spread a very thin coat of frosting over the whole cake to trap the crumbs. Chill the cake for 30 minutes until the coat feels firm.
Chef’s Note: The thin first coat is called a crumb coat. It locks the loose crumbs in place, so your final coat stays clean and white.
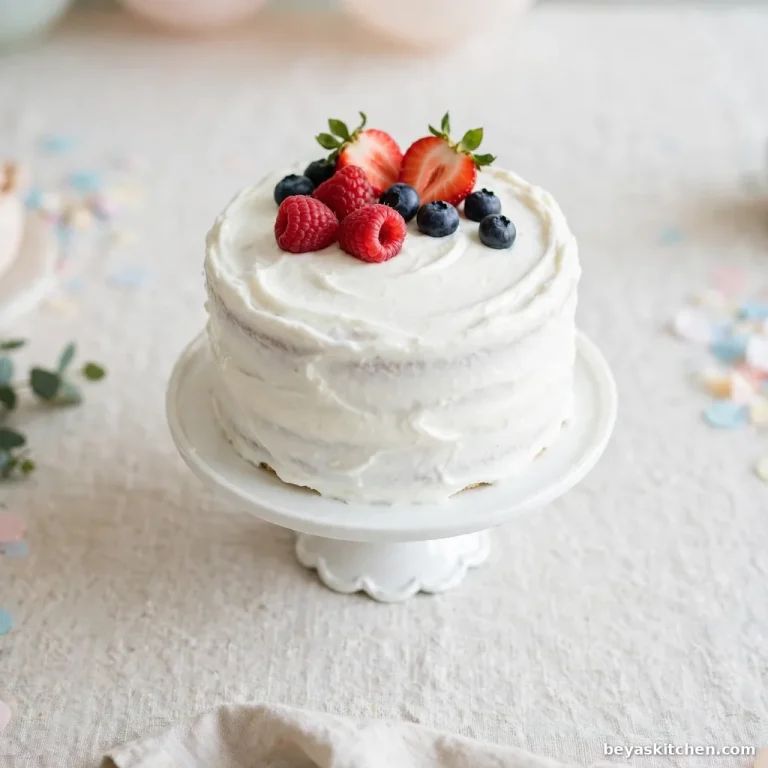
Step 12: Add the final coat of frosting and smooth it with a bench scraper or the back of a warm knife. Top the cake with fresh berries or food safe flowers. Slice with a long, clean knife and wipe the blade between cuts for neat pieces.
The Room Temperature Rule
Cold butter, cold milk, and cold eggs do not blend well, and the batter can split or bake up dense. Set everything out on the counter 1 hour before you start. This one habit fixes most home cake problems before they even begin, and it costs you nothing but a little planning.
Expert Tips and Tricks
- Weigh the batter into the pans if you can. Even layers bake at the same speed and stack straight.
- Sift the powdered sugar before you make the frosting. Lumps in the sugar mean lumps in your smooth white coat.
- A turntable makes frosting far easier, but a flat plate on a damp towel works well too and will not spin away from you.
- If the frosting feels too soft, chill it for 10 minutes and beat it again. If it feels stiff, add cream one spoon at a time.
- Make the layers ahead. Wrap each cooled layer tight in plastic wrap and freeze for up to 1 month. Cold layers are easier to level and stack.
- Keep the cake away from strong smells in the fridge. Butter picks up odors fast, and a cake that tastes like onions helps no one.
Chef’s Note: Freeze the layers before you frost the cake if you want the cleanest finish. A firm, cold layer sheds almost no crumbs and takes frosting like a pro cake.
Storage Instructions
Room Temperature: The frosted cake can sit out for up to 1 day in a cool room, covered with a cake dome or a large bowl. Keep it away from heat and sun.
Refrigerator: Store the cake or leftover slices in the fridge for up to 5 days. Cover cut sides with plastic wrap so they do not dry out. Let slices sit out for 30 minutes before serving so the frosting turns soft again.
Freezer: Freeze single slices wrapped in plastic wrap and then foil for up to 2 months. Whole unfrosted layers freeze well for up to 1 month.
Reheating: This cake is not reheated. Thaw frozen slices in the fridge overnight or on the counter for 1 hour.
Make-Ahead Notes: Bake the layers up to 2 days ahead and keep them wrapped in the fridge, or freeze them for up to 1 month. You can frost the cake 1 day before the party and keep it in the fridge until a few hours before serving.
Variations and Substitutions
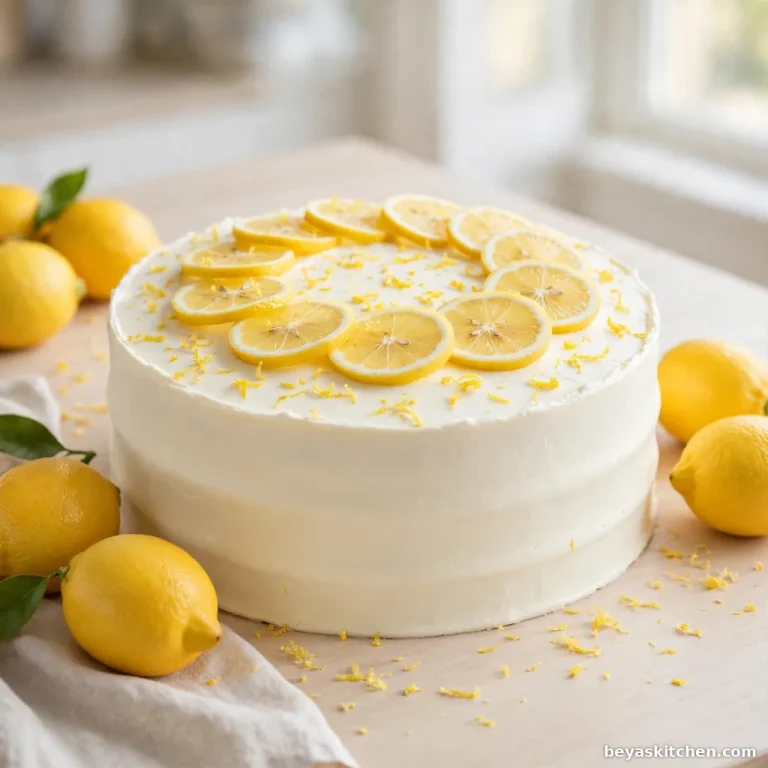
Lemon White Cake: Add the zest of 2 lemons to the batter and swap the almond extract for lemon juice. The cake stays white and gains a fresh, bright taste.
Berry Filling Cake: Use the raspberry or strawberry jam between every layer, with a ring of frosting around the edge of each layer to hold the jam in. Every slice shows a pretty pink line.
Vanilla Bean Cake: Leave out the almond extract and add the seeds of 1 vanilla bean to the frosting. The tiny black specks look lovely in the white coat.
Small Two Layer Cake: Bake the batter in two 9 inch pans for 38 to 40 minutes and use two thirds of the frosting. This size serves about 14 people and suits a small home wedding.
Chocolate Frosting Swap: Beat 3/4 cup cocoa powder into the frosting with the powdered sugar. You get white layers with a soft brown coat, a sweet look for a rustic party.
Bake It on Your Schedule
A wedding week is busy, so split the work. Bake and freeze the layers one weekend, make the frosting the day before, and stack the cake the morning of the party. Each job is small on its own, and the cake still tastes fresh and soft when the guests sit down.
What to Serve With This
Fresh berries: A spoon of strawberries, blueberries, or raspberries next to each slice adds color and a tart bite that balances the sweet frosting.
Vanilla ice cream: One small scoop melts into the soft crumb and makes each bite taste like a classic party dessert.
Hot coffee: A plain cup of coffee cuts the sweetness and keeps guests at the table a little longer.
Mint tea: Light and warm, mint tea suits guests who want a gentle drink with their cake.
Sparkling grape juice: Serve it cold in nice glasses for a festive toast that everyone at the table can share.
Nutrition Information
| Calories | 560 |
| Protein | 4g |
| Carbs | 82g |
| Fat | 24g |
| Fiber | 1g |
| Sugar | 64g |
| Sodium | 210mg |
| Serving Size | 1 slice |
| Servings per Recipe | 24 |
Nutrition values are approximate and calculated per serving using standard ingredient amounts. Values may vary based on brands used and portion sizes.
Follow on Pinterest for new updates at Beyaskitchen
Frequently Asked Questions
1. How far ahead can I make a wedding cake?
You can bake the layers up to 1 month ahead if you wrap them well and freeze them. The frosting keeps for 1 week in the fridge in a sealed box. Stack and frost the cake 1 day before the party, keep it in the fridge, and set it out 2 to 3 hours before serving. This plan keeps the crumb soft and the coat clean, and it saves you stress on the big day.
2. Why did my white cake turn out yellow?
A white cake turns yellow when egg yolks or very yellow butter get into the batter. This recipe uses egg whites only, which keeps the crumb pale. Clear, alcohol free vanilla also helps, since dark vanilla can tint the layers. If your butter is deep yellow, the cake will still be light, just a soft cream color. It will taste the same and look lovely once frosted.
3. Can I use all purpose flour instead of cake flour?
Yes, you can. For each cup of cake flour, use 1 cup of all purpose flour with 2 tablespoons of the flour taken out and 2 tablespoons of cornstarch added in. Sift it well two times. The crumb will be a little less fine than with cake flour, but the layers will still bake soft and white, and most guests will never notice the swap.
4. How do I know the cake layers are done baking?
Look for three signs. The edges pull a little away from the pan, the top springs back when you tap it, and a toothpick in the center comes out clean or with a few soft crumbs. Start checking at 30 minutes. If the toothpick comes out wet, give the layers 3 more minutes and check again. Do not open the oven door in the first 20 minutes, or the layers may sink.
5. My buttercream has a lot of air bubbles, how do I fix it?
This happens when the frosting is beaten on high speed for too long. Let the bowl rest for 15 minutes, then stir the frosting slow and steady with a flat spatula for 2 to 3 minutes, pressing it against the side of the bowl. The bubbles pop and the frosting turns smooth and silky again. For the final coat, always mix on the lowest speed for the last minute.
Conclusion
A home wedding cake does not need to be perfect to be right. It needs soft layers, a clean white coat, and a taste that makes people ask for the recipe. You now have a plan that breaks the job into small, calm steps you can spread over a few days. Bake the layers, trust the crumb coat, and give the cake a simple, pretty top. Your wedding cake will sit on that table with pride, and it will taste like love and butter and vanilla. If you loved this recipe, save it to your wedding cake Pinterest board so you can find it easily later.
Get more updates at: beyaskitchen
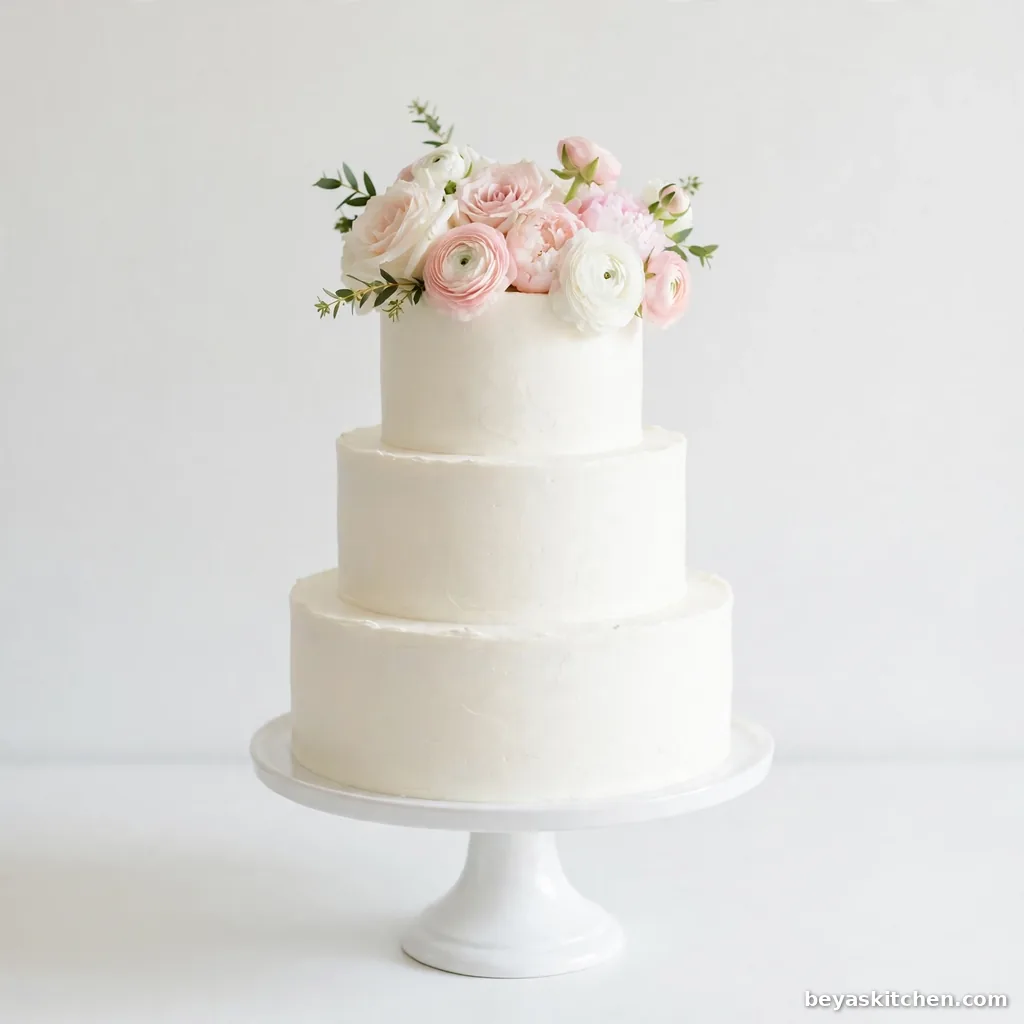
Classic White Wedding Cake
Ingredients
Method
- Heat the oven to 350°F (175°C). Grease three 9 inch round pans, line the bottoms with parchment rounds, and grease the paper.
- Whisk the flour, baking powder, and salt in a large bowl and set aside.
- Beat the butter and sugar for 3 to 4 minutes until pale and fluffy.
- Add the egg whites in three parts, beating well after each part. Mix in the vanilla and almond extract.
- Add the flour mix and milk in turns, starting and ending with flour. Mix on low only until no dry flour shows.
- Split the batter evenly between the pans and smooth the tops.
- Bake for 30 to 35 minutes, until a toothpick in the center comes out clean and the top springs back.
- Cool in the pans for 15 minutes, then turn out onto racks and cool fully, about 1 hour.
- Beat the butter for the frosting for 3 minutes. Add the powdered sugar one cup at a time, then the salt, vanilla, and cream. Beat 2 to 3 minutes until smooth and fluffy.
- Level the cake tops. Stack the layers with frosting between them, or with jam plus a thin layer of frosting.
- Spread a thin crumb coat over the whole cake and chill for 30 minutes.
- Add the final coat of frosting, smooth it, and decorate with berries or food safe flowers.