The Best Fried Rice with Chicken, Ready in 27 Minutes
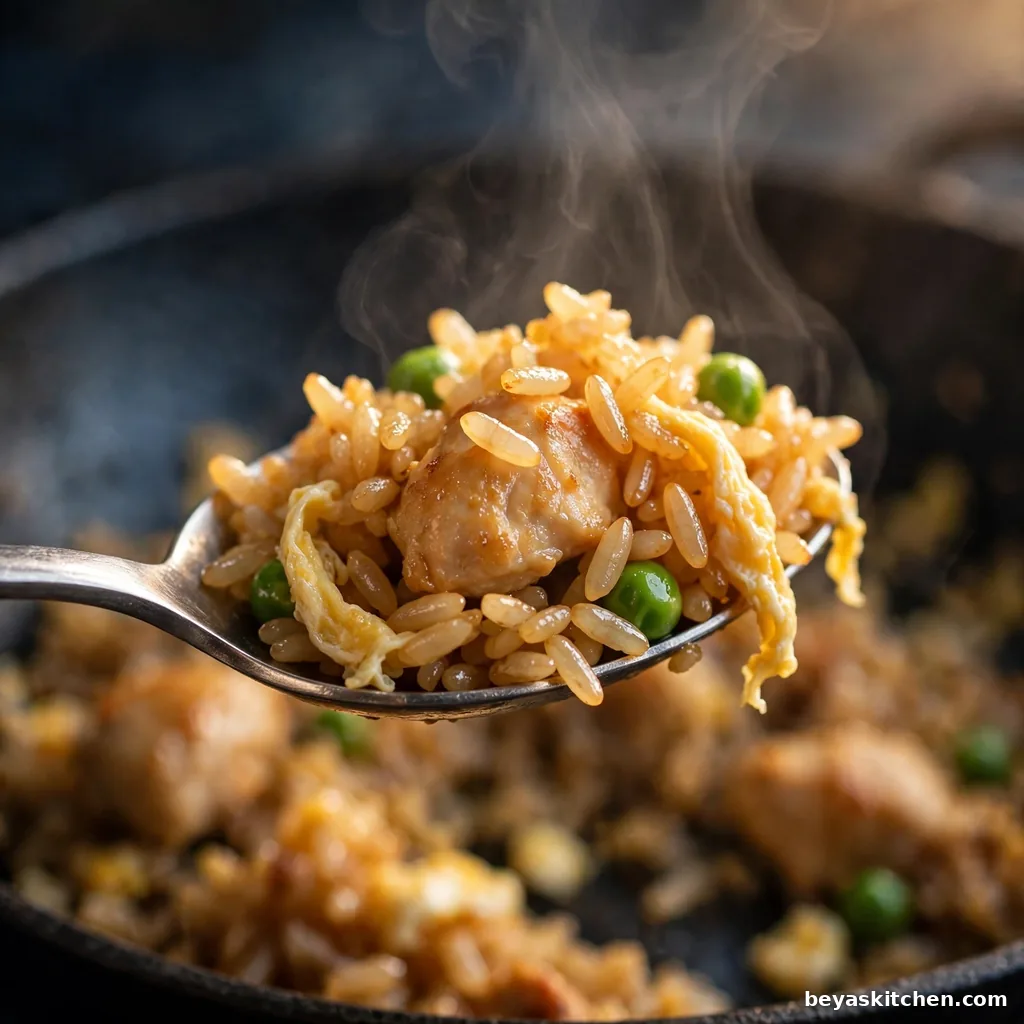
Takeout fried rice tastes great, but your own pan can beat it. This fried rice is hot, fast, and full of tender chicken, soft egg, and sweet peas. The trick is cold rice from the fridge. Cold grains stay firm in a hot pan, so each grain fries on its own and picks up a light golden color. No soft, wet clumps. One pan, a few plain foods, and dinner is on the table in 27 minutes.
Why You Will Love This Fried Rice
- Ready in 27 minutes, with most of the work done before the pan gets hot
- Cold rice gives firm grains with light crisp edges, never a soft, wet pile
- One pan cooks the eggs, the chicken, and the rice, so washing up stays small
- Tender chicken and soft egg land in each bite, with peas and carrots for color
- Leftovers reheat well the next day for a fast lunch with almost no work
Ingredients
For the Rice and Eggs:
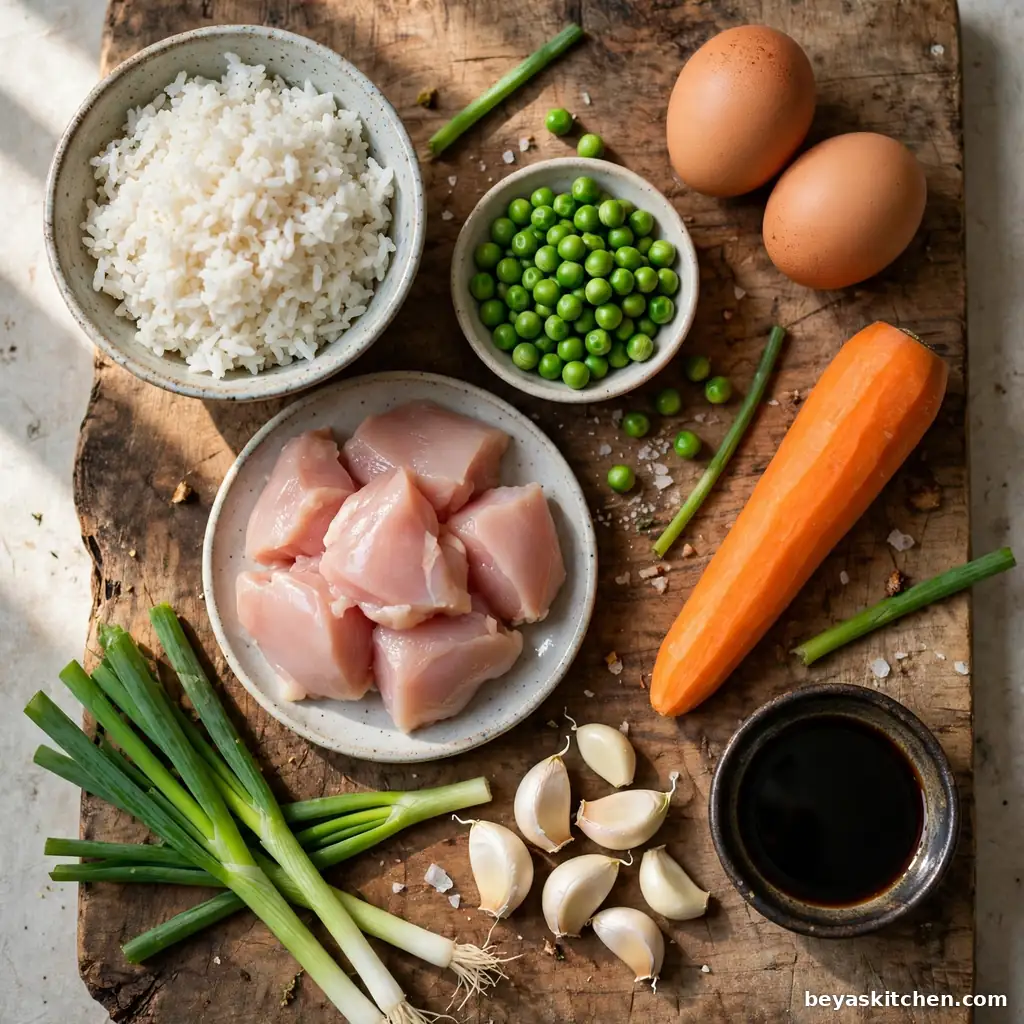
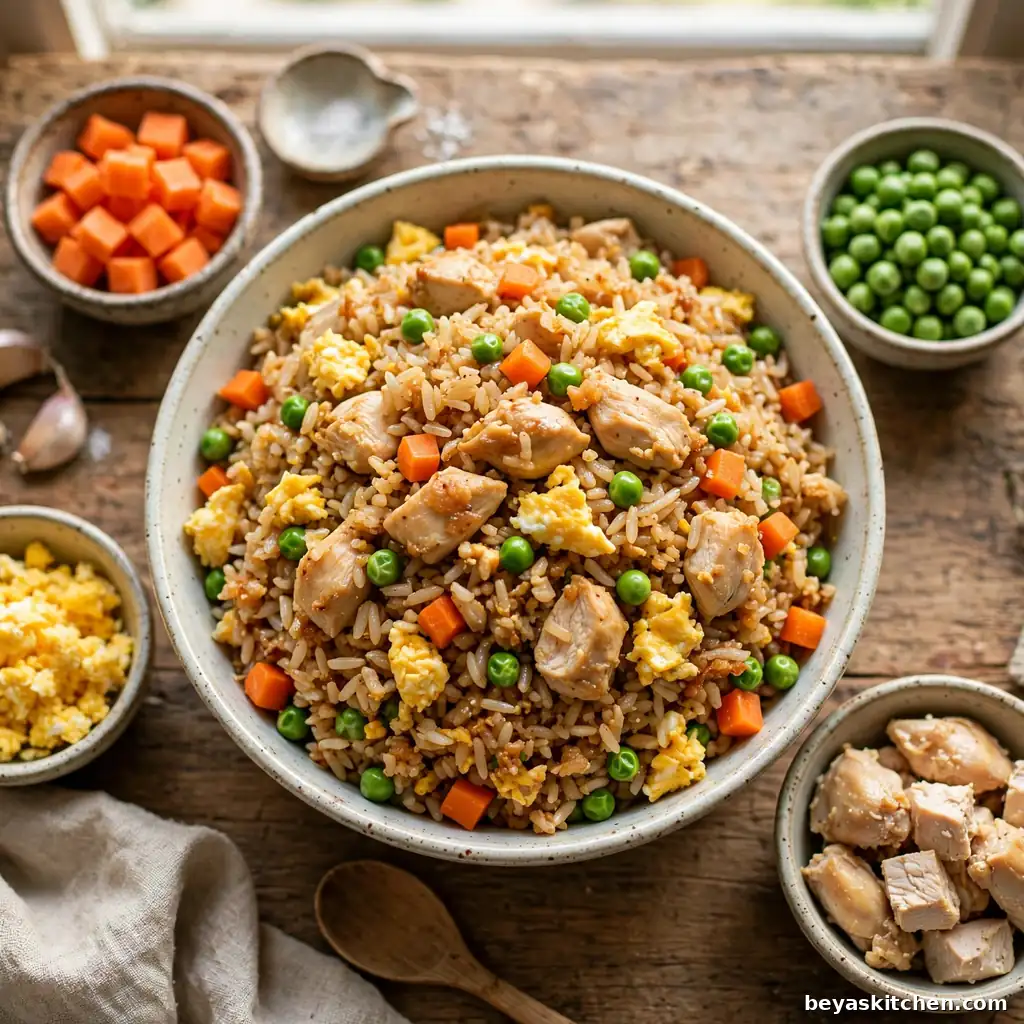
- 4 cups cooked jasmine rice, cooked the day before and kept cold in the fridge
- 2 large eggs, beaten with a small pinch of salt
- 1 tablespoon plus 2 teaspoons neutral oil, split
For the Chicken and Vegetables:
- 1 pound halal boneless skinless chicken breast, cut into small bite size pieces
- 1 small yellow onion, diced small, about 1 cup
- 1 medium carrot, peeled and cut into small cubes, about 3/4 cup
- 1/2 cup frozen peas, no need to thaw
- 3 cloves garlic, minced
- 3 green onions, thinly sliced, white parts and green parts kept apart
For the Sauce:
- 3 tablespoons low sodium soy sauce, such as Kikkoman less sodium, since the low salt bottle lets you season the pan in two steps instead of one salty hit
- 1 teaspoon sugar, to round out the salt
- 1/2 teaspoon white pepper
- 1 teaspoon toasted sesame oil, added at the end, off the heat
- 1/2 teaspoon kosher salt, split between the eggs and the chicken
Cold Rice Is Not a Small Detail
Fresh warm rice holds water on each grain. In a hot pan, that water turns to steam, and the whole dish turns soft. Rice that rests a night in the fridge dries on the surface, so the grains fry, stay apart, and take the sauce in a thin, even coat.
Allergen and Dietary Disclosure
Contains: egg, soy, wheat (gluten, from the soy sauce), and sesame.
Gluten Free Option: Swap the soy sauce with tamari or coconut aminos, same amounts, and the dish works the same way.
Dairy Free: This recipe uses no dairy at all, in any part.
Nut Free: No nuts are used. If sesame is a problem, swap the sesame oil with the same neutral oil you fry with.
Egg Free Option: Leave the eggs out and add 1 extra cup of peas and carrots so the pan still feels full.
Always confirm ingredients with your specific brand labels, as formulations vary by manufacturer.
Step by Step Instructions
Step 1: Break up the rice. Tip the cold rice into a wide bowl and use clean hands or a fork to break it into single grains. Rub out each clump now, while the rice is cold. The bowl is ready when the grains fall loose, like dry sand through your fingers.
Chef’s Note: Break up the rice while it is cold. Warm rice sticks into clumps that no spoon can fix once they hit the pan. Cold grains fall apart with light finger work.
Step 2: Cook the eggs. Heat a large skillet or wok over high heat, add 2 teaspoons of oil, and pour in the beaten eggs. Stir with a spatula for 30 to 45 seconds, just until soft curds form. Slide the eggs onto a plate while they still look a bit soft and shiny. They will cook one more time at the end.
Step 3: Cook the chicken. Add 1 tablespoon of oil to the hot pan and lay the chicken in one flat layer with a pinch of the salt. Cook for 4 to 5 minutes, turning once, until the pieces are golden at the edges and white all the way through. Move the chicken to the plate with the eggs. Cook the chicken until it reads 165 degrees F in the thickest piece, and wash hands, boards, and knives well after they touch raw chicken.
Chef’s Note: Keep the chicken in one flat layer for the first two minutes. Space lets the edges turn golden and crisp. A packed pan makes the meat steam and turn pale.
Step 4: Cook the vegetables. In the same pan, cook the onion and carrot for 2 to 3 minutes, stirring now and then, until the onion turns soft and clear at the edges. Stir in the garlic and the white parts of the green onions and cook for 30 seconds. The pan is ready when the garlic smells warm and rich.
Step 5: Fry the rice. Add the rice to the pan and spread it flat with the spatula. Press it down once, then leave it still for 1 full minute. Toss the rice, spread it flat again, and leave it still for 1 more minute. Look for light golden edges on some grains and listen for a soft crackle from the pan.
Chef’s Note: Still time is where the crisp bits come from. Stir too soon and the grains steam in their own heat. Wait, toss, wait once more, and the hot pan does the work for you.
Step 6: Add the sauce. Stir the soy sauce, sugar, and white pepper in a small cup. Pour the mix around the hot edge of the pan, not on top of the rice, and toss fast for 30 seconds. The sauce should sizzle as it lands, and the grains should turn an even, light brown color with a soft gloss.
Chef’s Note: Sauce on the hot pan edge cooks for one second before it coats the rice. That fast sizzle takes off the raw, sharp edge of the soy sauce and turns the taste round and warm.
Step 7: Bring it all back together. Add the peas, the chicken, and the eggs to the pan. Toss for 1 to 2 minutes, breaking the egg into small soft bits as you go. The dish is done when the peas turn bright green and each part is hot all the way through.
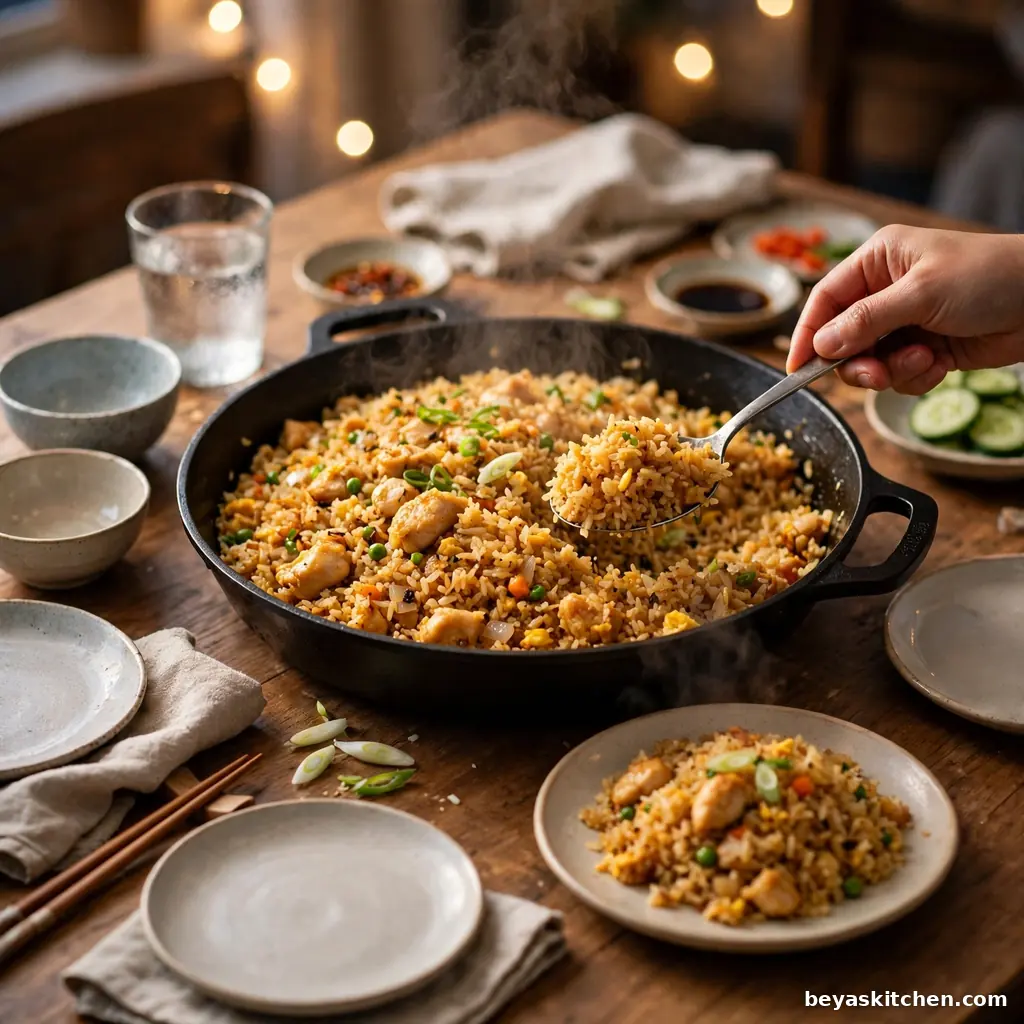
Step 8: Finish and serve. Take the pan off the heat. Drizzle the sesame oil over the top, add the green parts of the green onions, and toss one last time. Taste a spoonful and add salt a pinch at a time if the pan needs it. Serve hot, right from the pan, while the grains still shine.
Expert Tips and Tricks
- Cut all the food before the pan gets hot, since the cook moves fast once the rice goes in
- Use the biggest pan you own, and fry the rice in two rounds if the pan looks full
- Keep the heat high and the food dry; wet food steams, and steamed rice turns soft
- Cook the rice up to 2 days ahead and keep it cold and covered in the fridge, so dinner night takes almost no prep
- For lunch the next day, warm leftovers in a hot pan with 1 teaspoon of water for 3 minutes, and the grains turn plump and glossy again
- Taste at the very end, not in the middle, since the soy sauce salt shows up in full only after the last toss
A Hot Pan, and Room to Breathe
Fried rice needs heat and space at the same time. A small pan packed full drops in heat fast, and the food boils in its own juice. Give the grains a wide pan and a thin layer, and they fry instead of steam. That thin layer is the gap between soft rice and crisp rice.
Allergen Specific Cooking Notes
With tamari in place of soy sauce, add the sauce in two parts and taste as you go, since tamari can taste a bit more strong. With the eggs left out, the rice needs one extra minute of still time in the pan, since there is less soft food in the mix to coat the grains.
Storage Instructions
Room Temperature: Not recommended. Move leftovers to the fridge within 2 hours of cooking, and within 1 hour on a hot day.
Refrigerator: Up to 3 days in a sealed container. Spread the rice flat in the box so it cools fast and stays firm.
Freezer: Up to 2 months in a freezer safe container or a flat freezer bag with the air pressed out.
Reheating: Warm in a skillet over medium heat with 1 teaspoon of water for 3 to 4 minutes, tossing twice, until hot and glossy. In a microwave, heat for 2 minutes, stir once, then heat for 1 more minute.
Make Ahead Notes: Cook the rice up to 2 days early. Cut the chicken and vegetables the night before and keep them apart, covered, in the fridge.
Variations and Substitutions
Spicy Fried Rice: Stir 1 to 2 teaspoons of chili garlic sauce into the sauce cup, or toss one small fresh red chili, sliced thin, in with the garlic. The heat sits in the back and builds slow.
Mild and Kid Friendly Fried Rice: Cut the soy sauce down to 2 tablespoons, skip the white pepper, and swap the peas for sweet corn. The plate turns soft, sweet, and light in color, and small kids tend to eat it with no fight.
Vegetarian Fried Rice: Skip the chicken. Fry firm tofu cubes in the oil until golden on most sides, or add one extra egg and a full cup of peas and carrots. The method stays the same, step for step.
Shrimp Fried Rice: Swap the chicken with 1 pound of peeled shrimp. Cook the shrimp for 2 minutes only, until pink and curled, then take them out fast so they stay soft and sweet.
Gluten Free Fried Rice: Use tamari or coconut aminos in place of the soy sauce, same amounts, and check the label on the bottle you buy. All other steps stay the same.
What to Serve With This
Cucumber Salad: Cool, crisp cucumber with a light vinegar dressing cuts the warm, rich taste of the rice and wakes up the whole plate.
Vegetable Spring Rolls: A crisp roll on the side adds crunch and a fun hand held bite that kids love next to a soft rice dish.
Simple Egg Drop Soup: A light, warm soup turns this one pan dinner into a full meal that feels like a takeout night at home.
Steamed Broccoli with Garlic: Bright green broccoli adds color and a fresh taste, and it cooks in the same short time as the rice.
Nutrition Information
| Calories per Serving | approximately 480 |
| Protein | 32g |
| Carbs | 52g |
| Fat | 15g |
| Fiber | 3g |
| Sugar | 5g |
| Sodium | 780mg |
| Serving Size | about 1 1/2 cups |
| Servings per Recipe | 4 |
Nutrition values are approximate and calculated per serving using standard ingredient amounts. Values may vary based on brands used and portion sizes.
Follow on Pinterest for new updates at Beyaskitchen
Frequently Asked Questions
1. Can I freeze fried rice, and how do I warm it back up?
Yes, fried rice freezes well for up to 2 months. Cool it fast, spread it flat in a freezer bag, press the air out, and lay the bag flat so it thaws in minutes. Warm it from frozen in a hot pan with 1 teaspoon of water for 4 to 5 minutes, tossing often. The grains come back firm and glossy, close to fresh. In the fridge, use it within 3 days.
2. What can I use if I do not have day old rice?
Cook fresh rice with a bit less water, about 2 tablespoons less per cup, so the grains come out firm. Spread the hot rice in a thin layer on a wide tray and put the tray in the fridge for 30 minutes, or in the freezer for 15 minutes. The cold air dries the surface of each grain. Once the grains feel dry and cool to the touch, fry them the same way as day old rice.
3. How do I know the chicken in fried rice is cooked and safe?
Cut the chicken into small, even pieces so it cooks fast and at the same rate. It is done when the thickest piece is white all the way through, with no pink in the center, and a food thermometer reads 165 degrees F. Small pieces reach that point in 4 to 5 minutes in a hot pan. If you see pink, give the pan 1 more minute and check a thick piece again.
4. Why does my fried rice never taste like the takeout place?
Two small things make most of the gap. First, takeout pans run very hot, so use your highest heat and a wide pan, and let the rice sit still so it fries. Second, the sauce goes around the hot edge of the pan, where it sizzles and turns rich, not on top of the rice where it just soaks in. Cold rice, high heat, and sauce on the pan edge close almost all of the gap.
5. why does my fried rice come out mushy every single time
Wet rice is the cause, nine times out of ten. Fresh rice is full of water, and a packed pan traps steam, so the grains boil and split. Fix it in three moves. Use cold rice that rested in the fridge. Give the food room in a wide pan. And keep each food as dry as you can before it goes in. Dry grains plus a hot, wide pan give you firm fried rice with crisp edges.
Conclusion
Fried rice rewards a cook who keeps it plain. Cold rice, a hot pan, food cut small, and a sauce you can count on one hand. Learn those four moves and you own a dinner that clears out the fridge, feeds a table fast, and tastes like you planned it all week. Keep a bag of cooked rice in the fridge and this recipe is never more than half an hour away. If you loved this recipe, save it to your rice and weeknight dinners Pinterest board so you can find it easily later.
Get more updates at: beyaskitchen
Ingredients
Method
- Break the cold rice into single grains with clean hands or a fork, and rub out each clump.
- Heat a large skillet or wok over high heat, add 2 teaspoons of oil, and stir the beaten eggs for 30 to 45 seconds, until soft curds form. Move the eggs to a plate.
- Add 1 tablespoon of oil, lay the chicken in one flat layer with a pinch of salt, and cook for 4 to 5 minutes, until golden at the edges and 165 degrees F inside. Move the chicken to the plate.
- Cook the onion and carrot in the same pan for 2 to 3 minutes, until the onion is soft. Stir in the garlic and the white parts of the green onions and cook for 30 seconds.
- Add the rice, spread it flat, press it down once, and leave it still for 1 minute. Toss, spread flat again, and leave it still for 1 more minute, until some grains turn golden at the edges.
- Stir the soy sauce, sugar, and white pepper in a small cup, pour it around the hot edge of the pan, and toss fast for 30 seconds, until the grains turn an even light brown.
- Add the peas, chicken, and eggs back to the pan and toss for 1 to 2 minutes, breaking the egg into small bits, until all parts are hot.
- Take the pan off the heat, drizzle the sesame oil on top, add the green parts of the green onions, toss once, taste for salt, and serve hot.