Easy Pizza Dough Recipe With a Soft, Chewy Crust
Store bought dough can taste flat and tear when you stretch it. This pizza dough recipe fixes both problems with warm water, the right yeast, and one calm rise. The crust bakes soft in the middle with a light chew and golden edges. You mix it in one bowl, knead it by hand, and shape it with your fingers. No stand mixer, no odd tools, and no stress on pizza night.
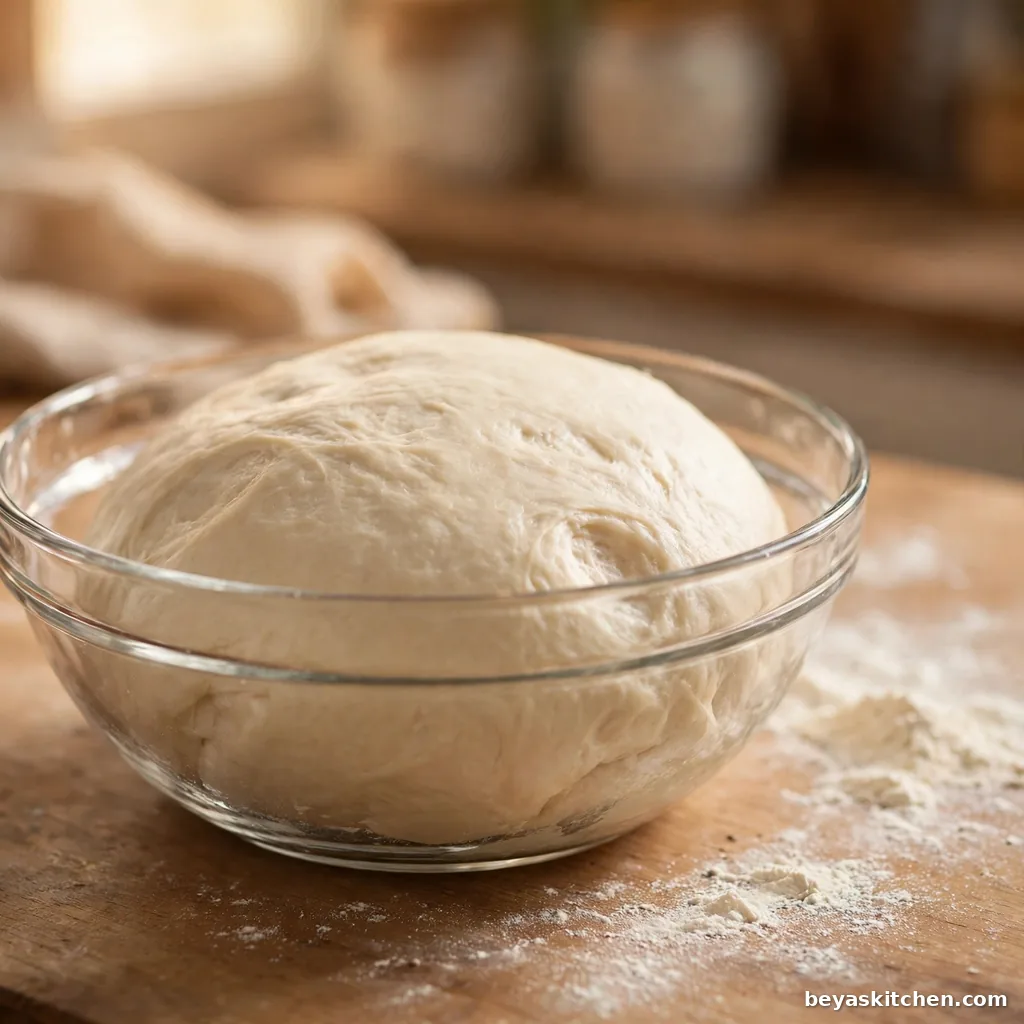
The real secret is patience, not skill. Yeast needs warm water and a little time to wake up and grow. Give the dough a full rise and it will stretch wide without snapping back. Rush the rise and the dough fights you at every step.
One more small thing helps a lot. Weigh or measure the flour with a light hand. Too much flour makes a dry, tough crust. Spoon the flour into the cup and level it off, and the dough stays soft and easy to work.
Why You Will Love This Pizza Dough
- Soft center, chewy bite, and golden edges in every slice
- One bowl and your hands, no mixer and no special tools to wash
- The dough waits for you, so you can make it hours before dinner
- Two full pizzas from one batch, enough for the whole table
- Raw dough freezes well for up to 3 months, so pizza night is always close
Ingredients

For the Dough:
- 3 1/2 cups King Arthur all purpose flour, about 440 grams, plus a little more for dusting (swap with bread flour for a chewier crust)
- 1 1/4 cups warm water, about 110 degrees F, warm to the touch but not hot
- 2 1/4 teaspoons instant yeast, one standard packet (swap with active dry yeast, see the note in the steps)
- 1 teaspoon sugar (swap with honey in the same amount)
- 1 1/2 teaspoons fine sea salt
- 2 tablespoons olive oil, plus a little more for the bowl (swap with any mild cooking oil)
For Topping and Baking:
- 1/2 cup pizza sauce or crushed tomatoes with a pinch of salt
- 2 cups shredded mozzarella cheese
- Toppings you like: sliced peppers, mushrooms, onions, sweet corn, grilled halal chicken, or cooked halal beef strips
- A handful of fresh basil leaves, added after baking
- Cornmeal or a sheet of baking paper, so the pizza slides with ease
Allergen and Dietary Disclosure
Contains: gluten (wheat flour). The cheese topping adds dairy (milk).
Gluten-Free Option: swap the flour with a 1 to 1 gluten free baking blend that lists xanthan gum. The dough will feel softer and stretch less, so shape it with wet hands on baking paper.
Dairy-Free Option: the dough itself has no dairy at all. Skip the cheese or use a dairy free cheese you trust.
Nut-Free: yes, this recipe has no nuts. Still read your flour and yeast labels, as brands vary.
Egg-Free Option: the dough is egg free as written, so no swap is needed.
Always confirm ingredients with your specific brand labels, as formulations vary by manufacturer.
Step-by-Step Instructions
Step 1: Pour the warm water into a large bowl. Sprinkle the yeast and sugar over the top and stir once. Wait 5 minutes. The mix should look foamy with small bubbles. Foam tells you the yeast is alive and ready to work.
Chef’s Note: Water near 110 degrees F wakes yeast up fast. Water that feels hot can kill it, and then the dough will never rise. Test the water on your wrist first. It should feel like warm bath water.
Step 2: Add the flour, salt, and olive oil to the bowl. Stir with a wooden spoon until a shaggy, rough dough forms and no dry flour hides at the bottom. The dough will look messy. Messy is fine at this stage.
Step 3: Turn the dough onto a lightly floured counter. Knead for 8 to 10 minutes. Push the dough away with the heel of your hand, fold it back, and turn it a quarter turn. The dough is ready when it feels smooth and springs back slowly when you poke it.
Chef’s Note: A good poke test saves guesswork. If the dent fills back in about half way, the dough has enough strength. If the dent stays deep, knead 2 more minutes and test again.
Step 4: Lightly oil a clean bowl. Set the dough inside and turn it once so the top has a thin coat of oil. Cover the bowl with a damp cloth or a lid. Leave it in a warm spot for 1 hour 30 minutes, until the dough has doubled in size and looks puffy.
Step 5: Heat the oven to 500 degrees F with a pizza stone, steel, or an upside down baking sheet inside. A hot surface gives the crust a fast rise and a crisp base. Let the oven heat for at least 30 minutes before you bake.
Step 6: Punch the risen dough down gently to press out the big air bubbles. Cut it into 2 equal balls. Cover the balls and rest them for 10 minutes. A short rest relaxes the dough, so it stretches without pulling back.
Chef’s Note: If the dough snaps back while you shape it, stop and wait 5 more minutes. Gluten tightens when you work it and loosens when you leave it alone. Time does the job your hands cannot force.
Step 7: Set one ball on a floured sheet of baking paper or a cornmeal dusted peel. Press from the center out with your fingertips, leaving a thick rim for the crust. Lift and stretch the dough over your knuckles until it is about 12 inches wide and thin in the middle.
Step 8: Spread a thin layer of sauce over the dough and leave the rim bare. Scatter the cheese and your toppings in a light, even layer. Too much topping makes the center wet, so keep the hand gentle here.
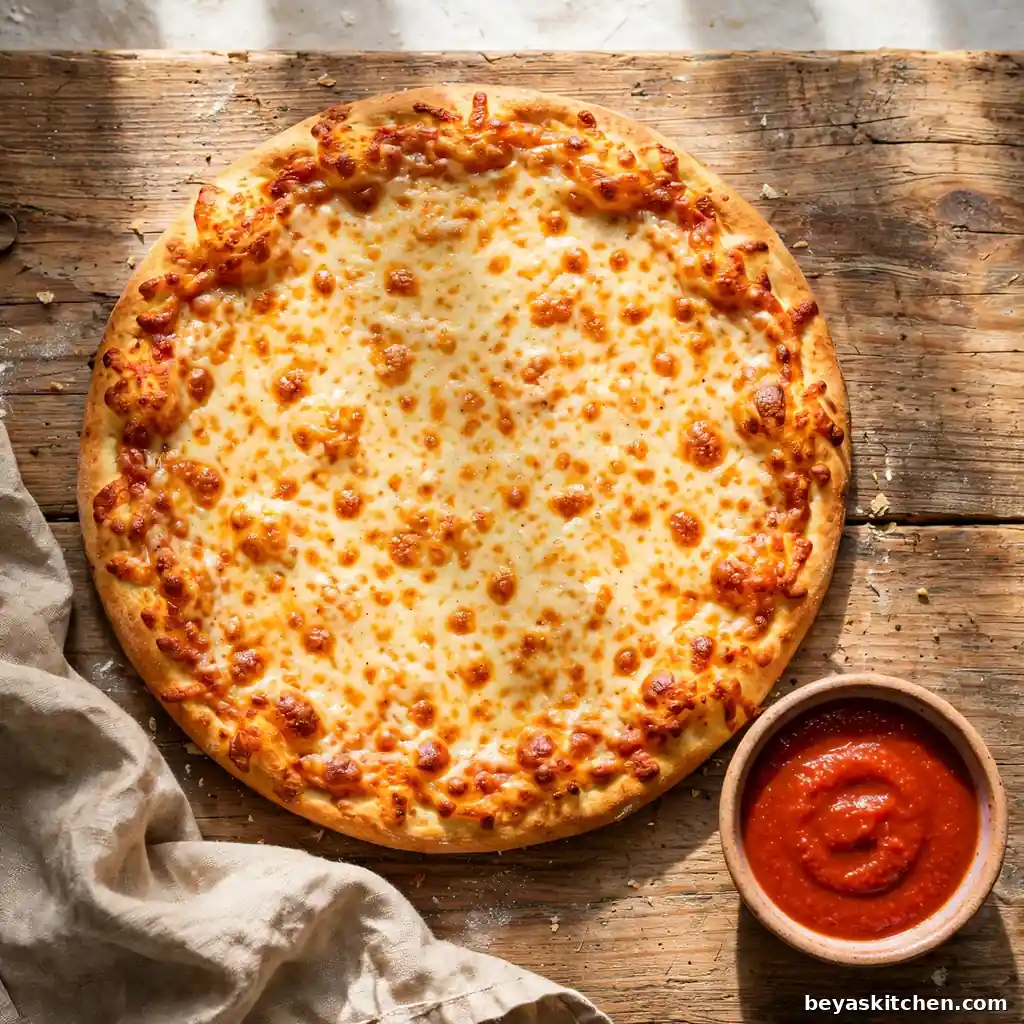
Step 9: Slide the pizza onto the hot stone or sheet. Bake 10 to 12 minutes. The crust should be deep golden at the edges, the cheese melted with light brown spots, and the base firm when you lift one edge. Rest the pizza 2 minutes, add basil, slice, and serve. Repeat with the second ball.
Warm Water Is the Whole Game
Most flat dough comes from water that was too hot or too cold. Too hot and the yeast dies before it starts. Too cold and the rise crawls for hours. Warm water near 110 degrees F gives you a strong rise in 1 hour 30 minutes, every single time.
Expert Tips and Tricks
- Bloom the yeast even if the packet says instant. The foam check takes 5 minutes and saves a whole batch.
- Make the dough in the morning and keep it in the fridge. A slow cold rise of 8 to 24 hours builds deep flavor.
- Freeze raw dough balls in oiled bags for up to 3 months. Thaw in the fridge overnight, then rest 30 minutes on the counter before shaping.
- Keep toppings dry. Pat mushrooms, peppers, and mozzarella with a paper towel so the center stays crisp.
- Use a scale if you have one. Flour by weight gives the same soft dough every time, with no dry or sticky surprises.
- Bake on the lowest rack. Heat from below crisps the base before the cheese can overbrown.
- Brush the rim with a little olive oil before baking for a rich golden edge.
Allergen-Specific Cooking Notes
The gluten free blend drinks water in a different way, so add the water a little at a time until the dough feels soft, not stiff. Gluten free dough does not stretch like wheat dough. Press it flat on baking paper with wet hands and bake it on the paper. Dairy free cheese browns less, so pull the pizza when the crust is golden, not when the top looks dark.
Storage Instructions
Room Temperature: baked pizza keeps 2 hours at the table. Raw dough should not sit out past its rise, so move it to the fridge once it doubles.
Refrigerator: raw dough balls keep up to 3 days in a sealed, oiled container. Baked slices keep up to 3 days in a sealed box.
Freezer: raw dough keeps up to 3 months, wrapped in an oiled freezer bag with the air pressed out. Baked slices freeze for up to 2 months.
Reheating: warm slices in a dry skillet on medium heat for 2 to 3 minutes, or in a 375 degree F oven for 5 to 7 minutes, until the base is crisp and the cheese melts again.
Make-Ahead Notes: mix and knead the dough up to 3 days early and store it cold. Chop toppings 1 day ahead and keep them dry in the fridge. Shape and top the dough just before baking.
Variations and Substitutions
Whole Wheat Dough: swap half of the flour with whole wheat flour. The crust tastes nutty and feels hearty, and the rise may take 15 extra minutes.
Thin Crust: roll one ball out to 14 inches and use less sauce. The base bakes crisp from edge to edge. Bake 8 to 10 minutes and watch it near the end.
Garlic Herb Crust: stir 1 teaspoon garlic powder and 1 teaspoon dried oregano into the flour. Brush the baked rim with olive oil and a pinch of salt.
Gluten-Free Dough: use the 1 to 1 gluten free blend from the allergen section. Shape on baking paper and skip the knuckle stretch.
Cheese Stuffed Rim: set a ring of mozzarella sticks or strips near the edge and fold the dough over them before you add sauce. Seal well so the cheese stays inside.
A Hot Oven Beats Every Gadget
Skip the fancy pans and spend your effort on heat. A stone, steel, or plain sheet that heats for 30 minutes gives you the crisp base and puffy rim that make people ask for this pizza dough recipe again. Cool pans give pale, soft crusts no topping can save.
What to Serve With This
Garden Salad: crisp greens with lemon and olive oil cut the rich cheese and keep the meal light.
Garlic Knots: twist small strips of the same dough, bake 10 minutes, and toss with garlic oil and parsley.
Roasted Vegetable Platter: peppers, zucchini, and red onion from a hot tray add color and a sweet, smoky bite.
Tomato Soup: a warm bowl for dipping crusts turns the rim into the best part of the meal.
Extra Topping Bowls: set out small bowls of grilled halal chicken, cooked halal beef, sweet corn, and olives so each person builds a slice their own way.
Nutrition Information
| Calories per Serving | approximately 230 (dough only, toppings extra) |
| Protein | 6g |
| Carbs | 46g |
| Fat | 4g |
| Fiber | 2g |
| Sugar | 1g |
| Sodium | approximately 430mg |
| Serving Size | 1 slice of dough from a 12 inch pizza, 4 slices per pizza |
| Servings per Recipe | 8 (2 pizzas) |
The dough itself is low in fat and has no egg or dairy. Most of the energy comes from the flour, which is what makes pizza a filling meal. Cheese and toppings add protein and fat on top of these numbers, so a loaded slice will read higher than a plain one.
Disclaimer: Nutrition values are approximate and calculated per serving using standard ingredient amounts. Values may vary based on brands used and portion sizes.

Follow on Pinterest for new updates at Beyaskitchen
Frequently Asked Questions
1. Can I make this pizza dough ahead of time and freeze it?
Yes. After the first rise, split the dough into balls, coat each one lightly with oil, and seal them in freezer bags for up to 3 months. Move a bag to the fridge the night before pizza night. Rest the dough on the counter for 30 minutes before you shape it, so it stretches with ease and bakes with a soft center.
2. Why did my pizza dough not rise at all?
Dead yeast is the usual cause. The water may have been too hot, or the yeast was old. Always check the foam in step 1. If the mix stays flat after 5 minutes, start again with fresh yeast and warm water. Also give the bowl a warm spot. A cold kitchen can slow the rise a lot in winter.
3. Can I swap the instant yeast or the flour in this recipe?
Yes to both. Active dry yeast works in the same amount; just let it bloom for 10 minutes in the warm water with the sugar. Bread flour gives a chewier crust, and whole wheat flour can replace half of the all purpose flour for a nutty taste. Each swap still gives you a soft, workable dough.
4. How do I know when the dough has risen enough?
Size is the clear sign. The dough should look about double, puffy, and full of air, with a smooth top. Press a floured finger in about half an inch. If the dent stays and fills back only a little, the rise is done. If it springs back fast, give the dough 15 more minutes.
5. Why does my dough keep snapping back when I stretch it?
The gluten is tight, and tight gluten pulls the dough back like a rubber band. The fix is rest, not force. Cover the dough and walk away for 5 to 10 minutes. When you come back, the dough will stretch wide and stay put. Warm dough also shapes with less fight than cold dough from the fridge.
Conclusion
Good pizza at home rests on one simple skill: a calm dough given warm water and time to rise. You now have the full path, from the foam check to the hot stone, with clear signs at each step. Make the dough in the morning, let the fridge do the slow work, and shape it when your family is hungry. This pizza dough recipe turns a plain bag of flour into the best night of the week. If you loved this recipe, save it to your pizza night Pinterest board so you can find it easily later!
Get more updates at: beyaskitchen
Ingredients
Method
- Stir the yeast and sugar into the warm water and wait 5 minutes, until the mix looks foamy.
- Add the flour, salt, and olive oil, then stir until a shaggy dough forms with no dry flour left.
- Knead on a floured counter for 8 to 10 minutes, until the dough feels smooth and springs back slowly when poked.
- Set the dough in an oiled bowl, cover it, and let it rise in a warm spot for 1 hour 30 minutes, until doubled and puffy.
- Heat the oven to 500 degrees F with a stone, steel, or upside down sheet inside for at least 30 minutes.
- Press the dough down, cut it into 2 balls, cover, and rest for 10 minutes.
- Stretch one ball to about 12 inches on baking paper, leaving a thick rim for the crust.
- Add a thin layer of sauce, cheese, and toppings, keeping the rim bare.
- Bake 10 to 12 minutes, until the edges are deep golden and the cheese has light brown spots. Rest 2 minutes, add basil, slice, and serve. Repeat with the second ball.