Easy Layer Cake with Simple Buttercream
A layer cake looks hard, but it is only three small skills done in order: bake even layers, level the tops, and frost in two thin coats. This recipe teaches each skill in plain steps, so a first time baker can stack a tall, neat cake that slices clean. The layers bake soft and tender with a light vanilla taste, and the simple buttercream spreads smooth with no special tools. Read the steps once, take your time, and the method will feel easy by the second layer.
Why You Will Love This Layer Cake
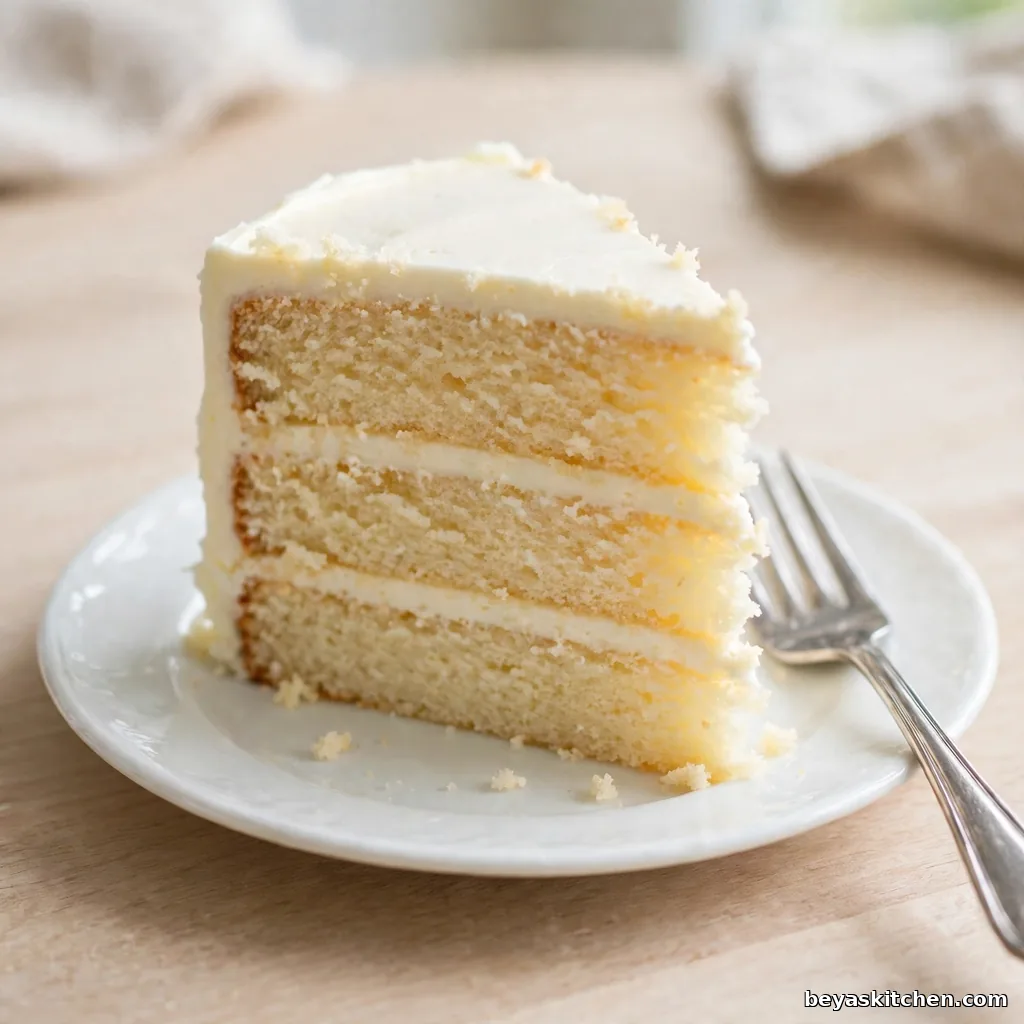
- The layer method is taught in plain, calm steps
- Three even layers stack straight with no lean
- The crumb coat trick gives a clean final finish
- Every item is plain and easy to find
- The layers bake ahead, so party day stays relaxed
- One base recipe opens the door to many flavors
Ingredients
For the Cake:
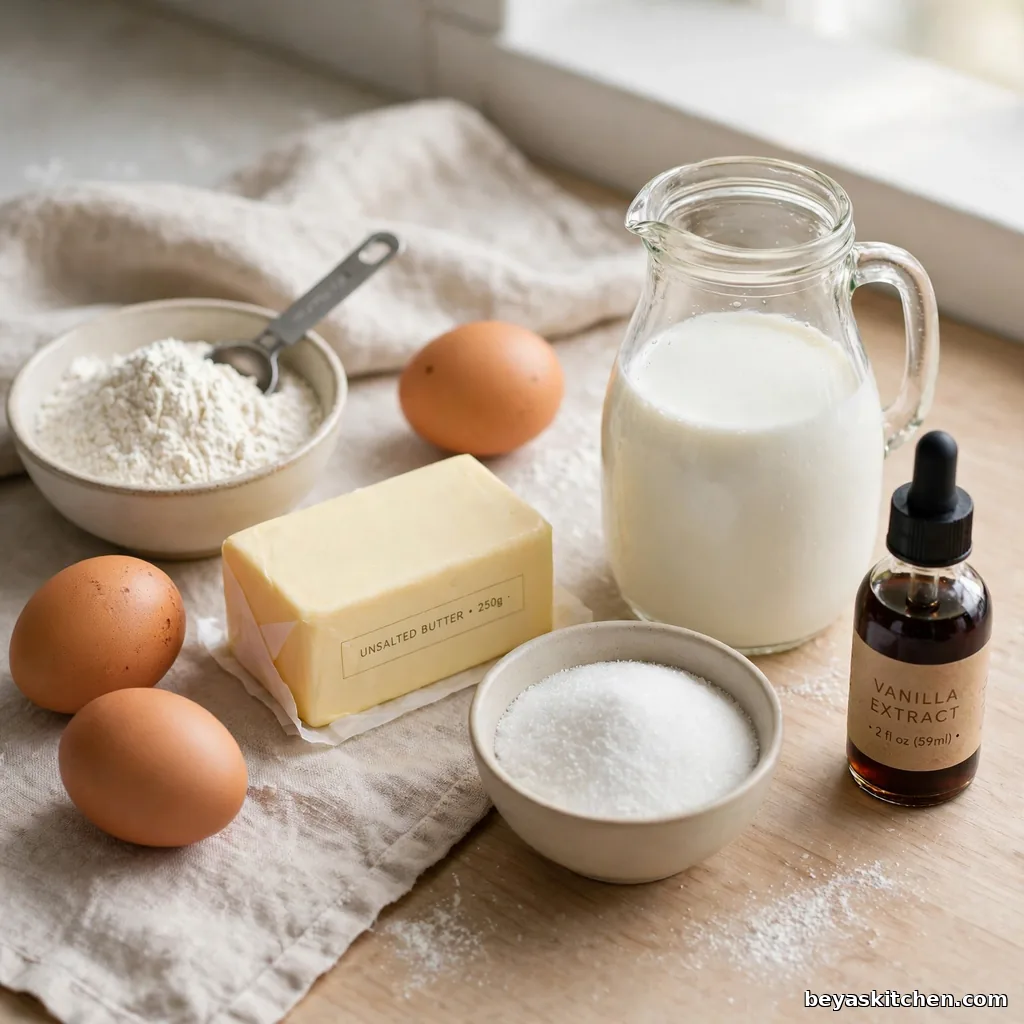
- 3 cups cake flour (360 grams), spooned into the cup and leveled off
- 1 tablespoon baking powder
- 1/2 teaspoon fine salt
- 1 cup unsalted butter (226 grams), soft at room temperature
- 2 cups granulated sugar (400 grams)
- 4 large eggs, at room temperature
- 1 tablespoon alcohol free vanilla extract
- 1 1/4 cups whole milk, at room temperature
For the Simple Buttercream:
- 1 1/2 cups unsalted butter (340 grams), soft at room temperature
- 5 cups powdered sugar (600 grams), sifted
- 2 teaspoons alcohol free vanilla extract
- 3 to 4 tablespoons whole milk
- 1/4 teaspoon fine salt
Allergen and Dietary Disclosure
Contains: Gluten (cake flour), dairy (butter, whole milk), and eggs.
Gluten-Free Option: Swap the cake flour for a 1 to 1 gluten free baking blend with xanthan gum. The layers bake a little more delicate, so cool them fully in the pans before you turn them out.
Dairy-Free Option: Use a firm plant butter block in place of the butter and oat milk in place of the whole milk, in both the cake and the frosting. The crumb stays soft and the buttercream still spreads smooth.
Egg-Free Option: This swap changes the cake the most. Use a trusted egg replacer made for cakes and expect a slightly denser layer. Level with extra care, since the layers break more easily.
Disclaimer: Always confirm ingredients with your specific brand labels, as formulations vary by manufacturer.
Step-by-Step Instructions
Step 1: Heat the oven to 350 degrees Fahrenheit. Grease three 8 inch round pans, line the bottoms with parchment rounds, and grease the paper too. Pans prepared this way release the layers clean every time.
Step 2: Whisk the cake flour, baking powder, and salt in a medium bowl. Set the bowl aside. Dry items mixed first means no salty or bitter pockets in the baked crumb.
Step 3: Beat the butter and sugar in a large bowl for 3 to 4 minutes, until the mix looks pale and fluffy. This step whips in the air that helps the layers rise tall and even.
Chef’s Note: Creaming is not just mixing. The sugar cuts tiny air pockets into the butter, and those pockets grow in the oven heat. Pale, fluffy butter now means a lighter layer cake later.
Step 4: Add the eggs one at a time, beating well after each one. Stir in the vanilla with the last egg. The batter may look a little curdled at this point, and that is fine. The flour in the next step pulls it back together.
Food safety note: Raw batter holds raw egg. Do not taste the batter, and wash bowls, beaters, and hands well after they touch it.
Step 5: Add the flour mix in three parts and the milk in two parts, starting and ending with flour. Mix on low speed only until each part just disappears. Stop the moment the streaks are gone.
Chef’s Note: Long mixing builds gluten, and gluten makes cake tough and tunnels form inside. Short, gentle mixing keeps the crumb soft and fine, which is the whole point of a good layer cake.
Step 6: Divide the batter evenly between the three pans. A kitchen scale gives the surest match, but counting the same number of big scoops per pan works too. Smooth the tops with the back of a spoon.
Step 7: Bake for 28 to 32 minutes. The layers are ready when the tops spring back under a light finger press, the edges pull a little from the pan sides, and a toothpick in the center comes out with a few soft crumbs.
Step 8: Cool the layers in the pans for 10 minutes. Turn them out onto a rack, peel off the paper, and let them cool fully, about 1 hour. Warm layers tear and melt frosting, so this wait matters.
Step 9: Make the buttercream. Beat the butter until smooth and pale, then add the powdered sugar one cup at a time on low speed. Add the vanilla, salt, and milk, then beat on medium for 2 minutes until light and spreadable.
Step 10: Level each cold layer with a long serrated knife, sawing gently while you turn the layer in a slow circle. Place the first layer on the plate, spread about 3/4 cup of buttercream on top, and repeat with the second layer. Set the third layer on top, flat bottom side up.
Chef’s Note: Put the last layer upside down. The baked bottom is the flattest surface the cake owns, so the top of your cake comes out level with no extra trimming.
Step 11: Spread a thin crumb coat over the whole cake, top and sides. Chill the cake for 20 minutes until the coat feels firm. Then spread the rest of the buttercream in one clean final coat, slice with a warm knife, and serve.
Expert Tips for the Best Layer Cake
- Weigh the batter into the pans. Even weight means even layers, and even layers mean a straight stack.
- Chill the layers for 30 minutes before leveling. Cold cake cuts clean and sheds fewer crumbs.
- Turn the pans around halfway through the bake if your oven heats unevenly on one side.
- Make the layers a day ahead, wrap them well, and keep them in the fridge. Cold layers frost with far less stress.
- Store cut slices with a piece of plain bread pressed to the cut side. The crumb stays moist for days.
- Run the knife under hot water and wipe it dry between slices. Each cut comes out clean and sharp.
The Crumb Coat Is Not Extra Work
A crumb coat is a thin first layer of frosting that traps every loose crumb. Twenty minutes in the fridge sets it firm, and the final coat then goes on clean, with no crumbs showing through. Skipping it is the main reason home layer cakes look rough. This one small pause is the difference between a home look and a bakery look.
Allergen-Specific Cooking Notes
The gluten free blend layers bake up a bit more fragile, so skip the serrated knife and level them by pressing the dome flat with a clean towel while they are still warm in the pan. The dairy free buttercream softens faster at room temperature, so chill the crumb coated cake for a full 30 minutes before the final coat.
Storage Instructions
Room Temperature: Keep the frosted cake covered on the counter for up to 2 days, away from heat and direct sun.
Refrigerator: Store the cake in a covered cake box or under a tall bowl for up to 5 days. Let slices sit at room temperature for 30 minutes before serving so the buttercream softens.
Freezer: Freeze unfrosted layers wrapped in two layers of plastic wrap and one layer of foil for up to 2 months. The frosted cake also freezes well for up to 1 month if the box is airtight.
Reheating: No reheating is needed. For a just baked feel, rest slices on the counter until the crumb feels soft and the frosting turns creamy again.
Make-Ahead Notes: Bake and wrap the layers up to 2 days ahead and keep them in the fridge, or freeze them for longer storage. Make the buttercream 1 week ahead in the fridge, then beat it smooth again before you frost.
Variations and Substitutions
Chocolate Layer Cake: Swap 3/4 cup of the cake flour for unsweetened cocoa powder and add 2 extra tablespoons of milk. The stacking method stays exactly the same.
Lemon Layer Cake: Rub the zest of 2 lemons into the sugar before creaming, and swap 1/4 cup of the milk for fresh lemon juice. Fill the layers with the same buttercream.
Berry Filled Layer Cake: Spread a thin layer of buttercream, pipe a small ring around the edge, and fill the center with 1/2 cup of seedless raspberry jam per layer. The ring keeps the jam from leaking out.
Two Layer Sheet Cake: Pour all the batter into one greased 9 by 13 inch pan and bake 35 to 40 minutes. Frost the top only. This gives the same soft crumb with no stacking at all.
Cupcake Batch: Fill lined muffin cups two thirds full and bake 18 to 20 minutes. You get about 24 cupcakes from one batch, ready for swirls of the same buttercream.
Level Layers Never Slide
Most sliding stacks come from round domes, not from weak frosting. A dome acts like a ball under the next layer, so the stack slowly leans as it sits. Take the dome off, keep each layer flat, and the cake stands straight on the table for hours.
What to Serve With This Cake
Fresh Berries: A small bowl of strawberries or raspberries on the side adds color and a fresh bite next to the sweet frosting.
Vanilla Ice Cream: One small scoop beside a warm slice melts into the layers and turns dessert into a full plate.
Hot Tea: A plain cup of black tea balances the rich buttercream and suits an afternoon slice well.
Cold Milk: The classic partner for cake. A cold glass keeps the sweet taste from building up bite after bite.
Nutrition Information
| Calories per Serving | 520 (approximate) |
| Protein | 5g |
| Carbs | 70g |
| Fat | 25g |
| Fiber | 1g |
| Sugar | 52g |
| Sodium | 240mg |
| Serving Size | 1 slice (one twelfth of the cake) |
| Servings per Recipe | 12 |
This cake is a celebration food, so the sugar and butter numbers are honest and plain. The protein and staying power come from the eggs and milk in the layers. For a lighter plate, cut thinner slices and serve berries on the side in place of a second helping of frosting heavy edge pieces.
Disclaimer: Nutrition values are approximate and calculated per serving using standard ingredient amounts. Values may vary based on brands used and portion sizes.
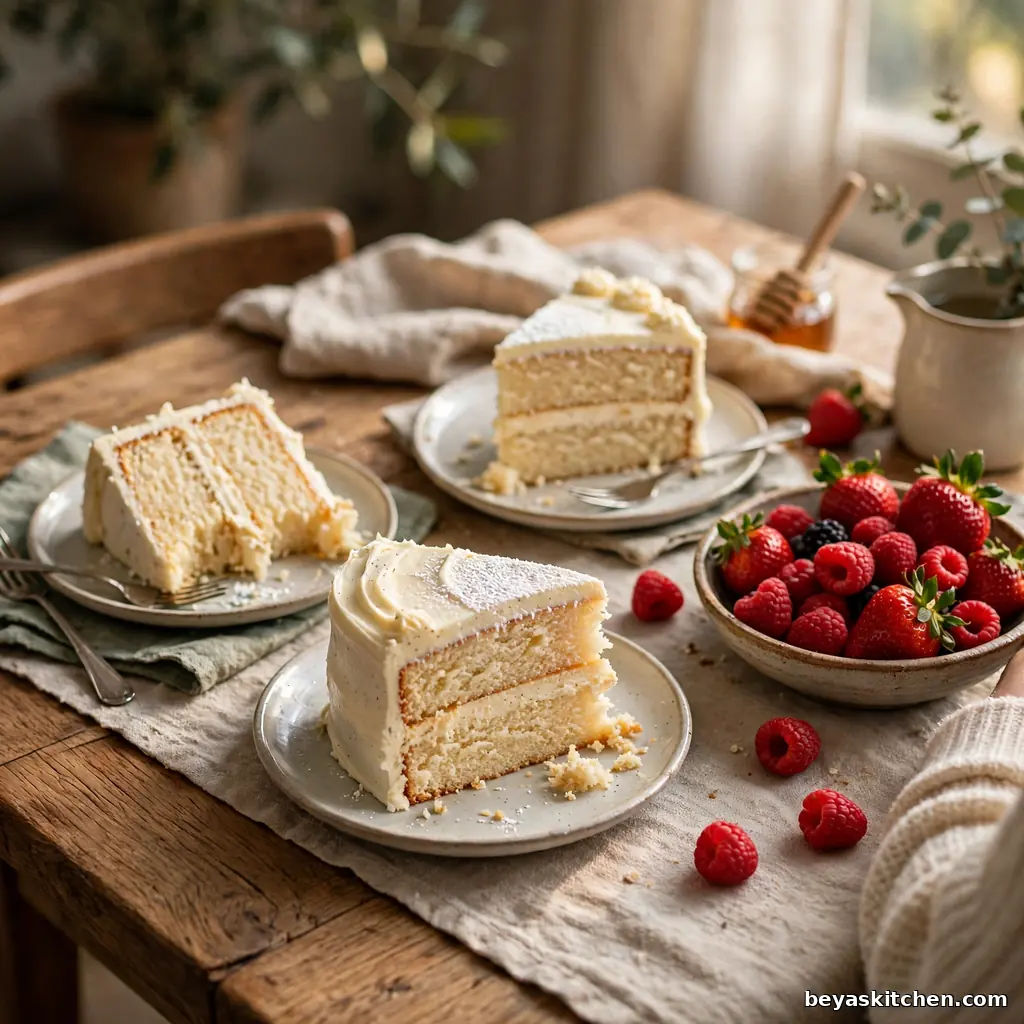
Follow on Pinterest for new updates at Beyaskitchen
Frequently Asked Questions
1. Can I bake the layers ahead of time?
Yes, and the cake gets easier when you do. Wrap the cooled layers tight and keep them 2 days in the fridge or 2 months in the freezer, then frost them cold.
2. Why did my layers come out with big domes?
A hot oven is the usual cause, since the edges set fast and the center keeps rising. Check the heat with an oven thermometer, bake on the middle rack, and level any dome with a serrated knife.
3. Can I make this layer cake with all purpose flour?
Yes. Swap each cup of cake flour for all purpose flour minus 2 tablespoons, plus 2 tablespoons of cornstarch, sifted twice. The crumb will be a touch sturdier.
4. How do I know the layers are done baking?
Look for three signs together: the top springs back, the edges pull from the pan, and a toothpick comes out clean or with a few soft crumbs. Pull the layers at the first clear signs so they stay moist.
5. Why does my frosting show so many crumbs?
The crumb coat was skipped or the layers were warm. Chill the layers, spread one thin coat to trap the crumbs, chill 20 minutes, and the final coat goes on clean.
Conclusion
A good layer cake is a method, not a mystery. Even layers, flat tops, cold cake, and a thin crumb coat before the final coat. Learn those four habits once and every layer cake after this one gets easier, from chocolate to lemon to berry filled. Take your time on the first bake, enjoy the tall slices, and let this plain vanilla version be the base you build on. If you loved this recipe, save it to your birthday cakes Pinterest board so you can find it easily later!
Get more updates at: beyaskitchen
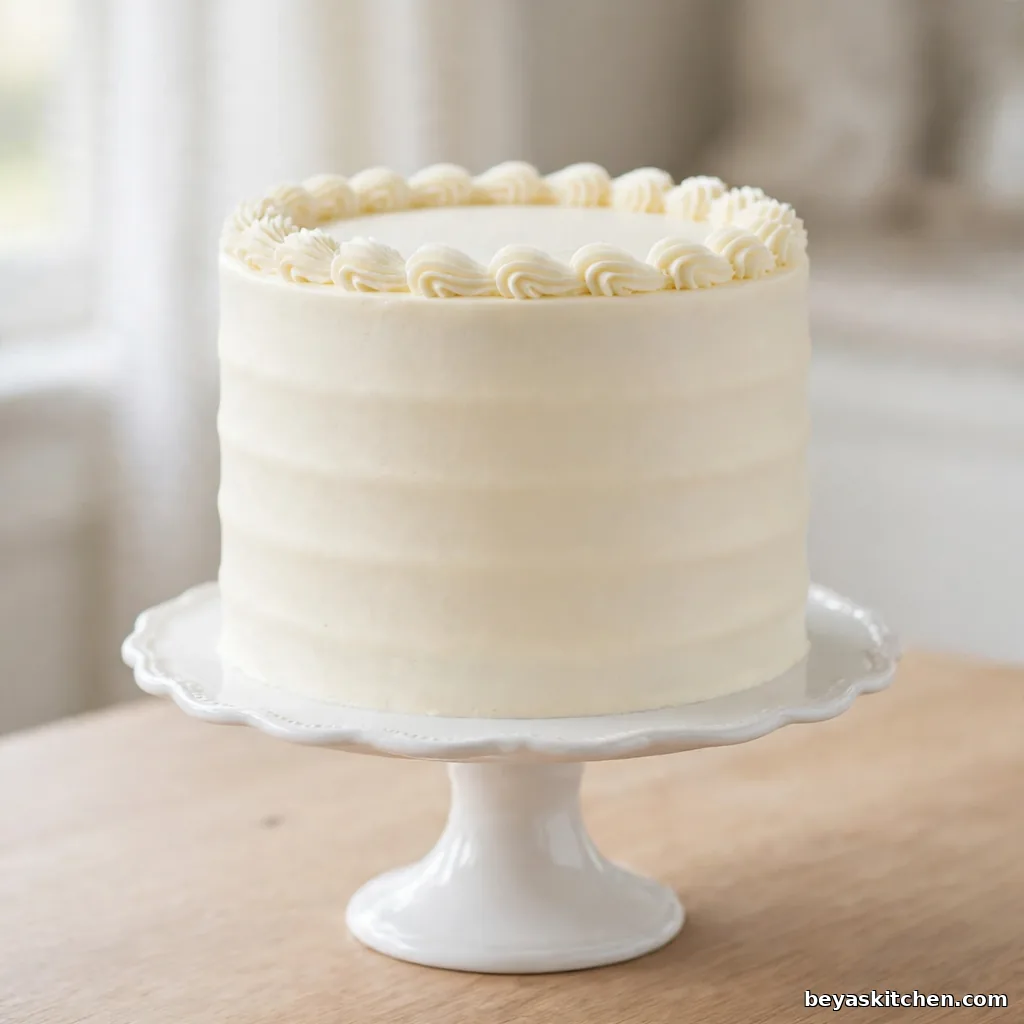
Easy Layer Cake with Simple Buttercream
Ingredients
Method
- Heat the oven to 350 degrees Fahrenheit. Grease three 8 inch round pans, line the bottoms with parchment rounds, and grease the paper.
- Whisk the cake flour, baking powder, and salt in a medium bowl. Set aside.
- Beat the butter and sugar for 3 to 4 minutes, until pale and fluffy.
- Add the eggs one at a time, beating well after each. Stir in the vanilla with the last egg.
- Add the flour mix in three parts and the milk in two parts, starting and ending with flour. Mix on low only until each part just disappears.
- Divide the batter evenly between the three pans and smooth the tops.
- Bake 28 to 32 minutes, until the tops spring back, the edges pull from the sides, and a toothpick comes out with a few soft crumbs.
- Cool in the pans 10 minutes, then turn out onto a rack and cool fully, about 1 hour.
- Beat the buttercream butter until smooth and pale. Add the powdered sugar one cup at a time on low, then the vanilla, salt, and milk. Beat on medium 2 minutes.
- Level each cold layer with a serrated knife. Stack the first two layers with about 3/4 cup of buttercream between them. Set the third layer on top, flat bottom side up.
- Spread a thin crumb coat over the whole cake and chill 20 minutes. Spread the rest of the buttercream as the final coat, slice, and serve.
Notes
- Weigh the batter into the pans for layers that bake at the same height.
- Cold layers level cleaner and shed fewer crumbs than room temperature layers.
- The crumb coat is the step that makes the final coat look clean and smooth.