Easy Honey Garlic Chicken in a Sticky Glossy Sauce
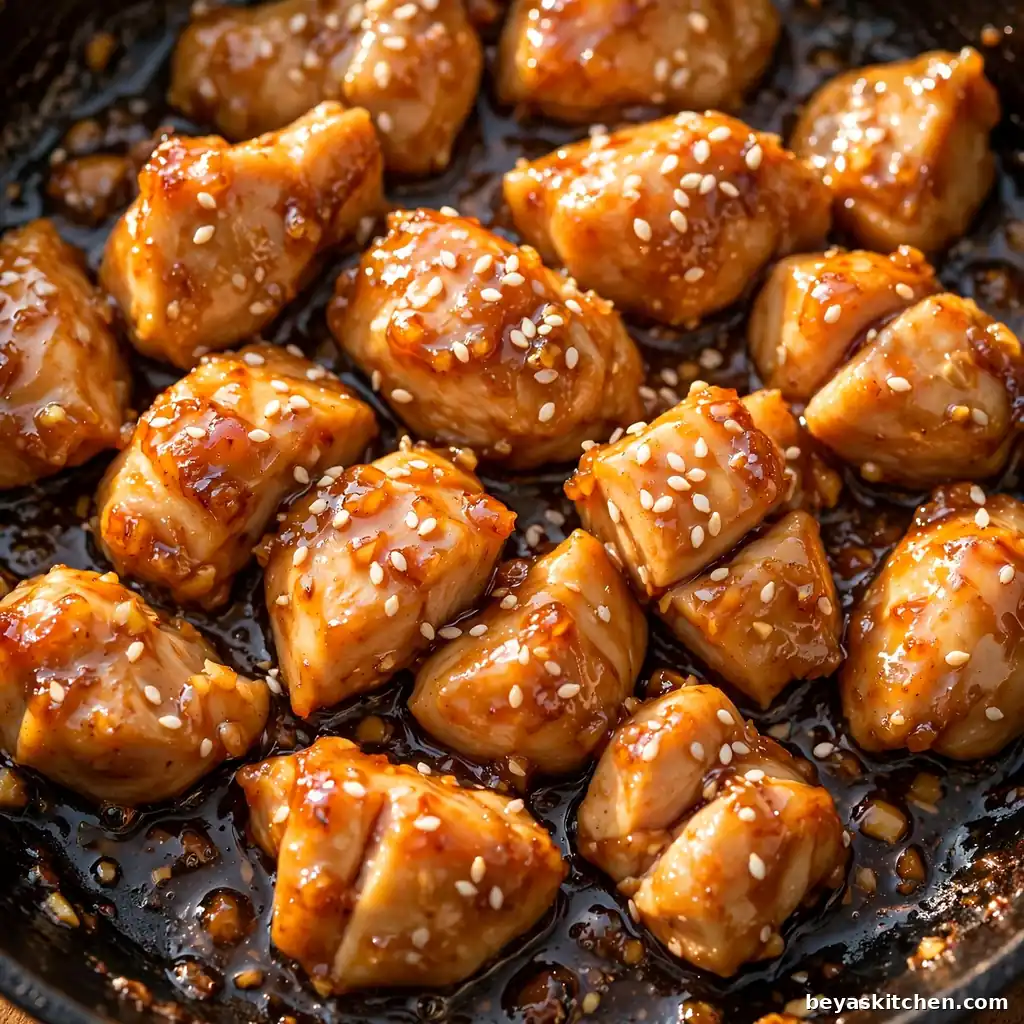
Sticky, shiny, and full of garlic. This honey garlic chicken wraps tender chicken pieces in a sweet, glossy sauce that clings to every bite. The sauce needs just four simple things: honey, soy sauce, fresh garlic, and a small splash of vinegar. No cooking wine, no long list of bottles. One pan, 25 minutes, and dinner tastes like your favorite takeout spot made it fresh at home.
Why You Will Love This Recipe
- The whole dish is on the table in 25 minutes, start to finish.
- The sauce uses four simple pantry items you most likely have right now.
- A thin cornstarch coat gives the chicken crisp, golden edges.
- Chicken thighs stay juicy and tender, even if they sit in the pan a minute too long.
- It all cooks in one pan, so clean up is quick and easy.
- The sweet, sticky sauce is a big hit with kids and adults alike.
Ingredients
For the chicken:
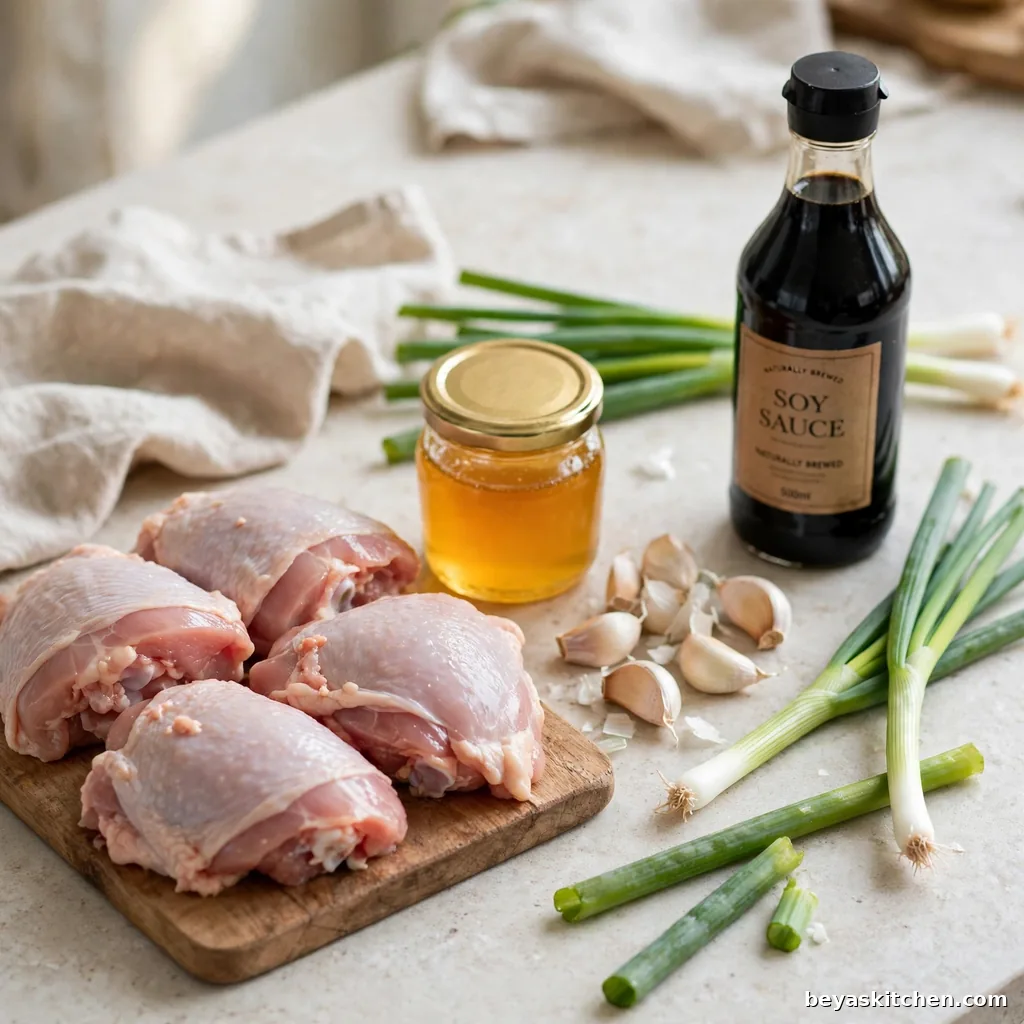
- 1 1/2 pounds boneless, skinless chicken thighs, cut into bite size pieces (chicken breast works too)
- 1/3 cup cornstarch (for the thin, crisp coat)
- 1/2 teaspoon salt
- 1/2 teaspoon black pepper
- 2 tablespoons neutral oil, like avocado oil or sunflower oil
For the sauce:
- 1/3 cup honey
- 1/4 cup low sodium soy sauce
- 5 cloves garlic, minced fine (about 2 tablespoons)
- 1 tablespoon rice vinegar (apple cider vinegar works too)
- 2 tablespoons water
- 1 teaspoon cornstarch (this is what makes the sauce turn glossy)
To finish:
- 1 teaspoon sesame seeds
- 2 green onions, sliced thin
- Cooked white rice, for serving
Allergen and Dietary Disclosure
Contains: Soy (in the soy sauce), Sesame (in the sesame seed topping), Gluten (regular soy sauce contains wheat).
Gluten-Free Option: Use tamari or a gluten free soy sauce in the same amount. The sauce tastes the same and still turns thick and glossy.
Soy-Free Option: Use coconut aminos in place of the soy sauce. It is a little sweeter, so cut the honey down to 1/4 cup.
Sesame-Free Option: Skip the sesame seeds on top. The sliced green onions alone still give color and a fresh bite.
Nut-Free: This recipe has no nuts and no nut oils. Still, always read your sauce labels, as brands can change.
Please check every label on your own bottles and packages before you cook, since brands change their recipes from time to time.
Step-by-Step Instructions
Step 1: Cut and season the chicken. Pat the thigh pieces dry with a paper towel, then cut them into bite size chunks, all about the same size so they cook evenly. Sprinkle the salt and black pepper over the pieces and toss with your hands to coat every side.
Chef’s Note: Dry chicken is the first step to crisp chicken. Water on the surface turns to steam in the pan, and steam blocks browning. Ten seconds with a paper towel makes a real difference here.
Step 2: Coat the chicken. Put the cornstarch in a wide bowl, add the chicken pieces, and toss until each piece wears a thin, even coat. Shake off the extra cornstarch as you lift the pieces out. A thin coat is what you want, not a thick, floury shell.
Step 3: Mix the sauce. Stir the honey, soy sauce, rice vinegar, water, and the teaspoon of cornstarch in a small bowl until smooth and even. Set the bowl and the minced garlic next to the stove, ready to go.
Step 4: Sear the chicken. Heat the oil in a large pan over medium high heat until it shimmers. Lay the chicken in one layer with a little space between the pieces. Cook for 5 to 6 minutes, turning once or twice, until the edges are deep golden and crisp. Cook in two batches if your pan is small, so the pieces brown instead of steaming.
Step 5: Check the temperature. Chicken is safe to eat when the inside of the thickest piece reaches 165 degrees F on a food thermometer. The juices should run clear and there should be no pink left in the middle. Give the pieces one more minute in the pan if you are not sure.
Chef’s Note: Crowding is the enemy of crisp edges. If the pan looks full, cook half the chicken, move it to a plate, then cook the rest. The extra two minutes are worth it.
Step 6: Add the garlic. Turn the heat down to medium low. Push the chicken to the sides of the pan and drop the minced garlic into the middle. Stir it for 30 seconds only, until you can smell it. Garlic burns fast at high heat, and burnt garlic turns bitter, so this step is short and gentle.
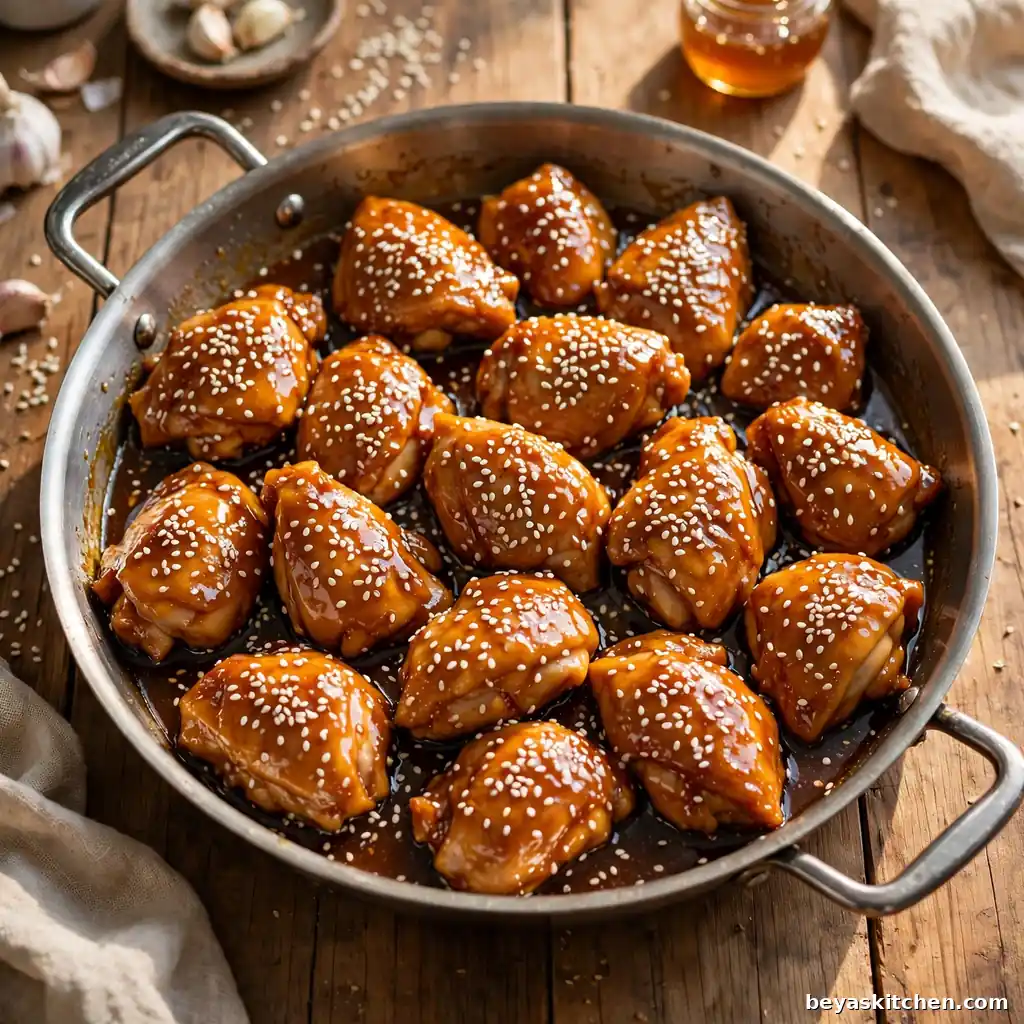
Step 7: Pour in the sauce. Give the sauce one quick stir, then pour it over the chicken. Stir and toss gently for 1 to 2 minutes. The sauce will bubble, thicken, and turn shiny, wrapping every piece in a sticky glaze that coats the back of your spoon.
Chef’s Note: Honey burns faster than sugar, so the sauce goes in on lower heat. Watch for slow, gentle bubbles, not a hard boil. The shine shows up the moment the sauce starts to bubble, and that is your sign it is ready.
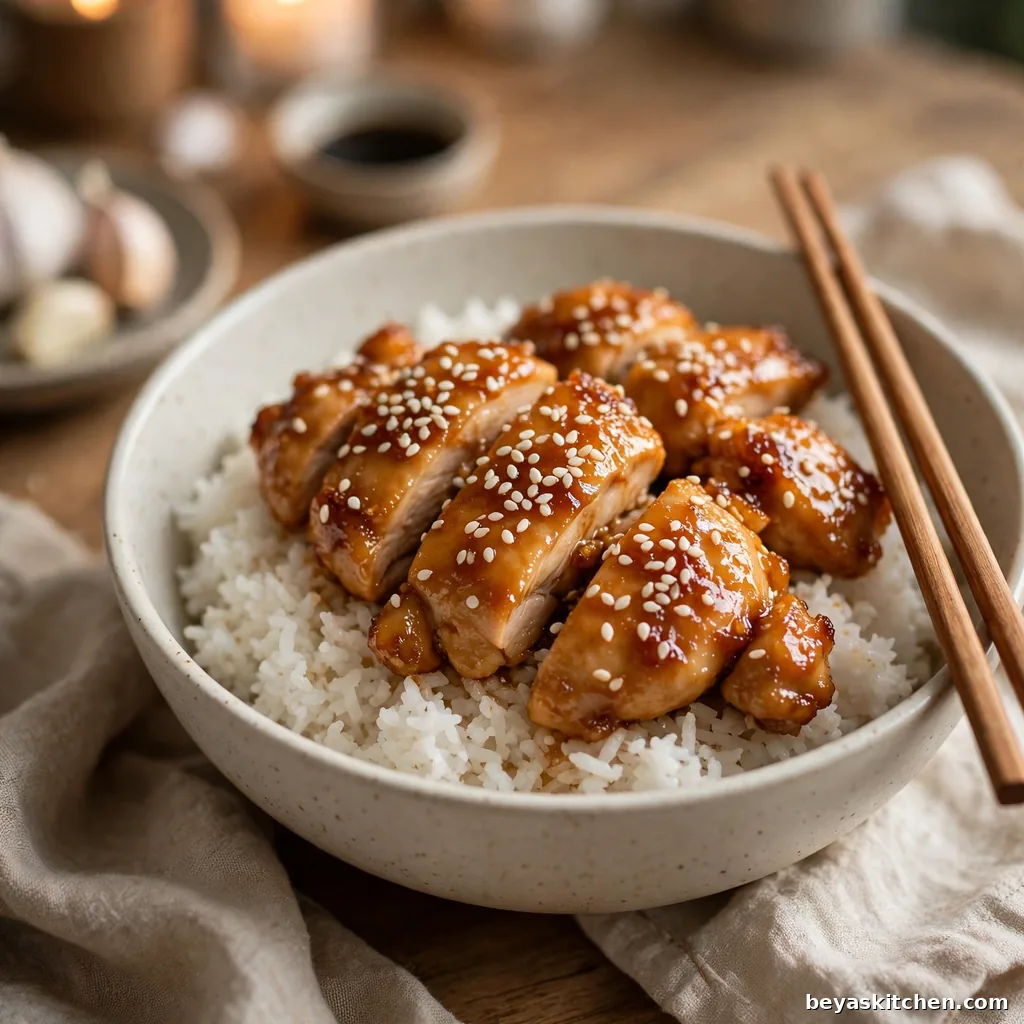
Step 8: Rest and serve. Take the pan off the heat and let the chicken sit for 2 minutes. The sauce clings even better as it cools just a touch. Spoon the chicken over warm rice, then scatter the sesame seeds and green onions on top and serve right away.
Expert Tips and Tricks
- Warm the honey jar in a bowl of warm water for 2 minutes if it pours too slowly. It will slide right out and measure clean.
- Cut the chicken pieces the same size. Small pieces overcook while big ones are still pink inside.
- Stir the sauce mix one more time right before you pour it in. Cornstarch sinks to the bottom of the bowl as it sits.
- Make ahead tip: mix the sauce and cut the chicken up to 1 day early. Keep them in separate boxes in the fridge, and dinner cooks in 15 minutes.
- Storage tip: keep leftovers in a sealed box in the fridge for up to 4 days. The sauce keeps the chicken soft and moist.
- Taste before you add any extra salt. Soy sauce brings plenty, and the honey rounds it out.
- Add the green onions at the very end, off the heat, so they stay bright and fresh.
Honey Burns Fast, So Lower the Heat
Honey is mostly sugar, and sugar goes from golden to burnt in seconds over high heat. This is why the sauce in this recipe goes into the pan only after the heat drops to medium low. If you pour a honey sauce onto a screaming hot pan, the bottom layer scorches before you can stir, and the whole dish picks up a bitter edge. Low heat, gentle bubbles, and one or two calm minutes of stirring give you a sauce that stays sweet, dark, and glossy.
Allergen-Specific Cooking Notes
If you swap in tamari for a gluten free sauce, know that it can look a shade darker than soy sauce. The taste stays the same and it thickens the same way once it bubbles. If you use coconut aminos for a soy free version, the sauce will be sweeter and a little thinner at first. Let it bubble the full 2 minutes so the cornstarch can do its work, and use the smaller amount of honey listed in the swap above.
Storage Instructions
Room Temperature: Not recommended. Do not leave the cooked chicken out for more than 2 hours. Move it to the fridge as soon as it stops steaming.
Refrigerator: Keep leftovers in a sealed box for up to 4 days. Store the rice in its own box so it does not soak up all the sauce.
Freezer: Freeze the chicken and sauce together in a sealed freezer box for up to 2 months. The sauce protects the chicken and keeps it from drying out.
Reheating: Warm leftovers in a pan over medium heat with 1 tablespoon of water for 3 to 4 minutes, until hot and glossy again. The microwave works too: 2 minutes, stir once, then 1 more minute. Cooked chicken should reach 165 degrees F when you reheat it.
Make-Ahead Notes: The sauce keeps for 5 days in a clean jar in the fridge. Raw cut chicken keeps for 1 day, well covered. Coat the chicken with cornstarch right before cooking, never the night before, or the coat turns gummy.
Variations and Substitutions
Spicy Honey Garlic Chicken: Add 1 teaspoon of red pepper flakes or 1 tablespoon of sriracha to the sauce mix. The heat hides behind the sweet honey at first, then builds gently with each bite.
Mild and Kid-Friendly: Cut the garlic down to 3 cloves and skip the pepper flakes. Add 1 extra tablespoon of honey if your kids like the sauce on the sweeter side.
Extra Crispy: Dip the seasoned chicken pieces in 1 beaten egg, then in the cornstarch, so the coat goes on thicker. Fry in batches in a little more oil until deep golden before the sauce goes in.
Loaded With Veggies: Stir fry 2 cups of broccoli florets or bell pepper strips in the empty pan for 3 minutes after the chicken comes out. Add them back with the sauce so they stay bright and a little crisp.
Tofu Swap: Use extra firm tofu in place of the chicken. Press it dry for 15 minutes, cut it into cubes, coat with cornstarch, and brown it well on all sides before the garlic and sauce steps.
What to Serve With This
Steamed White Rice: The classic base. Plain jasmine rice catches every drop of the sticky sauce and balances the sweet and salty in each bite.
Brown Rice: A nutty, chewy base with more fiber. Start it early, since brown rice takes about 40 minutes to cook.
Rice Noodles: Soft noodles turn this into a cozy bowl dinner. Toss the hot noodles with a spoon of the pan sauce so they shine and do not stick.
Steamed Broccoli or Green Beans: A plain green side keeps the plate light and gives a fresh crunch next to the sticky chicken.
Simple Cucumber Salad: Cool cucumber slices with a pinch of salt and a splash of rice vinegar cut through the rich sauce and refresh your mouth between bites.
Make Extra Sauce When Rice Is on the Table
Rice drinks up sauce fast. A bowl that looked generous in the pan can feel dry once it is spooned over a mound of rice. If your family likes things extra saucy, double the sauce amounts and hold back a small bowl of it at the end. Pour the extra warm sauce over each plate at the table. That final spoonful is what makes the dish taste like it came from a good takeout kitchen.
Nutrition Information
| Calories | about 390 |
| Protein | 29 g |
| Carbs | 25 g |
| Fat | 19 g |
| Fiber | 1 g |
| Sugar | 22 g |
| Sodium | 760 mg |
| Serving Size | about 1 cup of chicken with sauce (rice not counted) |
| Servings per Recipe | 4 |
Nutrition values are approximate and calculated per serving using standard ingredient amounts. Values may vary based on brands used and portion sizes.
Follow on Pinterest for new updates at Beyaskitchen
Frequently Asked Questions
1. Can I use chicken breast instead of thighs for honey garlic chicken?
Yes, chicken breast works well — cut it into even pieces and coat it the same way. It dries out sooner than thighs, so pull the pan off the heat the moment the thickest piece reaches 165 degrees F.
2. Why did my sauce stay thin and watery?
The sauce thickens only when it bubbles. Let it bubble gently for 1 more minute, stirring the whole time, and next time pat the chicken very dry and cook in batches so the pan stays hot.
3. Can I make honey garlic chicken ahead of time?
Yes. The sauce keeps for 5 days in a jar in the fridge, the raw chicken can be cut 1 day early, and the cooked dish keeps up to 4 days for an easy lunch.
4. How do I know the chicken is fully cooked and safe to eat?
Use a food thermometer — the inside of the thickest piece must reach 165 degrees F. The meat should look white all the way through, with no pink and clear juices.
5. Why does my garlic taste bitter in this sauce?
Garlic turns bitter when it burns, and it burns fast in a hot, dry pan. Add it after the chicken is cooked and drop the heat to medium low first — 30 seconds of gentle stirring is enough.
Conclusion
Good honey garlic chicken is not about a long list of bottles. It is about dry chicken with a thin crisp coat, a hot pan, garlic that goes in late, and a simple sauce that turns glossy at the end. Once you make it one time, the steps feel easy and weeknight dinner gets a lot calmer. Keep the rice warm, keep the heat low when the honey goes in, and let the sauce do the rest. If you loved this recipe, save it to your weeknight dinner Pinterest board so you can find it easily later.
Get more updates at: beyaskitchen
Honey Garlic Chicken
Ingredients
Method
- Pat the chicken dry, cut it into even bite size pieces, and season with the salt and pepper.
- Toss the chicken in the 1/3 cup cornstarch until every piece has a thin, even coat. Shake off the extra.
- Stir the honey, soy sauce, rice vinegar, water, and 1 teaspoon cornstarch in a small bowl until smooth.
- Heat the oil in a large pan over medium high heat. Cook the chicken in one layer for 5 to 6 minutes, turning once or twice, until golden and crisp at the edges.
- Check that the thickest piece reaches 165 degrees F inside, with clear juices and no pink.
- Lower the heat to medium low. Add the garlic and stir for 30 seconds, until you can smell it.
- Pour in the sauce and toss for 1 to 2 minutes, until it bubbles, thickens, and turns glossy.
- Rest off the heat for 2 minutes, then serve over rice with sesame seeds and green onions on top.