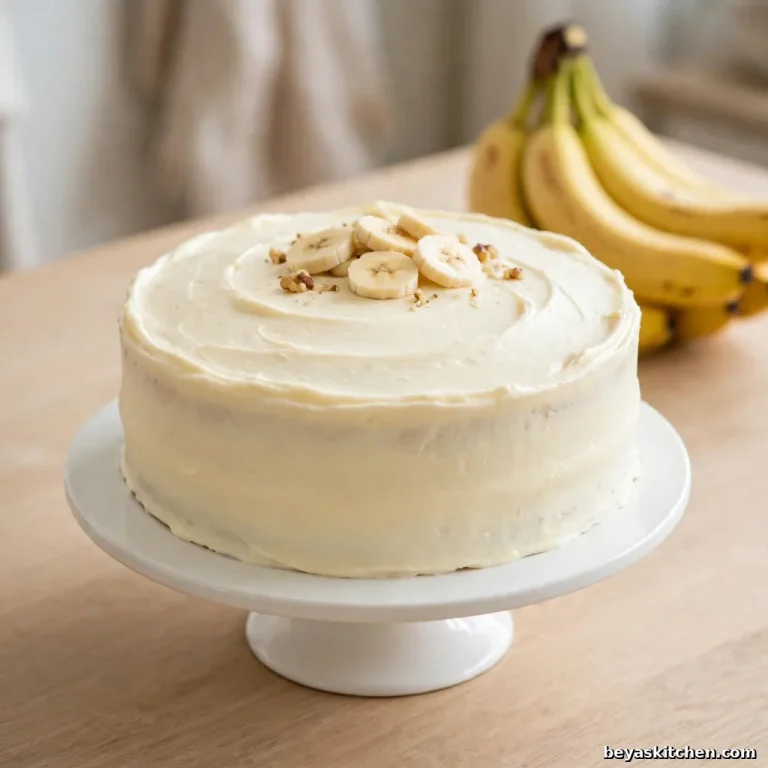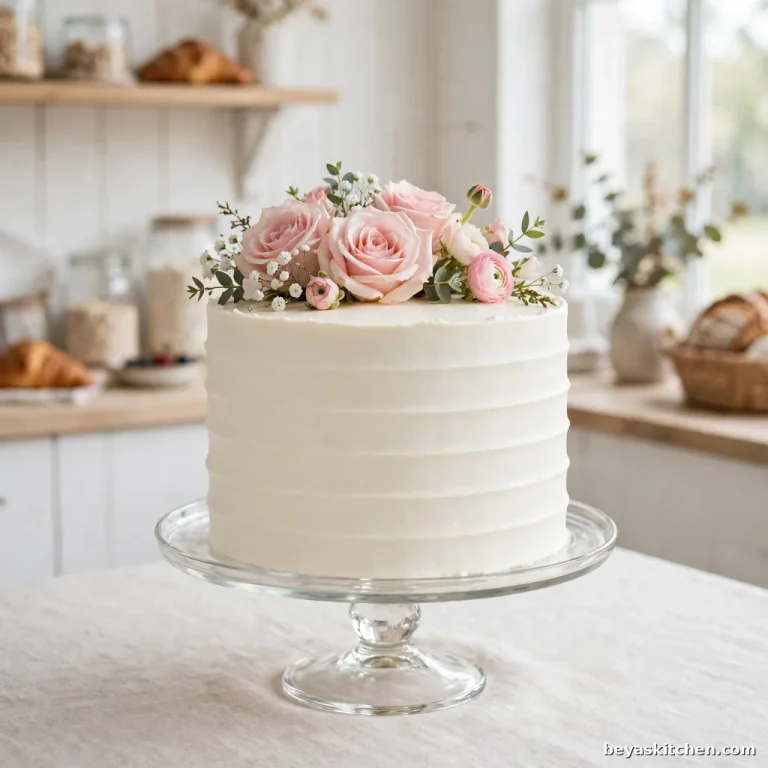
Simple Wedding Cake with White Buttercream
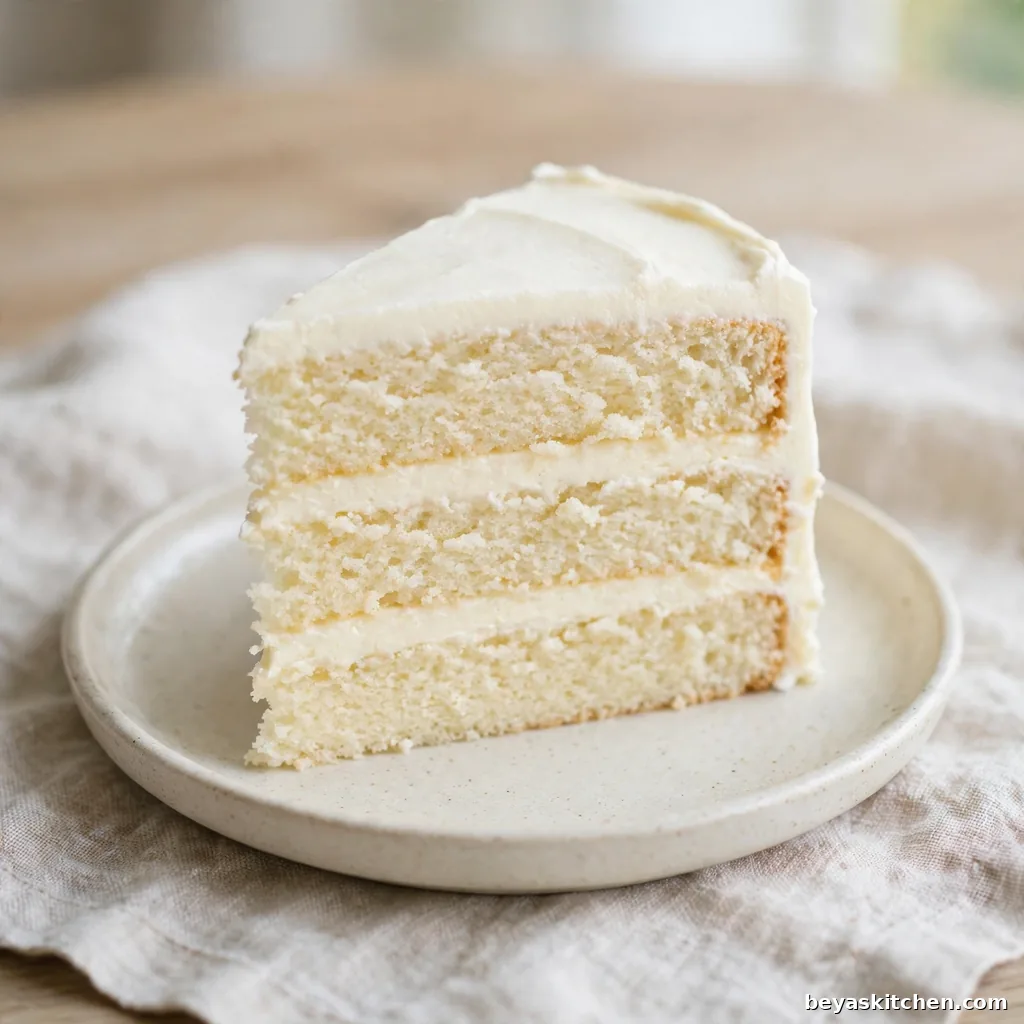
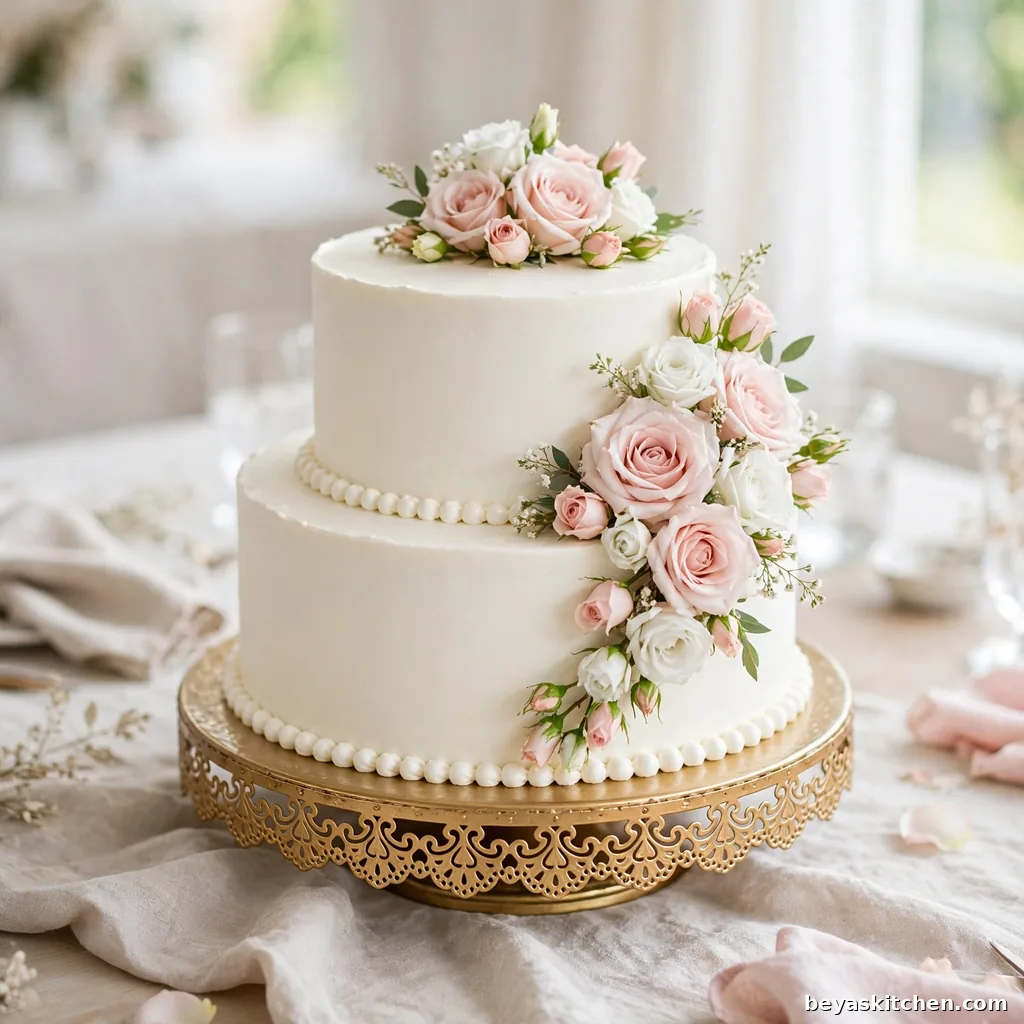
A wedding cake looks grand, but this simple wedding cake is just two plain vanilla cakes stacked with care. You bake a big tier and a small tier, coat them in smooth white buttercream, and set one on top of the other with dowels for support. There is no fondant and no fancy piping. A spoon, a knife, and a calm plan give you a clean white cake that serves about 40 guests.
Why You Will Love This Simple Wedding Cake
- A real wedding look with plain home tools
- Soft vanilla cake under smooth white buttercream
- Two tiers, but each tier bakes like a normal layer cake
- No fondant and no piping, just a spoon and a knife finish
- Bake the layers two days early and stack on the day
Ingredients
For the Bottom Tier Batter (two 9 inch layers):
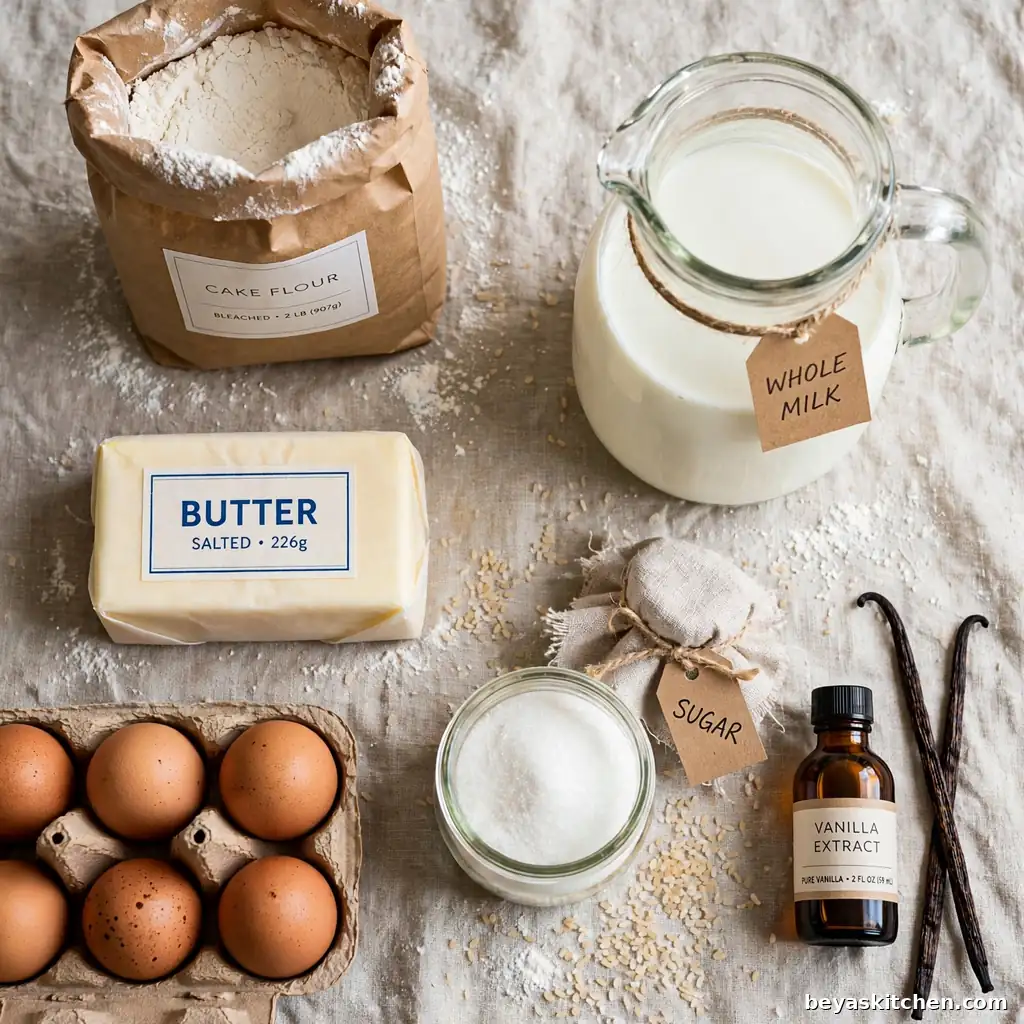
- 3 cups cake flour, King Arthur if you can get it, since its fine crumb gives soft, even layers
- 2 cups granulated sugar
- 1 tablespoon baking powder
- 3/4 teaspoon fine salt
- 3/4 cup unsalted butter, soft at room temperature
- 4 large eggs, at room temperature
- 1 cup whole milk, at room temperature
- 2 teaspoons vanilla extract
For the Top Tier Batter (two 6 inch layers):
- 1 1/2 cups cake flour
- 1 cup granulated sugar
- 1 1/2 teaspoons baking powder
- 1/4 teaspoon fine salt
- 6 tablespoons unsalted butter, soft at room temperature
- 2 large eggs, at room temperature
- 1/2 cup whole milk, at room temperature
- 1 teaspoon vanilla extract
For the Vanilla Buttercream:
- 2 cups unsalted butter, soft at room temperature
- 8 cups powdered sugar, sifted so no lumps stay
- 1/2 cup whole milk, plus a spoon or two more if the cream feels stiff
- 1 tablespoon vanilla extract
- 1/2 teaspoon fine salt
For Building the Cake:
- 1 sturdy cake board, 10 or 12 inches, for the base
- 1 thin cake board, 6 inches, for the top tier
- 4 wooden dowels, food safe, or thick paper straws
- A little extra buttercream from the batch above, used as glue
Chill the Layers Before You Frost
Warm cake crumbs tear and mix into white buttercream, and the coat turns speckled. Cold layers stay firm, the crumbs stay put, and the knife glides. Wrap each cooled layer, chill it for 30 minutes, and your white coat goes on clean and smooth.
Allergen and Dietary Disclosure
Contains: gluten, dairy, and eggs.
Gluten Free Option: swap the cake flour in both batters with a 1 to 1 gluten free baking blend, and let each mixed batter rest for 10 minutes before it goes into the pans.
Dairy Free Option: use a firm plant butter in the batters and the buttercream, and swap the milk for oat milk. The buttercream stays a bit softer, so chill the tiers between coats.
Nut Free: the base recipe is nut free. No nuts are used in the cake, the filling, or the coat.
Egg Free Option: swap each egg with a flax egg, one tablespoon of ground flax seed stirred into three tablespoons of water and rested for 5 minutes. The layers rise a bit less and feel more dense.
Disclaimer: Always confirm ingredients with your specific brand labels, as formulations vary by manufacturer.
Step-by-Step Instructions
Step 1: Heat the oven to 350°F (175°C). Rub soft butter inside two 9 inch round pans and two 6 inch round pans, set a circle of baking paper in the bottom of each, and butter the paper too.
Step 2: Make the bottom tier batter first. Whisk the cake flour, baking powder, and salt in a medium bowl until the mix looks light and even.
Step 3: Beat the soft butter and the granulated sugar in a large bowl until the mix turns pale and fluffy, about 3 minutes. Beat in the eggs one at a time, then stir in the vanilla. The batter holds raw egg, so keep fingers and tasting spoons out of the bowl until the cake is baked.
Chef’s Note: Stop mixing the moment the flour blends in. Extra stirring makes the crumb tough and the layers rise with a dome. A smooth batter with a gentle hand gives flat, soft layers that stack well.
Step 4: Add the dry mix and the milk to the butter bowl in three parts, starting and ending with the dry mix. Stir just until no dry flour shows. The batter should look smooth and thick, and it should fall off the spoon in a slow ribbon.
Step 5: Split the batter evenly between the two 9 inch pans. Bake for 28 to 34 minutes, until the edges pull a little away from the pan and the top springs back under a soft finger press. A toothpick in the center should come out clean.
Step 6: Rest the pans on a rack for 10 minutes, then turn the layers out and let them cool fully. Make the top tier batter the same way with the smaller amounts, split it between the two 6 inch pans, and bake for 22 to 27 minutes with the same doneness signs.
Step 7: Trim any dome off the top of each layer with a long knife so every layer sits flat. Wrap the layers in plastic wrap and chill them for at least 30 minutes, or keep them in the fridge for up to 2 days.
Chef’s Note: Cold cake is the home baker’s best tool. Chilled layers do not crumble into the coat, they sit flat on the board, and the buttercream spreads in clean sweeps instead of dragging.
Step 8: Make the buttercream. Beat the soft butter until it looks pale and smooth. Add the powdered sugar one cup at a time with a splash of the milk, then beat in the vanilla and the salt. Beat for 2 full minutes until the cream looks white, soft, and easy to spread. If your mixer bowl is small, make the batch in two halves.
Step 9: Build the bottom tier on the big board. Set a spoon of buttercream in the center of the board, place the first 9 inch layer on it, and spread about 1 cup of buttercream over the top. Set the second layer on top, flat side up.
Step 10: Spread a thin coat of buttercream over the whole bottom tier, top and sides. This crumb coat traps loose crumbs. Chill the tier for 20 minutes, then add the final coat and smooth it with a knife dipped in warm water and wiped dry.
Step 11: Build the top tier the same way on its thin 6 inch board, with about 1/2 cup of buttercream between its layers. Crumb coat it, chill it for 20 minutes, then give it the same smooth final coat.
Chef’s Note: The dowels carry the weight of the top tier, not the cake below. Skip them, and the top tier slowly sinks into the soft cake under it. Four dowels in a square hold the small tier firm for hours.
Step 12: Push one dowel straight down into the bottom tier inside the spot where the top tier will sit, mark the height of the cake on it, and pull it out. Cut all 4 dowels to that same length and push them into the bottom tier in a square. Spread a spoon of buttercream in the center, lift the top tier on its board with both hands, and set it down in the middle. Smooth a thin line of buttercream around the seam where the tiers meet, and let the cake rest for 30 minutes before you move it.
Expert Tips and Tricks
- Set the eggs, butter, and milk out 30 minutes early. Room temperature items beat smooth and give an even rise.
- Weigh or measure the batter as you split it between the pans. Even layers bake at the same speed and stack flat.
- Test for doneness in the center of each layer. The edges finish first and can fool you.
- Make ahead tip: bake all four layers two days early, wrap them well, and keep them in the fridge. Frost and stack on the morning of the day for the freshest coat.
- Storage tip: keep leftover slices in a sealed box in the fridge for up to 4 days, and let a slice sit out for 30 minutes before you eat it so the buttercream turns soft again.
- A knife dipped in warm water and wiped between sweeps gives the smoothest coat. Cold tools drag and leave lines in the buttercream.
- Buy the boards and the dowels when you buy the flour. A cake half built with no board under the top tier is a hard fix.
Allergen-Specific Cooking Notes
Gluten free batter feels a bit more loose, so spread it with a wet spoon and give the baked layers a full hour of chill before you trim them. Plant butter makes a softer buttercream, so keep the mixed cream in the fridge for 15 minutes before the final coat, and chill the finished tiers for 10 extra minutes before you stack them.
Storage Instructions
Room Temperature: The stacked cake keeps up to 8 hours in a cool room, away from sun and heat. The unfrosted layers keep 1 day on the counter, wrapped tight.
Refrigerator: Wrapped layers keep up to 2 days. The frosted cake keeps up to 4 days; set the whole cake in a tall box so the coat does not get marked.
Freezer: Unfrosted layers keep up to 1 month. Wrap each layer in plastic wrap, then in foil, and thaw it in the fridge overnight, still wrapped.
Reheating: No reheating is needed. Let the cake or a slice rest at room temperature for 30 minutes so the crumb turns soft and the buttercream loses its chill.
Make-Ahead Notes: The buttercream keeps 1 week in the fridge in a sealed box; beat it again for 1 minute before you use it. Bake the layers ahead, but frost and stack on the day for the cleanest white coat.
A Hot Knife Cuts Clean Wedding Slices
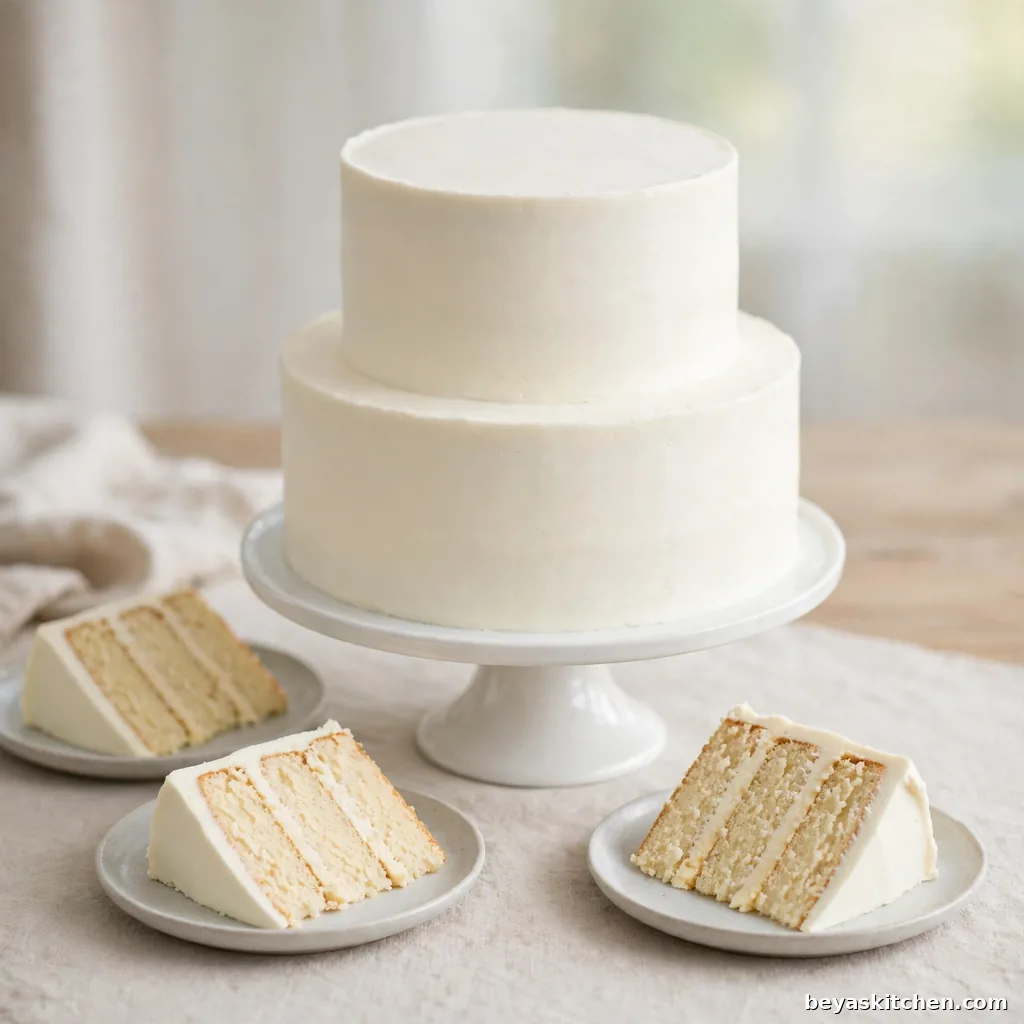
Run a long knife under hot water, wipe it dry, and make one firm cut. Wipe and warm the knife again before the next cut. Each slice comes out neat, with the soft layers and the white coat in clean lines, just like a bakery cut.
Variations and Substitutions
Lemon Wedding Cake: Rub the zest of 2 lemons into the sugar for the bottom tier batter, and the zest of 1 lemon into the sugar for the top tier. The crumb stays white and soft, with a fresh lemon note in each bite.
Almond Wedding Cake: Swap 1 teaspoon of the vanilla in the bottom tier batter for 1 teaspoon of almond extract, and half a teaspoon in the top tier batter. The taste turns warm and sweet, like a classic bakery wedding cake.
Berry Filling: Spread 1/2 cup of seedless raspberry jam in a thin layer over the buttercream between the bottom tier layers, and 1/4 cup between the top tier layers. Keep the jam an inch from the edge so it does not slip.
Chocolate Top Tier: In the top tier batter, swap 1/4 cup of the cake flour for 1/4 cup of cocoa powder. The small dark tier on top of the white base looks smart and gives guests a choice.
Gluten Free Wedding Cake: Use a 1 to 1 gluten free baking blend in both batters. Rest each batter for 10 minutes before it goes into the pans, and chill the baked layers well before you trim and stack them.
What to Serve With This
Fresh Berries: A plain bowl of strawberries and blueberries adds color to the table and a fresh bite next to the sweet cake.
Sparkling White Grape Juice: A chilled glass feels like a party toast and suits every guest at the table.
Hot Coffee or Tea: A warm cup balances the sweet buttercream and is the classic end to a wedding meal.
Vanilla Ice Cream: One small scoop next to a slice turns the plate into a full dessert for guests who want more.
Nutrition Information
| Calories per Serving | approximately 320 |
| Protein | 4 g |
| Carbs | 48 g |
| Fat | 13 g |
| Fiber | 1 g |
| Sugar | 38 g |
| Sodium | 210 mg |
| Serving Size | 1 wedding slice, about 1 by 2 inches |
| Servings per Recipe | 40 |
Wedding slices are cut thin on purpose, so one slice stays lighter than a big party square of the same cake. Most of the sugar and fat sit in the buttercream coat, so a thin slice with fresh berries gives the full taste for less.
Disclaimer: Nutrition values are approximate and calculated per serving using standard ingredient amounts. Values may vary based on brands used and portion sizes.
Follow on Pinterest for new updates at Beyaskitchen
Frequently Asked Questions
1. How many people does a two tier wedding cake feed?
This cake cuts into about 40 thin wedding slices from the 9 inch and 6 inch tiers. If you cut big party squares instead, plan on about 28 to 30 servings.
2. Can I bake the layers ahead of time?
Yes, bake the layers up to 2 days early, wrap them well, and keep them in the fridge. You can also freeze them for up to 1 month and thaw them in the fridge overnight.
3. Do I really need dowels to stack a two tier cake?
Yes, the 4 dowels carry the weight of the top tier so it does not sink into the soft cake below. Cut them level with the bottom tier, and the small tier sits firm for hours.
4. Can I use all purpose flour instead of cake flour?
Yes, take out 2 tablespoons of flour per cup and stir in 2 tablespoons of cornstarch. The layers bake a touch more firm than cake flour layers, but the cake still tastes soft and fine.
5. How do I move the finished cake without a mess?
Chill the stacked cake for 30 minutes so the buttercream firms up, then set the board in a flat box. Carry it on a flat car seat or the car floor, never on a tilted lap.
Conclusion
A simple wedding cake is not a hard cake. It is two plain layer cakes, a bowl of white buttercream, four dowels, and a slow hand. Bake the layers ahead, keep them cold, and stack with care on the day. The clean white top needs nothing more. Bake this simple wedding cake for your big day, and cut it with pride. If you loved this recipe, save it to your wedding cakes Pinterest board so you can find it easily later!
Get more updates at: beyaskitchen
Simple Wedding Cake with White Buttercream
Ingredients
Method
- Heat the oven to 350°F (175°C). Butter two 9 inch round pans and two 6 inch round pans, line the bottoms with baking paper, and butter the paper.
- Whisk the cake flour, baking powder, and salt for the bottom tier batter in a medium bowl.
- Beat the soft butter and granulated sugar until pale and fluffy, about 3 minutes. Beat in the eggs one at a time, then the vanilla.
- Add the dry mix and the milk in three parts, starting and ending with the dry mix. Stir just until no dry flour shows.
- Split the batter between the two 9 inch pans. Bake 28 to 34 minutes, until the edges pull away, the top springs back, and a toothpick in the center comes out clean.
- Rest the pans 10 minutes, turn the layers out, and cool fully. Make the top tier batter the same way with the smaller amounts, split it between the two 6 inch pans, and bake 22 to 27 minutes with the same doneness signs.
- Trim any dome off each layer with a long knife. Wrap the layers and chill for at least 30 minutes.
- Make the buttercream. Beat the soft butter until pale and smooth, add the powdered sugar one cup at a time with a splash of the milk, then beat in the vanilla and the salt. Beat 2 full minutes until white, soft, and easy to spread.
- Build the bottom tier on the big board. Glue the first 9 inch layer down with a spoon of buttercream, spread about 1 cup of buttercream on top, and set the second layer on, flat side up.
- Spread a thin crumb coat over the whole tier and chill 20 minutes. Add the final coat and smooth it with a knife dipped in warm water and wiped dry.
- Build the top tier the same way on its thin 6 inch board, with about 1/2 cup of buttercream between its layers. Crumb coat, chill 20 minutes, then add the smooth final coat.
- Mark one dowel to the height of the bottom tier, cut all 4 dowels to that length, and push them into the bottom tier in a square inside the top tier spot. Spread a spoon of buttercream in the center, set the top tier in the middle with both hands, smooth the seam, and rest the cake 30 minutes before you move it.