The Best Chocolate Cake: Rich, Soft, and Easy to Make
A good chocolate cake should taste like real chocolate in every bite, not like sweet brown bread. This one does. The crumb stays soft for days, the layers stack up tall, and the frosting spreads like a dream. You mix the batter in one big bowl, pour it into two round pans, and let the oven do the rest. The secret is a cup of hot coffee in the batter. It makes the chocolate taste deeper, and the cake will not taste like coffee at all.
Why You Will Love This Recipe
- The crumb is soft and moist, even on day three, because oil keeps it tender longer than butter alone.
- You only need one bowl for the batter, so clean up takes about five minutes.
- Hot coffee wakes up the cocoa, so the chocolate flavor tastes rich and deep in every slice.
- The layers bake flat and even, which makes stacking and frosting simple for beginners.
- The frosting uses cocoa powder, not melted chocolate, so it is fast, cheap, and hard to mess up.
- It works for birthdays, weekend baking, or any day when your family asks for cake.
Ingredients
For the Cake
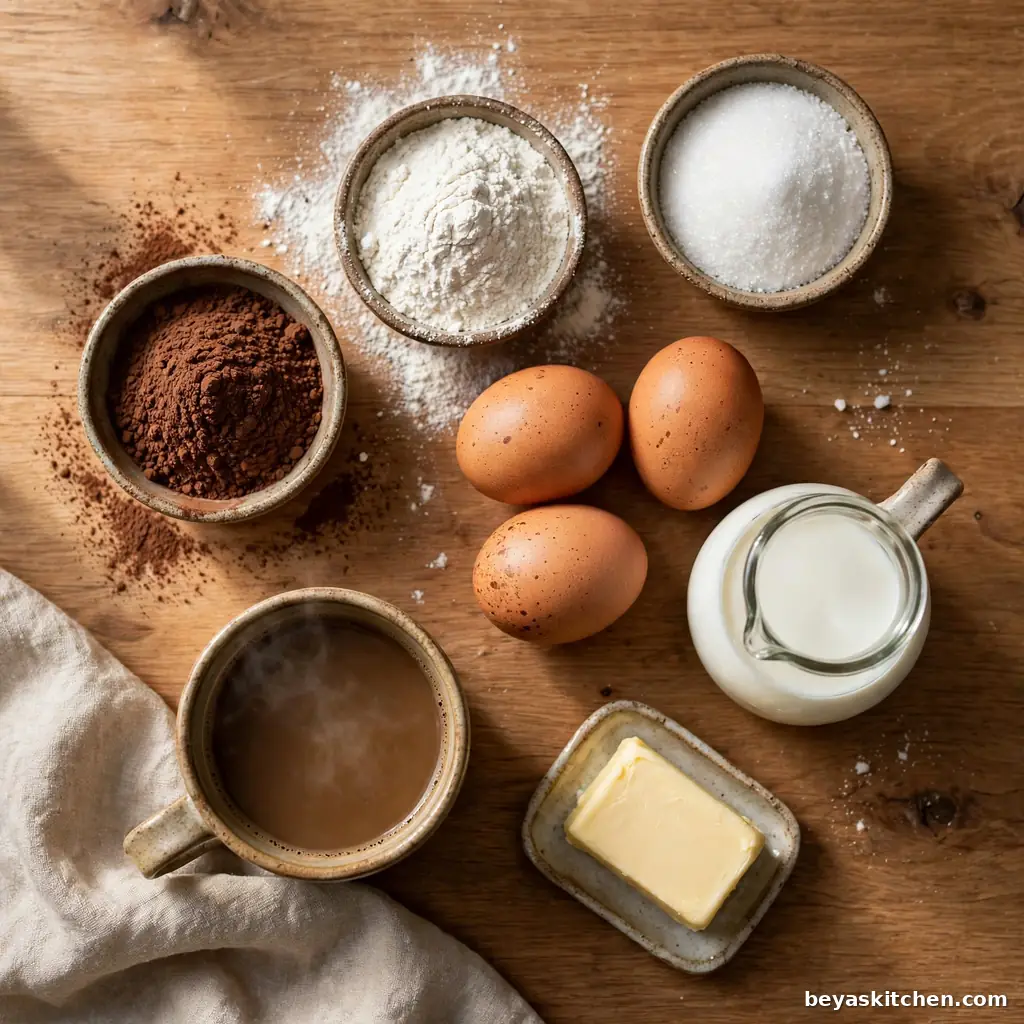
- 2 cups granulated sugar (400 g)
- 1 and 3/4 cups all purpose flour (220 g). King Arthur flour gives a steady, even crumb, but any good brand works.
- 3/4 cup unsweetened cocoa powder (75 g), natural or Dutch process, both work here
- 2 teaspoons baking soda
- 1 teaspoon baking powder
- 1 teaspoon fine salt
- 2 large eggs, at room temperature so they mix in smooth
- 1 cup whole milk (240 ml), or buttermilk for a light tang
- 1/2 cup vegetable oil (120 ml), or any plain oil with no strong taste
- 2 teaspoons pure vanilla extract
- 1 cup hot coffee (240 ml), or hot water if you keep no coffee at home
For the Frosting
- 1 cup unsalted butter (226 g), soft at room temperature
- 3 and 1/2 cups powdered sugar (420 g), sifted so the frosting stays smooth
- 3/4 cup unsweetened cocoa powder (75 g)
- 1/3 cup heavy cream (80 ml), plus a little more if the frosting feels stiff
- 1 teaspoon pure vanilla extract
- 1/4 teaspoon fine salt, to balance the sweet taste
Allergen and Dietary Disclosure
Contains: Wheat (gluten), milk, and eggs.
Gluten-Free Option: Use a good gluten free flour blend made for baking, cup for cup. The cake stays soft, but the crumb will be a bit more delicate, so cool the layers fully before you move them.
Dairy-Free Option: Use oat milk in the cake, a plant based butter stick in the frosting, and coconut cream in place of heavy cream.
Nut-Free: This recipe uses no nuts. Still, check your cocoa and flour labels, because some brands pack them near nuts.
Egg-Free Option: Stir 1 tablespoon of ground flax with 3 tablespoons of water for each egg, rest it 10 minutes, then use it the same way.
Disclaimer: Always confirm ingredients with your specific brand labels, as formulations vary by manufacturer.
Step-by-Step Instructions
Step 1: Heat your oven to 350°F (175°C). Grease two 9 inch round cake pans, line the bottoms with parchment paper, and grease the paper too. The layers will slide out clean with no torn edges.
Step 2: Put the flour, sugar, cocoa powder, baking soda, baking powder, and salt in a large bowl. Whisk for about 30 seconds until the color looks even. No cocoa streaks should be left.
Step 3: Add the eggs, milk, oil, and vanilla to the bowl. Beat with a mixer on medium speed for 2 full minutes. The batter will turn thick, smooth, and glossy.
Chef’s Note: Beating for the full 2 minutes builds tiny air pockets in the batter. Those pockets help the layers rise tall and soft instead of flat and dense.
Step 4: Pour the hot coffee in slowly and stir until it mixes in. The batter will turn thin, almost like soup. That thin batter is exactly right, so do not add more flour.
Chef’s Note: Hot liquid blooms the cocoa, which means it pulls out more chocolate flavor and color. Coffee makes chocolate taste more like chocolate, and no coffee taste stays in the baked cake.
Step 5: Split the batter evenly between the two pans. Tap each pan once on the counter to pop any big air bubbles. The tops should look level before they go in.
Step 6: Bake for 30 to 35 minutes. The cake is done when a toothpick pushed into the center comes out clean or with a few soft crumbs, and the top springs back when you press it with one finger.
Step 7: Cool the layers in the pans for 10 minutes. Run a thin knife around the edges, turn the layers out onto a rack, and let them cool fully, about 30 minutes. Warm layers melt frosting, so do not rush this part.
Step 8: Make the frosting. Beat the soft butter for 1 minute until creamy. Add the cocoa powder and powdered sugar in turns with the cream, then add the vanilla and salt. Beat on high for 2 minutes until the frosting looks light and fluffy.
Chef’s Note: If the frosting feels too thick, add cream one spoon at a time. If it feels too soft, add 2 spoons of powdered sugar. Small fixes keep the texture right where you want it.
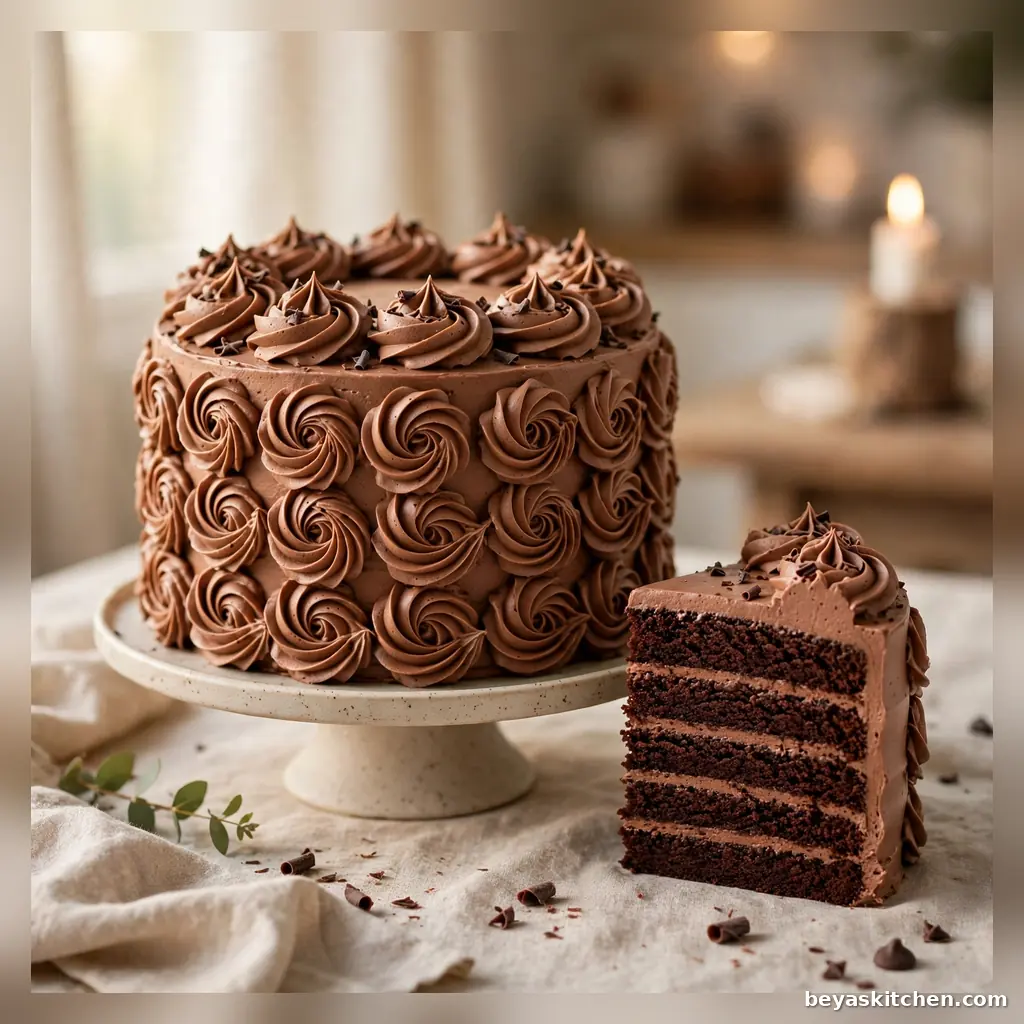
Step 9: Put one layer on a plate, spread about 1 cup of frosting on top, and set the second layer over it. Cover the top and sides with the rest of the frosting. Smooth it with a knife, or leave soft swirls for a home style look.
The Slice Test That Never Lies
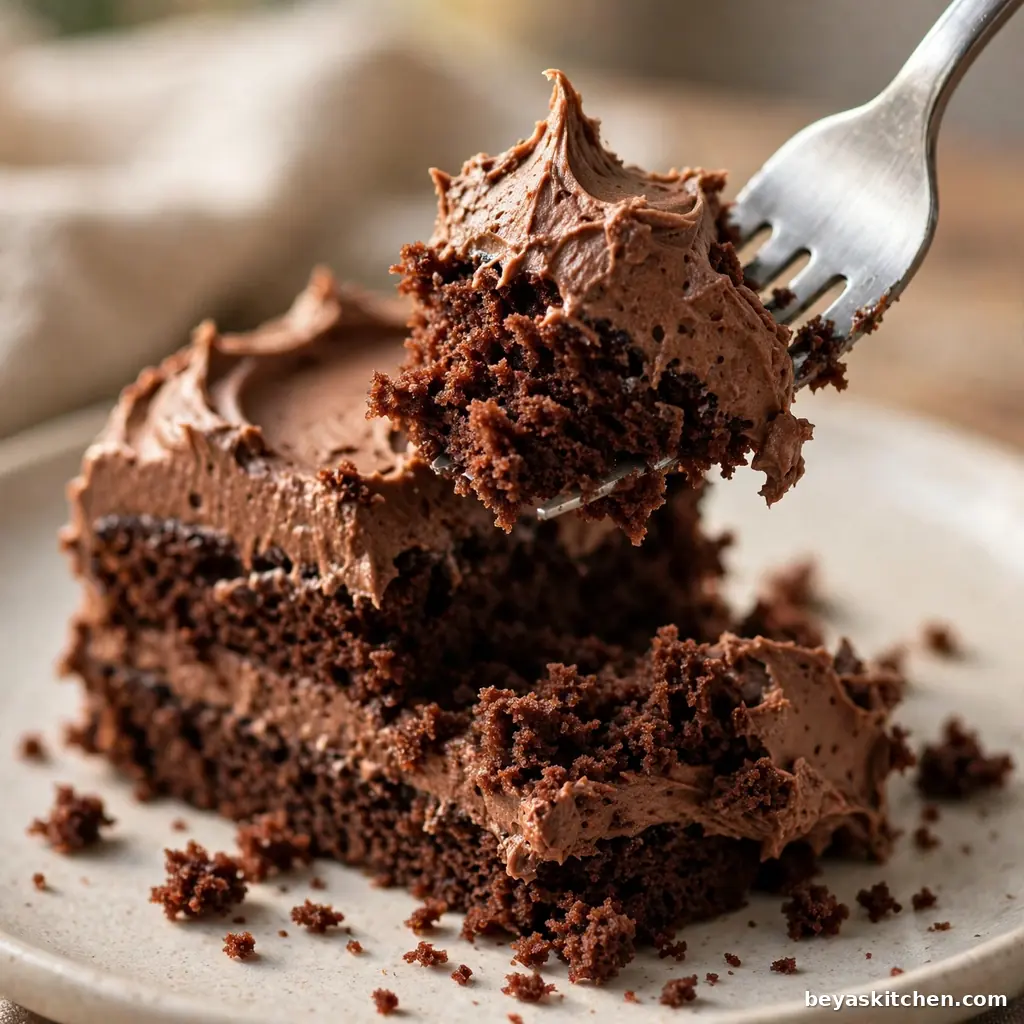
Cut the first slice with a long knife that you ran under hot water and wiped dry. A warm, clean blade glides through the frosting and gives you neat slices with sharp layers, the kind that look great on the plate and in photos.
Expert Tips and Tricks
- Sift the cocoa powder if it looks lumpy. Cocoa lumps do not break down in batter, and they leave bitter dry spots in the baked crumb.
- Use eggs and milk at room temperature. Cold ingredients fight the batter and can make the layers bake uneven.
- Weigh the pans if you want even layers. Equal batter in both pans means both layers finish baking at the same time.
- Do not open the oven door in the first 25 minutes. A rush of cool air can make a rising cake sink in the center.
- Bake the layers a day ahead if you like. Cold layers are firmer, easier to level, and simpler to frost with fewer crumbs.
- Store the finished cake under a cover. A bare cake in the fridge dries out fast and picks up other food smells.
- Put a thin crumb coat on first if you want a clean finish. Spread a light layer of frosting, chill the cake for 20 minutes, then add the rest. The first coat traps loose crumbs so the final coat stays smooth.
- Slice with a long thin knife, not a short one. Long strokes cut clean layers and keep the frosting from dragging through the crumb.
Flat Tops Without Any Fancy Tools
Wrap wet strips of an old clean towel around the outside of each pan before baking. The wet cloth keeps the edges cooler, so the center and the edges rise at the same speed. You get flat layers that stack straight with no dome to cut off.
Storage Instructions
Room Temperature: Keep the frosted cake covered on the counter for up to 2 days, away from heat and direct sun.
Refrigerator: Store slices in a sealed box for up to 5 days. Let a slice sit out for 20 minutes before you eat it, so the frosting turns soft again.
Freezer: Wrap single slices tight in plastic wrap, then in foil, and freeze for up to 3 months. Whole unfrosted layers freeze well for up to 3 months too.
Reheating: This cake tastes best at room temperature, so no reheating is needed. If you love warm cake, heat one slice in the microwave for 10 to 15 seconds.
Make-Ahead Notes: Bake and cool the layers up to 2 days ahead, wrap them well, and keep them in the fridge. Make the frosting 1 day ahead, chill it, then beat it again for 1 minute before you use it.
Variations and Substitutions
Dark and Deep: Use Dutch process cocoa in the cake and in the frosting. The color turns near black and the flavor tastes smooth and bold.
Kid-Friendly Party Cake: Add a handful of rainbow sprinkles on top of the frosting, and bake the batter in two pans lined with fun paper liners for easy serving. The taste stays the same, but the look turns pure party.
Mocha Touch: Add 1 teaspoon of instant coffee granules to the frosting. Grown ups taste a soft coffee note that makes the chocolate pop.
One Pan Sheet Cake: Pour all the batter into one greased 9 by 13 inch pan and bake for 35 to 40 minutes. Frost it right in the pan for the easiest party cake ever.
Gluten-Free Cake: Use the gluten free flour blend from the allergen section and add 5 extra minutes of rest time before you slice. The layers hold together best when fully cool.
What to Serve With This
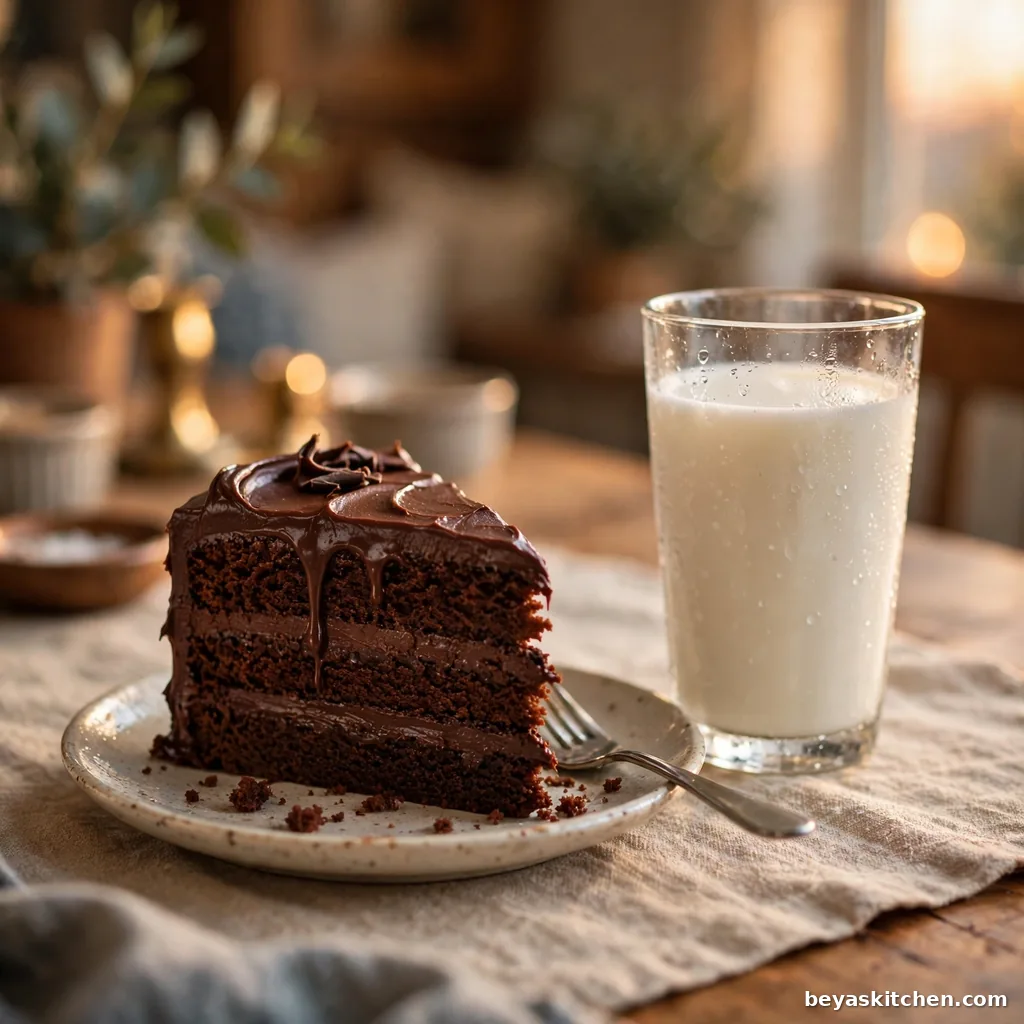
Cold Milk: A tall glass of cold milk cuts the rich sweet taste and keeps each bite tasting fresh. It is the classic partner for a reason.
Vanilla Ice Cream: One scoop next to a warm slice melts into the crumb like a sauce. Sweet, cold, and creamy against the deep chocolate.
Fresh Berries: Strawberries or raspberries add a bright, tart bite that lights up the whole plate. They also make the cake look dressed up with zero work.
Hot Tea or Coffee: A warm drink keeps the rich flavor from feeling heavy, and it turns a plain slice into a slow, calm break.
Whipped Cream: A soft spoonful on top adds air and light cream flavor for guests who find buttercream a bit too sweet.
Salted Caramel Sauce: A warm spoon of caramel over each slice adds a sweet and salty edge that loves dark chocolate. Keep the pour light so the cake stays the star.
Nutrition Information
| Calories per Serving | 610 (approximate) |
| Protein | 6 g |
| Carbs | 88 g |
| Fat | 29 g |
| Fiber | 5 g |
| Sugar | 70 g |
| Sodium | 430 mg |
| Serving Size | 1 slice |
| Servings per Recipe | 12 |
This cake is a treat, and the numbers show it. Most of the calories come from sugar, butter, and oil, the three things that make the crumb taste rich and stay soft. You do get a little protein from the eggs and milk, plus real fiber from the cocoa. For a lighter plate, cut thinner slices and serve the cake with fresh berries instead of ice cream.
Disclaimer: Nutrition values are approximate and calculated per serving using standard ingredient amounts. Values may vary based on brands used and portion sizes.
Follow on Pinterest for new updates at Beyaskitchen
Frequently Asked Questions
1. Why did my chocolate cake sink in the middle?
Most cakes sink because the oven door opened too soon or the cake came out before the center set. Keep the door shut for the first 25 minutes, and test with a toothpick before you take the pans out. Too much baking soda can also make a cake rise fast and then fall. Measure it with a level spoon, not a heaped one, and your layers will stay tall.
2. Can I make this chocolate cake ahead of time?
Yes, and it often tastes better the next day, because the chocolate flavor deepens as the cake rests. Bake the layers up to 2 days early, wrap them well, and keep them in the fridge. Frost the cake the day you serve it, or frost it fully and chill it overnight. Just let it sit on the counter for about 30 minutes before serving so the crumb and frosting soften.
3. What can I use instead of coffee in this cake?
Hot water works fine and gives you the same thin batter and the same moist crumb. The cake will taste a little less deep, but it will still taste like good homemade chocolate cake. You can also use hot milk for a softer flavor. What matters most is that the liquid is hot, because the heat blooms the cocoa and pulls out its full flavor.
4. How do I know when chocolate cake is done baking?
Use three signs together. The top should spring back when you press it gently with one finger. The edges should just start to pull away from the pan. And a toothpick in the center should come out clean or with a few soft crumbs, never wet batter. Start checking at 30 minutes. Dark pans bake faster than light pans, so your cake may finish a few minutes early.
5. Can I bake this batter as cupcakes instead?
Yes, this batter makes about 24 cupcakes. Fill the liners only two thirds full, because the batter rises a lot. Bake at the same oven heat for 18 to 22 minutes, and test with a toothpick the same way. Cupcakes cool much faster than layers, so you can frost them about 30 minutes after they leave the oven. They freeze well for up to 3 months.
Conclusion
A tall, dark, honest chocolate cake does not need hard steps or rare ingredients. It needs good cocoa, hot coffee, and a cook who trusts the thin batter. Bake this one once and you will know the moves by heart: one bowl, two pans, a soft cloud of frosting. It also forgives small mistakes, which makes it a kind first cake for new bakers and a steady favorite for old hands. Slice it thick, share it with your favorite people, and watch it vanish. If you loved this recipe, save it to your chocolate cake Pinterest board so you can find it easily later!
Get more updates at: beyaskitchen
The Best Chocolate Cake
Ingredients
Method
- Heat the oven to 350°F (175°C). Grease two 9 inch round pans and line the bottoms with parchment paper.
- Whisk the flour, sugar, cocoa powder, baking soda, baking powder, and salt in a large bowl until even.
- Add the eggs, milk, oil, and vanilla. Beat on medium speed for 2 minutes until thick and glossy.
- Stir in the hot coffee slowly. The batter will be thin, and that is right.
- Split the batter between the pans and tap each pan once on the counter.
- Bake for 30 to 35 minutes, until a toothpick in the center comes out clean or with a few soft crumbs.
- Cool in the pans for 10 minutes, then turn out onto a rack and cool fully, about 30 minutes.
- Beat the butter for 1 minute. Add the cocoa and powdered sugar in turns with the cream, then the vanilla and salt. Beat on high for 2 minutes until fluffy.
- Frost the first layer with about 1 cup of frosting, add the second layer, and cover the top and sides with the rest.