15 Easy Cake Decorating Ideas for Home Bakers
A simple cake tastes great, but it can look a little sad on the table. The good news is that cake decorating does not need fancy tools or years of practice. Most of the pretty cakes you see online use one or two simple tricks. This list gives you 15 easy ideas that real home bakers can do in a normal kitchen. Some take five minutes. Some take a slow, fun afternoon. Every idea uses simple tools and clear steps. Pick one idea for your next cake and start there. Small wins build real skill fast.
Why These Ideas Work for Home Bakers
- Every idea uses tools most home kitchens already own, like a spoon, a knife, and a zip bag.
- Each idea has one clear trick, so you learn one skill at a time.
- Most ideas forgive small mistakes, and some even hide them on purpose.
- All the ideas work on box mix cakes and homemade cakes the same way.
- You can mix two ideas on one cake when you feel ready, like a drip plus fresh fruit.
Easy Cake Decorating Ideas with Buttercream
1. Simple Swoops and Swirls
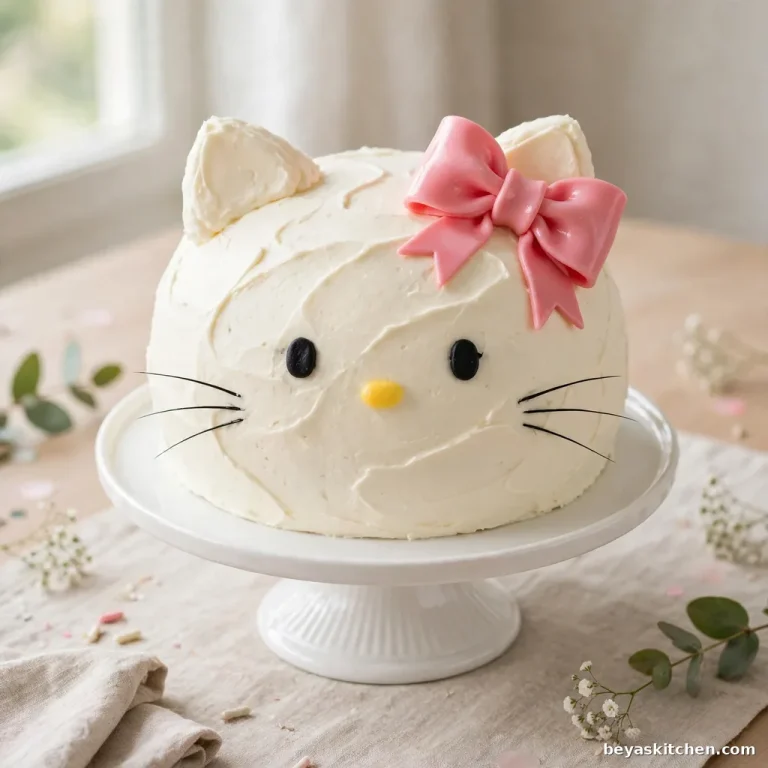
Spread frosting on thick, then use the back of a spoon to make soft swoops all over the cake. Push the spoon in, lift, and turn a little. Repeat until the whole cake has gentle waves. This style hides uneven frosting because the waves are the design. It takes about five minutes and looks soft and pretty in photos.
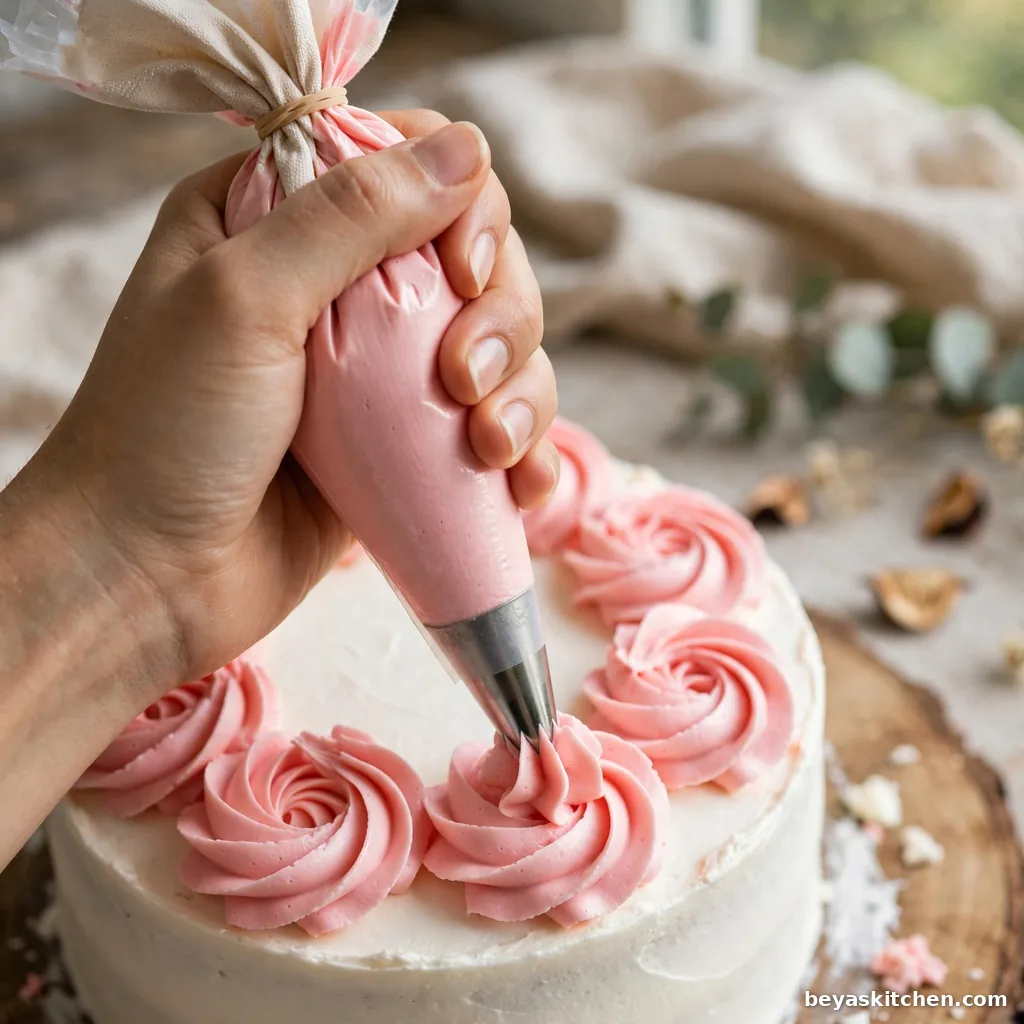
2. Rosettes All Over
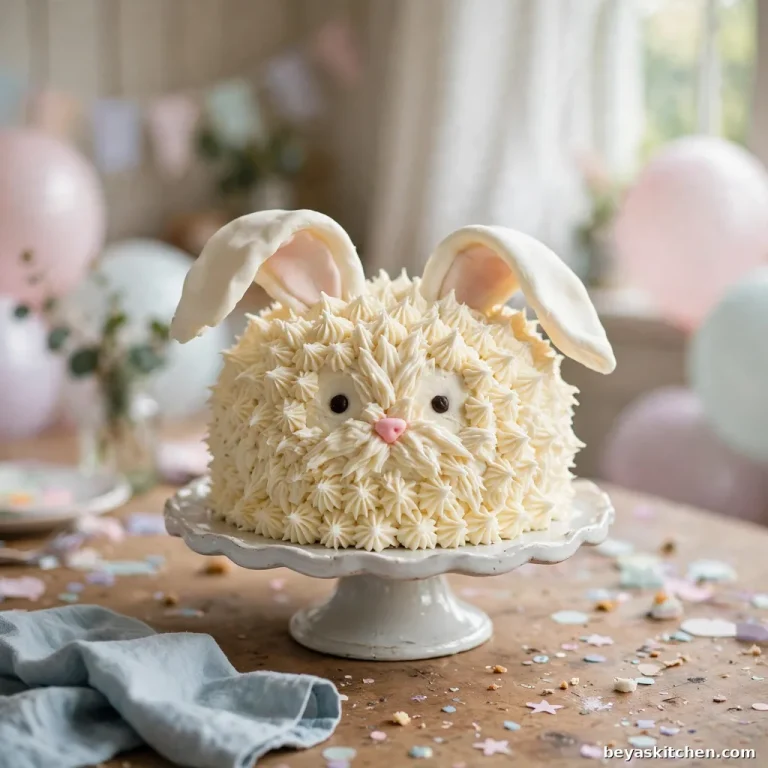
Fit a piping bag with a large star tip and fill it with buttercream. Hold the bag straight up, squeeze, and make a small spiral circle, like soft serve ice cream. Stop squeezing and pull away fast. Cover the top of the cake with rosettes, then do the sides if you like. Wilton 1M is the classic tip for this look, and it makes anyone look skilled on the first try.
3. The Rustic Spatula Look
Put on a thick coat of frosting, then drag a small offset spatula around the sides in short strokes. Leave the marks. This rough, homemade style is very forgiving and very popular. A warm spatula helps: dip it in hot water, wipe it dry, then smooth one spot at a time. The heat melts the frosting just a little and gives a clean finish.
4. Two Tone Ombre Sides
Divide your buttercream into three bowls. Tint one dark, one medium, and leave one light. Pipe or spread rings of color around the cake, dark at the bottom and light at the top. Then smooth the sides with a spatula while you turn the cake. The colors blend into a soft fade. It looks fancy, but it is only three bowls and one smooth pass.
5. Naked Cake Style
A naked cake has almost no frosting on the sides. Spread a very thin coat and scrape most of it off with a spatula or a bench scraper. The cake layers peek through, which looks natural and pretty. Add a dusting of powdered sugar and a few berries on top. This is the fastest full cake style on this list, and it hides nothing because there is little to hide.
The Crumb Coat Saves Every Cake
If your frosting always ends up full of crumbs, the crumb coat is your fix. Spread a thin layer of frosting over the whole cake first. It will look messy and that is fine. Chill the cake for 20 minutes until the coat feels firm. Then add the real coat of frosting on top. The crumbs stay trapped under the first layer, and the top layer stays clean and smooth.
Fun Cake Decorating Ideas with Toppings
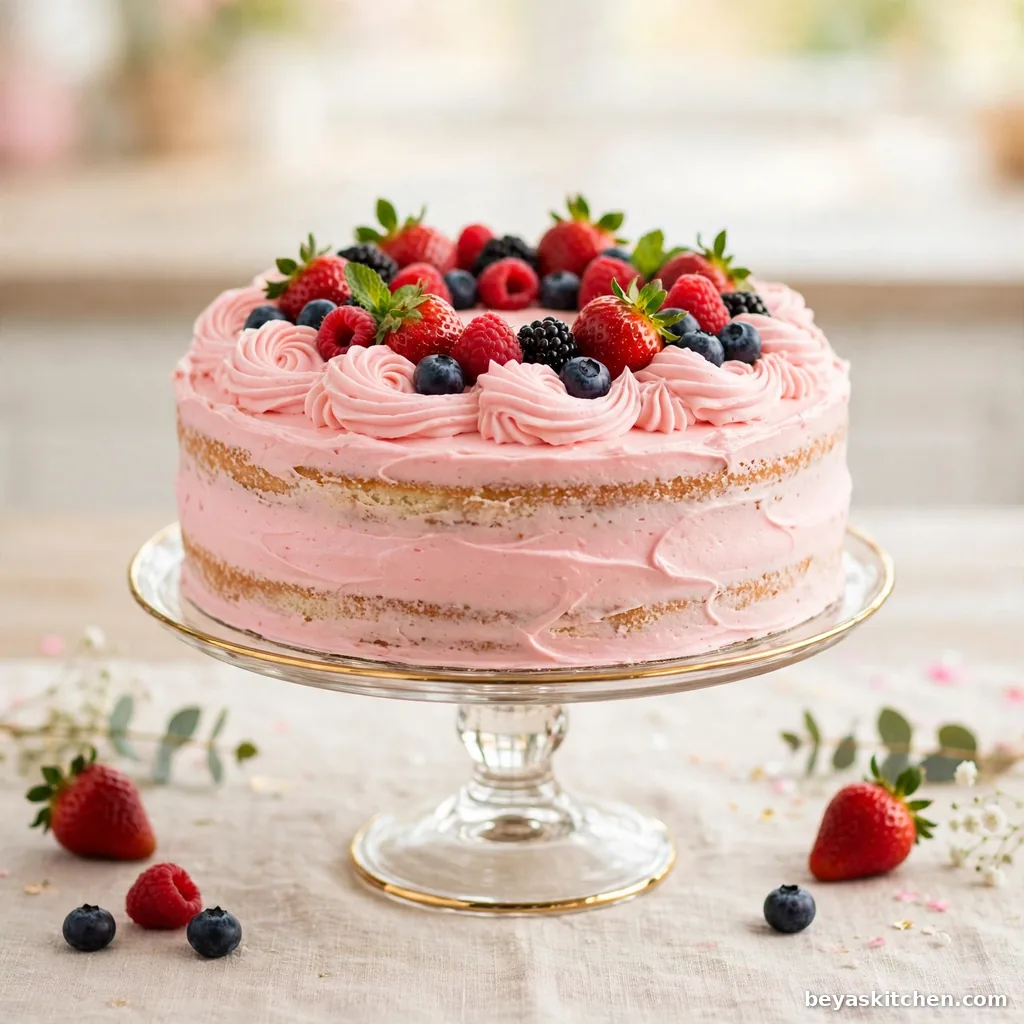
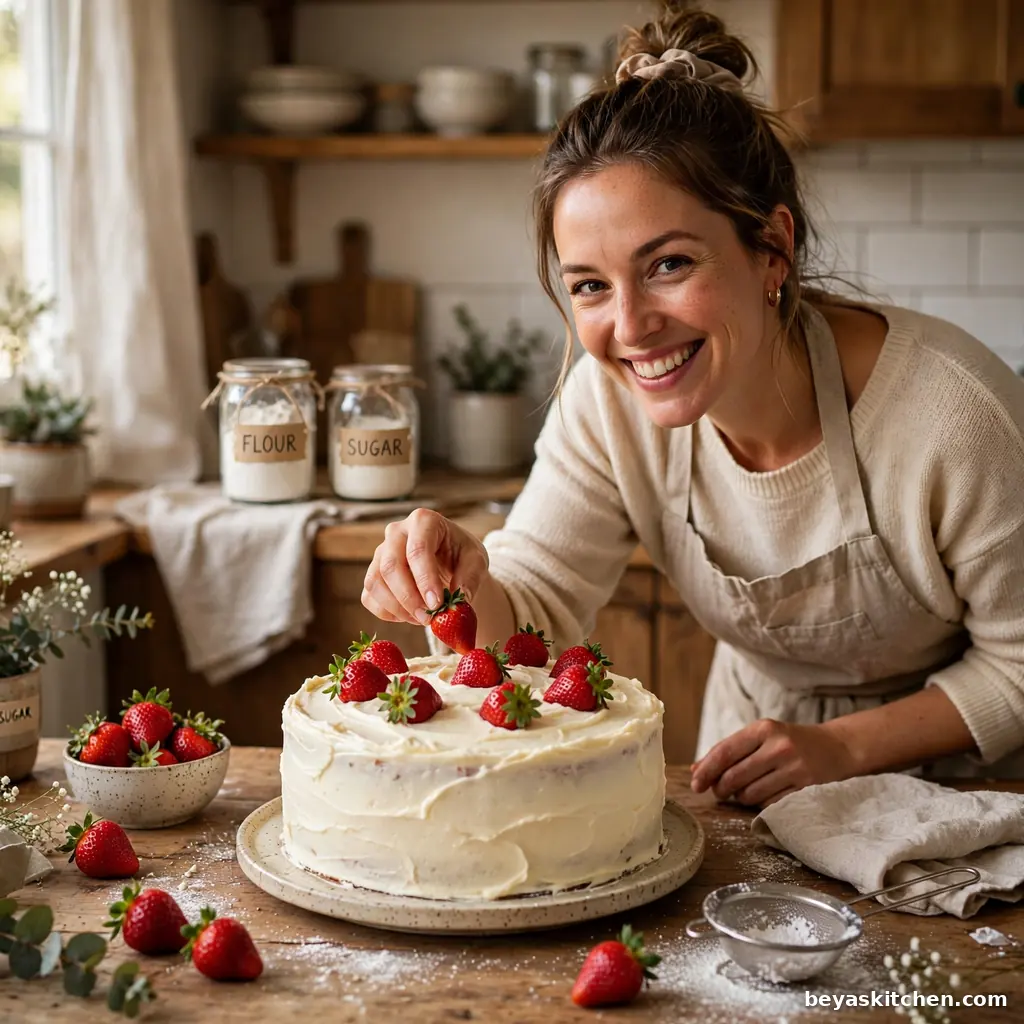
6. Fresh Fruit Crown
Wash and dry berries, kiwi slices, or orange pieces very well. Wet fruit slides, so pat it dry with a paper towel. Pile the fruit in a ring on top of the cake or in a half moon on one side. A tiny bit of frosting under each piece acts like glue. Add fruit right before serving so it stays bright and fresh.
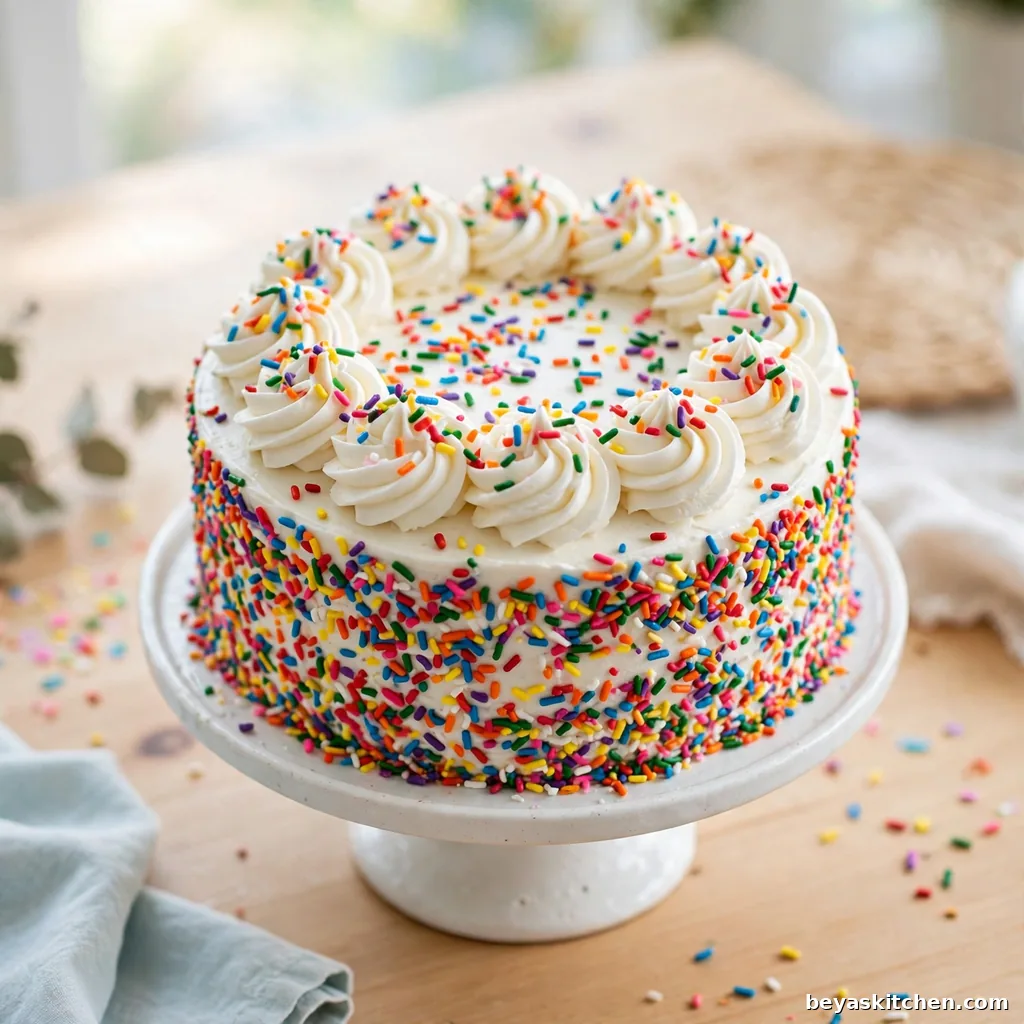
7. Sprinkle Sides
Hold the chilled cake over a tray. Grab a handful of sprinkles and press them gently into the lower half of the sides. Turn the cake and keep going until the ring is full. The tray catches the extras, so cleanup is easy. Rainbow sprinkles suit birthdays, and gold sprinkles suit a grown up party. This trick also hides a rough bottom edge.
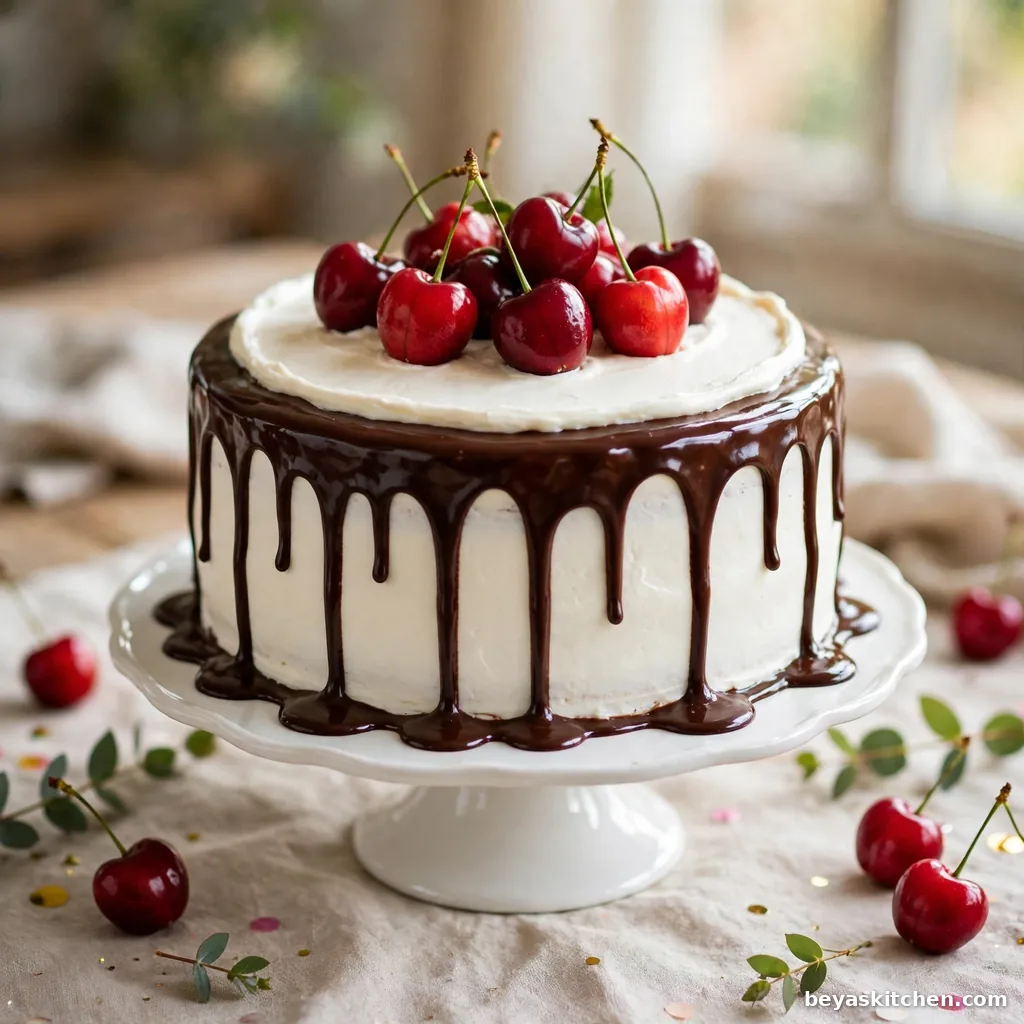
8. Chocolate Drip
Make a simple ganache with equal parts warm cream and chopped chocolate. Let it cool until it feels like thick honey. Spoon it near the edge of a cold cake and nudge it over so it drips down the side. Work slowly, one drip at a time. Cold cake sets the drip fast, so the drips stop where you want them. A squeeze bottle gives you even more control.
9. Cookie and Candy Toppings
Crush sandwich cookies and scatter the crumbs on top like soil. Or stand whole cookies up in the frosting around the edge. Chocolate pieces, candy, and wafer sticks all work the same way. Kids love this style, and it takes under ten minutes. Press toppings in gently so they stay put when you slice the cake.
10. Flower Power
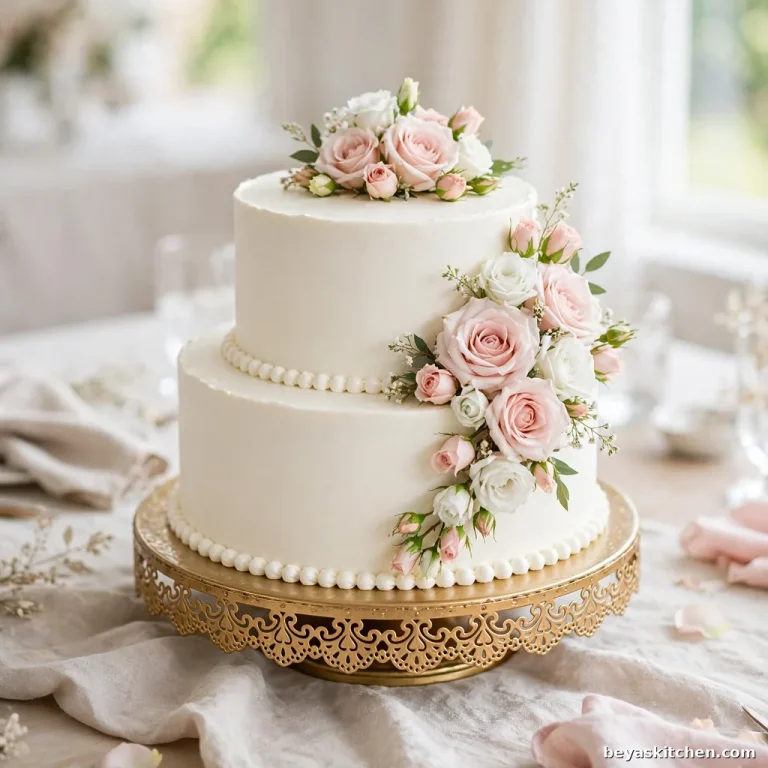
Fresh flowers make a plain cake look like a bakery cake. Use safe, clean flowers like roses, pansies, or violets, and wash them gently first. Wrap each stem in a small piece of foil or a straw so the stem does not touch the cake. Push the wrapped stems in at an angle. A few green leaves finish the look. Remove all flowers before you serve and slice the cake.
Simple Cake Decorating Ideas with No Piping Bag
11. Fork and Knife Patterns
Run the tines of a fork through soft frosting in straight lines or soft waves. Or drag a butter knife in a zigzag across the top. These marks look planned and neat, and they cost nothing. This trick works best on soft frostings like whipped cream or cream cheese frosting. Chill the cake for 15 minutes after, and the pattern sets in place.
12. Stencil and Cocoa Dust
Lay a paper doily or a cut paper shape on top of an unfrosted or lightly frosted cake. Dust cocoa powder or powdered sugar over it with a small sieve. Lift the paper straight up, slowly. A pretty pattern stays behind. This works on chocolate cake with white sugar, or on white cake with cocoa. It takes two minutes and needs zero skill.
13. Zip Bag Piping
No piping bag at home? A zip top bag works. Fill one corner with frosting, push the air out, and snip a tiny bit off the corner. A small hole makes lines and dots. A bigger hole makes blobs and simple stars. Practice on a plate first for one minute. Your hand learns the pressure fast, and dots in a ring look clean and modern.
14. Writing with Melted Chocolate
Melt a small handful of chocolate chips and let the chocolate cool for two minutes. Spoon it into a zip bag and snip the tiniest hole you can. Write names or draw hearts on parchment paper first. Chill the shapes for 10 minutes, peel them off, and place them on the cake. If your writing breaks, the cake still gets cute chocolate hearts. Writing straight on the cake works too once your hand feels steady.
15. Marble Frosting
Drop two or three colors of frosting in random blobs all over the cake. Then smooth the top and sides with a warm spatula in just a few passes. The colors swirl into a marble look. Stop early: too many passes turn the colors muddy. Two colors give the cleanest result, like white with pink or chocolate with cream. Every marble cake comes out one of a kind.
Simple Tools That Make Decorating Easier
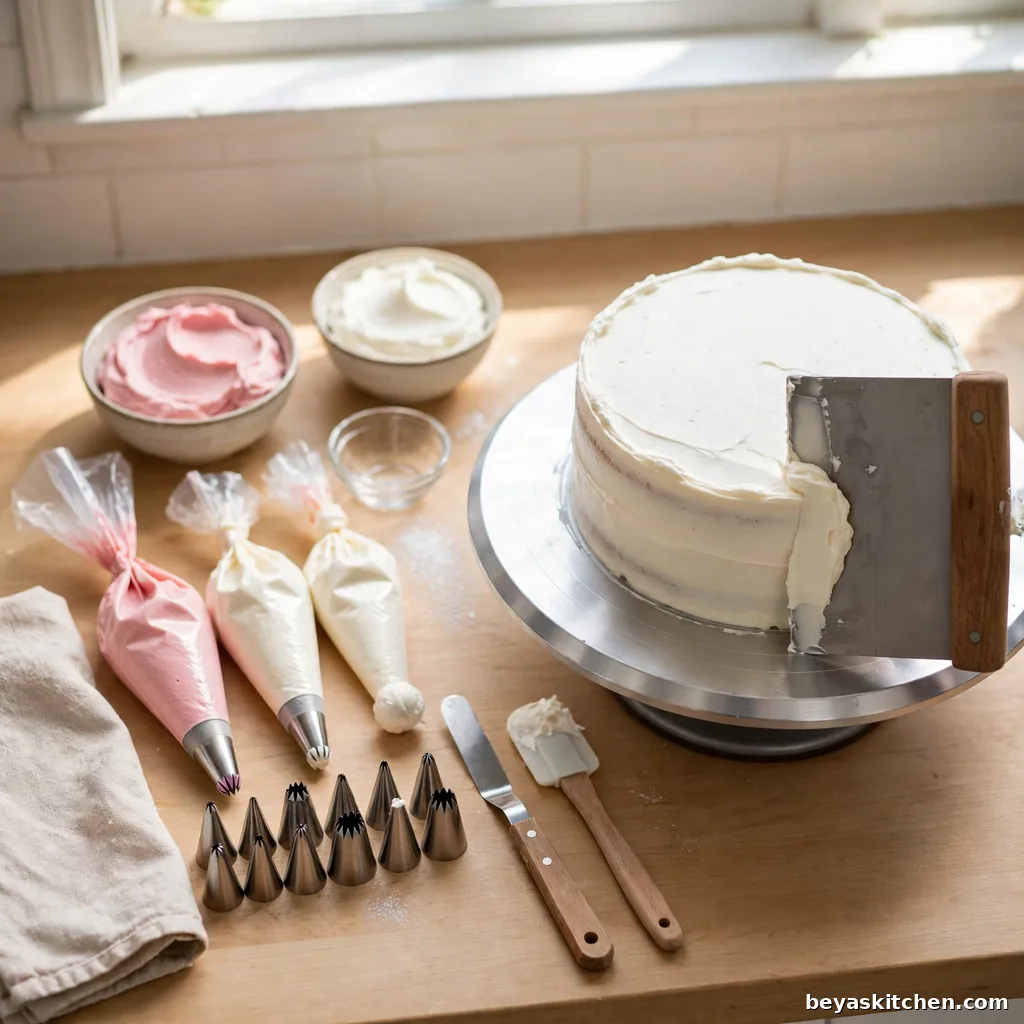
You can start with a spoon and a zip bag, but a few cheap tools help a lot. An offset spatula spreads frosting without your fingers getting in the way. A bench scraper gives straight, smooth sides. One large star tip and one round tip cover most piping looks. Gel food colors work better than liquid colors because they do not thin the frosting. Buy tools one at a time, only when an idea needs them.
Allergen Quick Reference
Most frostings and toppings on this list are simple, but check these points before you serve a cake to guests.
- Buttercream: Contains dairy from butter and milk. Swap to a dairy free butter stick for a dairy free version.
- Cream cheese frosting: Contains dairy. It is also softer, so chill the cake well before serving.
- Ganache: Contains dairy from cream and sometimes soy in the chocolate. Read the chocolate label first.
- Store bought sprinkles and candy: May contain soy or traces of nuts. Check the label every time.
- Fresh fruit and flowers: Naturally free of the main allergens. Wash both well before use.
Disclaimer: Always verify individual ingredient labels as formulations vary by manufacturer.
How to Store a Decorated Cake
- Room Temperature: A buttercream cake with no fresh fruit or cream filling keeps well for 2 days in a covered cake box, away from heat and sun.
- Refrigerator: Cakes with fresh fruit, whipped cream, or cream cheese frosting go in the fridge and keep for 3 to 4 days.
- Freezer: Freeze an unfrosted cake wrapped tight in two layers for up to 3 months. Decorate after thawing for the best look.
- Serving Tip: Cold buttercream tastes firm and less sweet. Let a fridge cake sit out for 30 minutes before serving so the frosting turns soft again.
- Leftover Slices: Wrap single slices in plastic wrap and keep them in the fridge for up to 4 days.
Follow on Pinterest for new updates at Beyaskitchen
Frequently Asked Questions
1. How can a beginner start cake decorating with no tools?
Start with a spoon, a butter knife, and a zip top bag. Swoops with the back of a spoon need no tools at all, and a zip bag with the corner snipped works like a piping bag for dots and lines.
2. Why does my buttercream look rough and full of air bubbles?
Stir the finished buttercream slowly by hand with a spatula for one full minute to push out the big air bubbles. Also check your butter: it should be soft but still cool, never melted or greasy.
3. Can I decorate a cake the day before a party?
Yes, and many bakers like it better that way. A frosted buttercream cake keeps well in the fridge overnight; just add fresh fruit and flowers the next morning so they look bright.
4. How do I fix a mistake in my frosting?
Most mistakes are easy to fix while the frosting is soft: a rough spot just needs a small dab of frosting and one smooth pass with a warm spatula. If the whole side looks bad, chill the cake for 20 minutes, then scrape the frosting off and start that side again.
Conclusion
Cake decorating is a skill that grows one cake at a time. Start with swoops or sprinkles, then try a drip or rosettes when you feel brave. Keep your cake cold, your spatula warm, and your ideas simple. A crumb coat and a slow turn do more for your cake than any fancy tool. Your next cake does not need to be perfect. It needs to be yours, made with care and a little fun. If these ideas helped you, save this list to your cake board so you can come back to it whenever a plain cake needs a glow up.
Get more updates at: beyaskitchen