Easy Sourdough Bread Recipe for Beginners
This sourdough bread recipe is made for your very first loaf. You need only four things: flour, water, salt, and a bubbly starter. There is no store yeast in this bread at all. The steps are slow, but each one is short and easy. You mix, you fold a few times, and time does the hard work. At the end, you get a golden crust and a soft, chewy inside.
Why You Will Love This Recipe
- You need just four simple things from your kitchen, and nothing costs much money
- The hands-on work is only about 30 minutes, and the dough does the rest while it rests
- The crust bakes up crisp and deep golden in a hot dutch oven
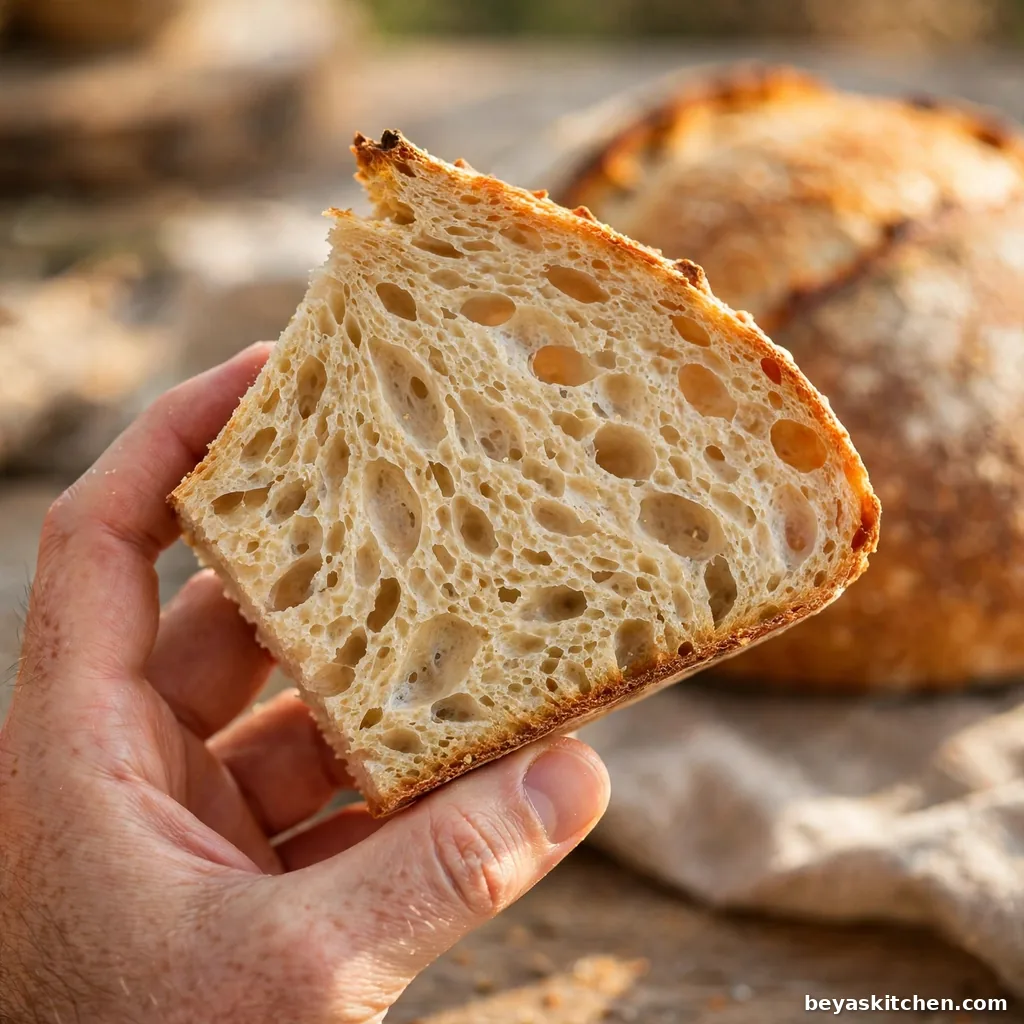
- The inside stays soft and chewy, with nice big and small holes
- The plan fits a normal day, with a morning mix and an afternoon bake
Ingredients
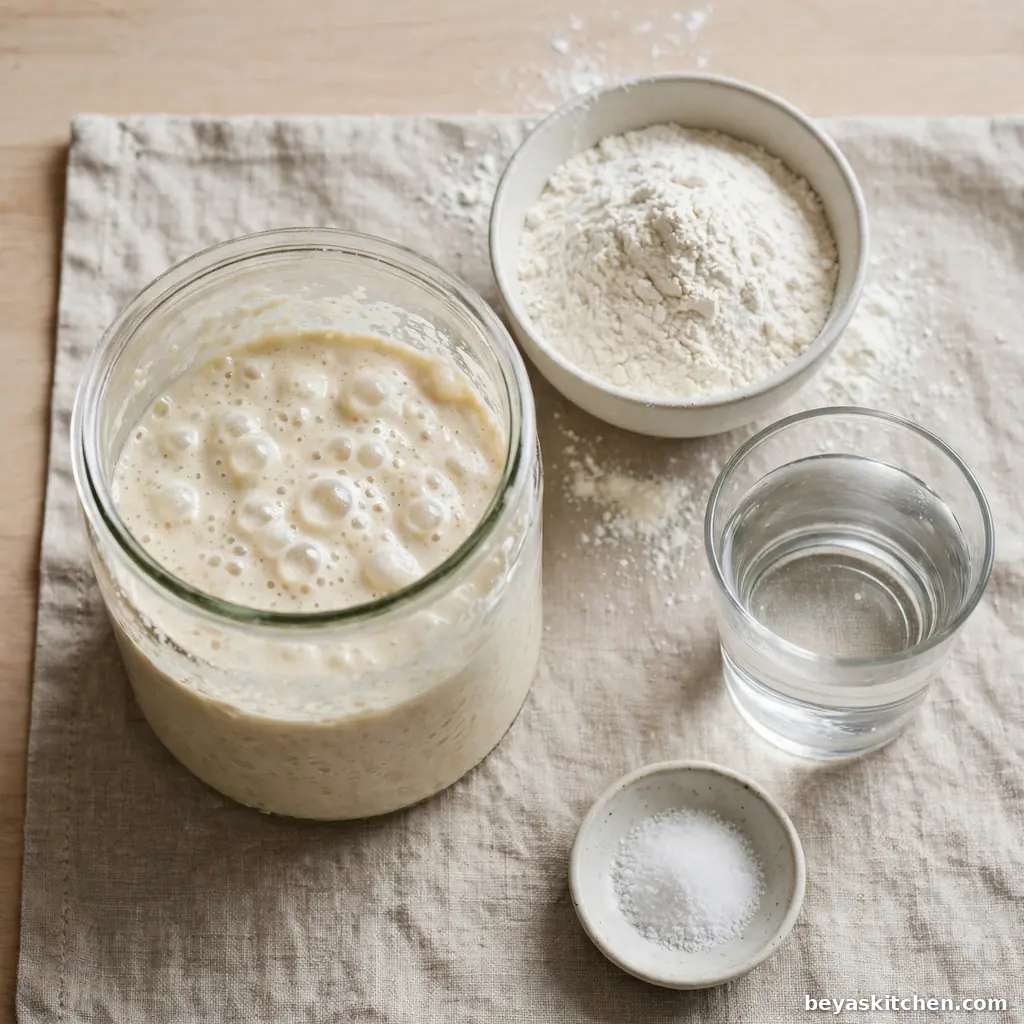
You need an active sourdough starter for this bread. Active means you fed it 4 to 12 hours before you mix, and it has grown tall and full of bubbles. If your starter sits flat and thin, feed it first and wait.
For the dough:
- 500 grams bread flour, about 4 cups (strong flour gives a taller loaf; plain all-purpose flour also works, but the loaf will spread a bit more)
- 325 grams warm water, about 1 and 1/3 cups plus 1 tablespoon (use water that feels warm, not hot, about 80 degrees F)
- 100 grams active sourdough starter, about 1/2 cup (fed, bubbly, and at its peak rise)
- 10 grams fine sea salt, about 2 teaspoons (fine salt mixes in fast and spreads well)
Flour note: Strong bread flour like King Arthur holds the gas from the starter well, so your loaf rises high. If you only have all-purpose flour, use 300 grams of water instead, since it drinks up less.
Allergen and Dietary Disclosure
Contains: Wheat and gluten from the flour. This bread has no milk, no eggs, and no nuts in it.
Gluten-Free Option: True sourdough needs wheat flour, so this loaf is not easy to make gluten-free. A gluten-free starter and a gluten-free flour blend need a different recipe with different amounts.
Dairy-Free Option: This recipe is dairy-free as written. No swap is needed.
Nut-Free: Yes, this bread is nut-free as written. Still, check your flour bag label to be safe.
Egg-Free Option: This recipe is egg-free as written. No swap is needed.
Always check the labels on your own bags and jars, since brands can change what they put in a product.
Step-by-Step Instructions
Step 1: Feed your starter. Feed your starter 4 to 12 hours before you plan to mix. It is ready when it has doubled in size, the top looks domed, and bubbles cover the sides of the jar. A spoonful dropped in water should float. If it sinks, give it more time in a warm spot.
Chef’s Note: A strong starter is the whole secret of this bread. A weak, hungry starter makes a flat, sour loaf. When in doubt, feed it once more and wait for the full rise.
Step 2: Mix the flour and water. Put the flour and warm water in a big bowl. Mix with your hand or a spoon until no dry flour is left. The dough will look rough and shaggy, and that is fine. Cover the bowl and rest it for 30 minutes. This rest lets the flour soak up the water, so the dough gets smooth.
Step 3: Add the starter and salt. Add the starter and salt on top of the dough. Wet your hand, then pinch and fold the dough over itself for about 2 minutes. Stop when the dough feels smooth and the starter is mixed in all the way. Cover and rest for 30 minutes. The dough will feel soft and a bit sticky now.
Step 4: Do the first set of folds. Wet your hand so the dough does not stick to it. Reach under one side of the dough, pull it up gently, and fold it over the middle. Turn the bowl a bit and do this 4 to 6 times, until the dough feels tight. Cover and rest for 30 minutes. The dough will look smoother after each rest.
Chef’s Note: These gentle folds build strength in the dough, the same job kneading does in other breads. Be soft with your hands. If you tear the dough, it loses the gas that makes the holes inside.
Step 5: Do two more sets of folds. Repeat the same folds two more times, with a 30 minute rest after each set. By the last set, the dough should feel smooth, stretchy, and a little puffy. If the dough still feels slack and wet, add one more set of folds. Each set takes less than a minute of your time.
Step 6: Let the dough rise. Cover the bowl and leave it in a warm spot for the bulk rise, about 3 to 4 more hours at room heat near 75 degrees F. The dough is ready when it has grown by about half, feels full of air, and shows a few bubbles on top.
Step 7: Shape the loaf. Tip the dough onto a lightly floured counter. Fold the edges into the middle, then flip it over so the smooth side faces up. Cup your hands around it and pull it toward you in small circles to make a tight round ball. Rest it for 20 minutes, then shape it once more the same way. A tight skin helps the loaf rise up, not out.
Step 8: Proof the loaf. Place the ball seam side up in a bowl lined with a clean towel dusted with flour. Cover it and proof for 1 hour at room heat. It is ready when you poke it with a floured finger and the dent springs back slowly, leaving a small mark. Or cover it and chill it in the fridge for 8 to 12 hours for a deeper taste.
Chef’s Note: The poke test tells you more than the clock. Dough in a cold kitchen rises slowly, and dough in a warm kitchen rises fast. Watch the dough, not just the time.
Step 9: Heat the oven and pot. Put your dutch oven with its lid inside the oven. Heat the oven to 450 degrees F for a full 30 minutes. A very hot pot gives the loaf its crisp crust and big rise. While the oven heats, turn your loaf out onto a sheet of baking paper, seam side down.
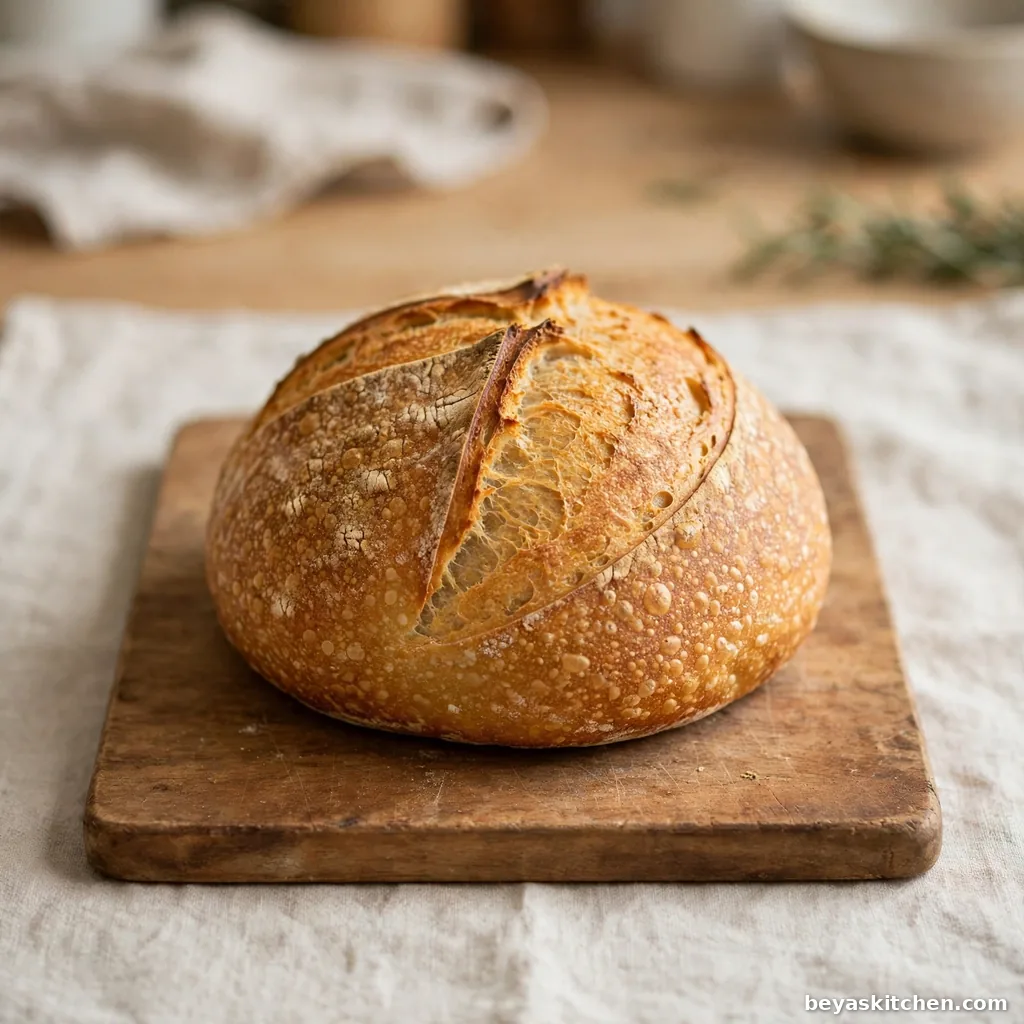
Step 10: Score and bake with the lid on. Cut one long slash across the top of the loaf with a sharp knife, about half an inch deep. Lift the loaf by the paper and set it into the hot pot. Put the lid on and bake for 20 minutes. The steam inside keeps the crust soft at first, so the loaf can grow tall.
Step 11: Bake with the lid off. Take the lid off and bake for 20 to 25 more minutes. The crust should turn deep golden brown and feel hard and dry. The inside of the bread should read 205 to 210 degrees F on a food thermometer. A baked loaf also sounds hollow when you tap the bottom.
Step 12: Cool before you cut. Move the loaf to a wire rack and cool it for at least 1 hour. The inside is still setting as it cools. If you cut it hot, the inside turns gummy and wet. Wait the full hour, even though the smell makes it hard.
Expert Tips and Tricks
- Keep your starter on a feed plan. Fed once a day at room heat, or once a week in the fridge, it stays strong and ready.
- Use a kitchen scale if you can. Cups of flour can change a lot from day to day, but grams stay the same.
- Mark the dough level with a rubber band on a clear bowl. Then you can see the rise with your eyes, not a guess.
- Write down your times and room heat for each loaf. Small notes help the next loaf come out even better.
- Bake the loaf dark. A deep golden crust has more taste than a pale one, and it stays crisp for longer.
- If your kitchen is cold, set the bowl in the oven with only the light on. The soft heat helps the dough rise on time.
- Make-ahead tip: shape the loaf at night and keep it covered in the fridge for 8 to 12 hours, then bake it fresh the next day.
Keep Your Starter Happy
A healthy starter smells sweet and a little tangy, like yogurt or green apples. If it smells sharp, like nail polish, it is just hungry. Feed it, wait for the full rise, and it will be fine. A strong starter makes every step easier, so treat it like a tiny pet that needs one small meal a day.
Storage Instructions
Room Temperature: Keep the cooled loaf in a paper bag or a bread box for up to 2 days. The crust stays crisp this way. Do not use a plastic bag on day one, since it makes the crust soft and chewy.
Refrigerator: The fridge is not a good home for this bread. Cold air dries the inside fast and makes it stale. Only put the loaf in the fridge if your kitchen is very hot and humid, and toast the slices when you eat them.
Freezer: Slice the loaf first, then freeze the slices in a freezer bag with the air pressed out for up to 3 months. Slices thaw fast, so you can take out only what you need.
Reheating: Warm a whole loaf in a 350 degrees F oven for 10 to 15 minutes to bring the crust back. Toast single slices in a toaster or a dry pan until crisp at the edges.
Make-Ahead Notes: The shaped loaf can rest in the fridge for 8 to 12 hours before you bake it. You can also freeze baked slices, as noted above, and toast them from frozen on busy mornings.
Variations and Substitutions
Whole Wheat Loaf: Swap 150 grams of the bread flour for whole wheat flour. Add 15 grams more water, since whole wheat drinks up more. The loaf will taste a bit nutty and feel a little more dense.
Seeded Loaf: Add 60 grams of mixed seeds, like sunflower and sesame, at the same time as the salt. You can also roll the shaped ball in seeds before the proof for a pretty top.
Soft Sandwich Style: Bake the shaped dough in a greased loaf pan at 425 degrees F for 35 to 40 minutes. The crumb stays soft and even, which makes neat slices for sandwiches and school lunches.
Garlic and Herb Loaf: Mix 1 teaspoon of garlic powder and 2 teaspoons of dried herbs into the flour at the start. Rosemary and thyme both work well. Serve warm slices next to soup or a big salad.
Extra Tangy Loaf: Use the full fridge proof of 12 hours, and let the shaped loaf sit at room heat for 30 minutes before you bake it. A longer, slow rise builds a deeper sour taste in the bread.
What to Serve With This
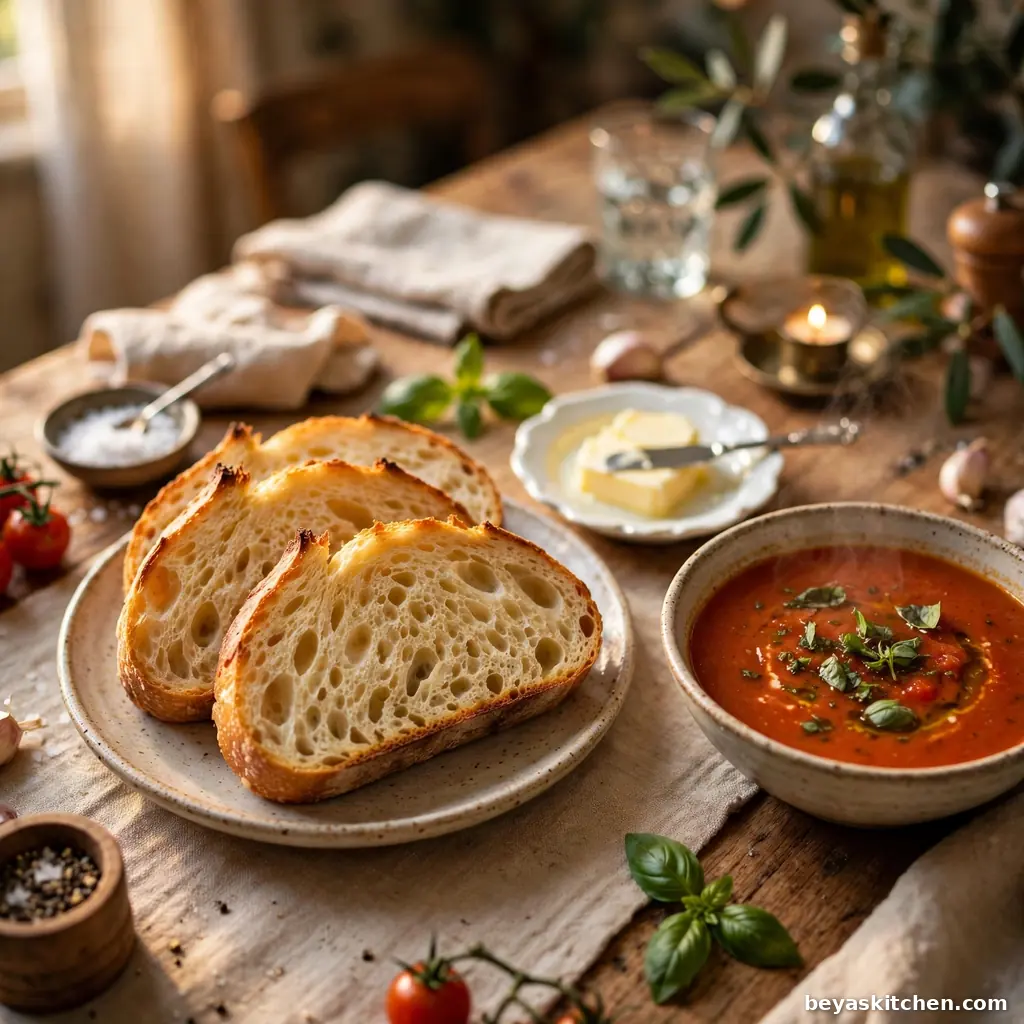
Salted butter: A thick slice with soft butter is the simplest and best first taste of your loaf. The salt in the butter wakes up the gentle tang of the bread.
Tomato soup: The crisp crust is made for dunking. A warm bowl of tomato soup and a grilled slice on the side make a full, cozy meal.
Soft scrambled eggs: Pile warm eggs on toast for a slow weekend breakfast. The chewy bread holds the eggs well and never turns soggy fast.
Cheese plate: Thick slices sit well next to firm cheese, olives, and sliced fruit. The mild sour taste of the bread goes with both sharp and mild cheeses.
Garlic toast: Rub a hot slice with a cut clove of garlic and a little olive oil. It takes two minutes and tastes great.
Nutrition Information
| Calories per Serving | about 160 |
| Protein | 5 grams |
| Carbs | 32 grams |
| Fat | 1 gram |
| Fiber | 2 grams |
| Sugar | 0 grams |
| Sodium | 195 milligrams |
| Serving Size | 1 slice, about 60 grams |
| Servings per Recipe | 12 slices |
This bread gives you slow, steady energy from the flour, with very little fat. The long rise breaks down some of the starch, so many people find sourdough easy on the stomach. A slice with eggs or cheese makes a filling meal.
Disclaimer: Nutrition values are approximate and calculated per serving using standard ingredient amounts. Values may vary based on brands used and portion sizes.
Watch the Dough, Not the Clock
Room heat changes everything in sourdough. On a hot day, the bulk rise may end an hour early. On a cold day, it may need an extra hour. Learn the signs of a ready dough: it has grown by about half, it feels puffy, and the top shows small bubbles. Those signs never lie.
Follow on Pinterest for new updates at Beyaskitchen
Frequently Asked Questions
1. How do I know when my sourdough starter is ready to use?
Your starter is ready when it has doubled in size after a feed and the top looks round and domed. Bubbles should cover the sides of the jar, and it should smell sweet and a little tangy. Most starters reach this point 4 to 12 hours after a feed. A spoonful dropped in water should float. If it sinks, feed it again and wait.
2. Why did my sourdough bread come out flat?
A flat loaf most often comes from a weak starter or a dough that rose too long. If the dough rises too far, it runs out of strength and spreads in the oven. Use a starter at its peak, and end the bulk rise when the dough has grown by about half, not double. A tight shape and a hot pot also help.
3. Can I make this sourdough bread recipe without a dutch oven?
Yes, you can. Bake the loaf on a heavy baking sheet or a pizza stone, with a big metal bowl turned over it for the first 20 minutes. The bowl traps steam the same way the pot lid does. You can also put a pan of hot water on the oven floor for steam. The crust may be a bit less crisp, but the loaf will still taste great.
4. How long does homemade sourdough bread stay fresh?
It stays fresh for about 2 days at room heat in a paper bag or a bread box. The crust softens a bit on day two, but a short warm-up in the oven brings it back. For longer storage, slice the loaf and freeze the slices for up to 3 months. Toast frozen slices as needed, and they taste almost fresh again.
5. My dough is very sticky. What did I do wrong?
Sticky dough is normal at the start, and it gets smoother with each set of folds. Wet hands stop most of the sticking, so keep a small bowl of water near you. If the dough stays wet and loose after all the folds, use a little less water next time. Cut the water by 15 grams and note the change.
Conclusion
Your first loaf does not need to look like a bakery photo to be a real win. A crisp crust, a soft inside, and a home that smells like warm bread are more than enough. Each loaf teaches your hands something new. Keep notes, keep your starter fed, and this sourdough bread recipe will soon feel like an easy habit. If you loved this recipe, save it to your bread Pinterest board so you can find it easily later.
Get more updates at: beyaskitchen
Ingredients
Method
- Feed the starter 4 to 12 hours before mixing. Use it when it has doubled, looks domed, and is full of bubbles.
- Mix the flour and warm water in a big bowl until no dry flour is left. Cover and rest for 30 minutes.
- Add the starter and salt. Pinch and fold the dough for about 2 minutes until smooth. Cover and rest for 30 minutes.
- With a wet hand, stretch and fold the dough 4 to 6 times. Cover and rest for 30 minutes.
- Repeat the stretch and folds two more times, resting 30 minutes after each set.
- Cover and let the dough rise at room heat for about 3 to 4 more hours, until it has grown by about half and feels puffy.
- Tip the dough onto a floured counter. Fold the edges to the middle, flip it over, and shape a tight round ball. Rest 20 minutes, then shape once more.
- Place the ball seam side up in a towel-lined bowl dusted with flour. Cover and proof for 1 hour, or cover and chill in the fridge for 8 to 12 hours.
- Heat the oven to 450 degrees F with the dutch oven and lid inside for 30 minutes.
- Turn the loaf onto baking paper, slash the top about half an inch deep, and set it into the hot pot.
- Bake with the lid on for 20 minutes. Take the lid off and bake 20 to 25 minutes more, until deep golden and the inside reads 205 to 210 degrees F.
- Cool the loaf on a wire rack for at least 1 hour before you slice it.