The Best White Chicken Chili, Creamy and Ready in 45 Minutes
Cold nights ask for a big pot of something warm. This white chicken chili is that pot. Soft white beans, sweet corn, and tender chicken sit in a creamy, mild broth with green chiles. It all cooks in one pot, and it is ready in about 45 minutes. Warm, filling, and gentle on heat, it feeds the whole table with very little work.
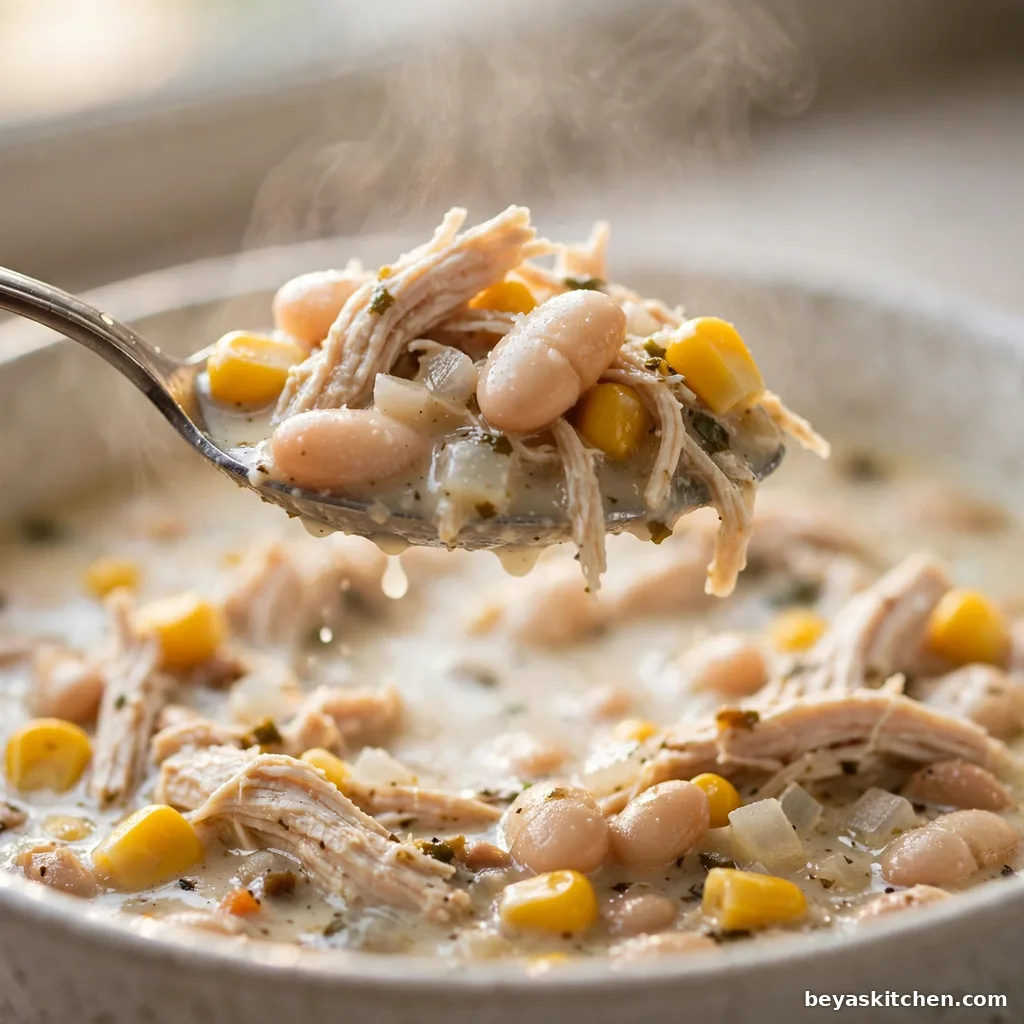
The beans do double work in this pot. Most go in whole, so each spoonful has a soft bite. One cup gets mashed and stirred back in near the end. That small trick makes the broth thick and rich with no flour and no fuss.
The heat stays soft too. Green chiles bring warm flavor, not a burn. Kids can eat this chili just as it is. Spice fans can add hot sauce at the table.
Why You Will Love This White Chicken Chili
- Ready in about 45 minutes, start to bowl, in one single pot
- Creamy broth from a little cream cheese, with no heavy cream at all
- Mild heat that kids can handle, with hot toppings on the side for spice fans
- Chicken and beans in every spoonful, so one bowl is a full meal
- Tastes even better the next day, and it freezes well for busy weeks
Ingredients
For the Chili:
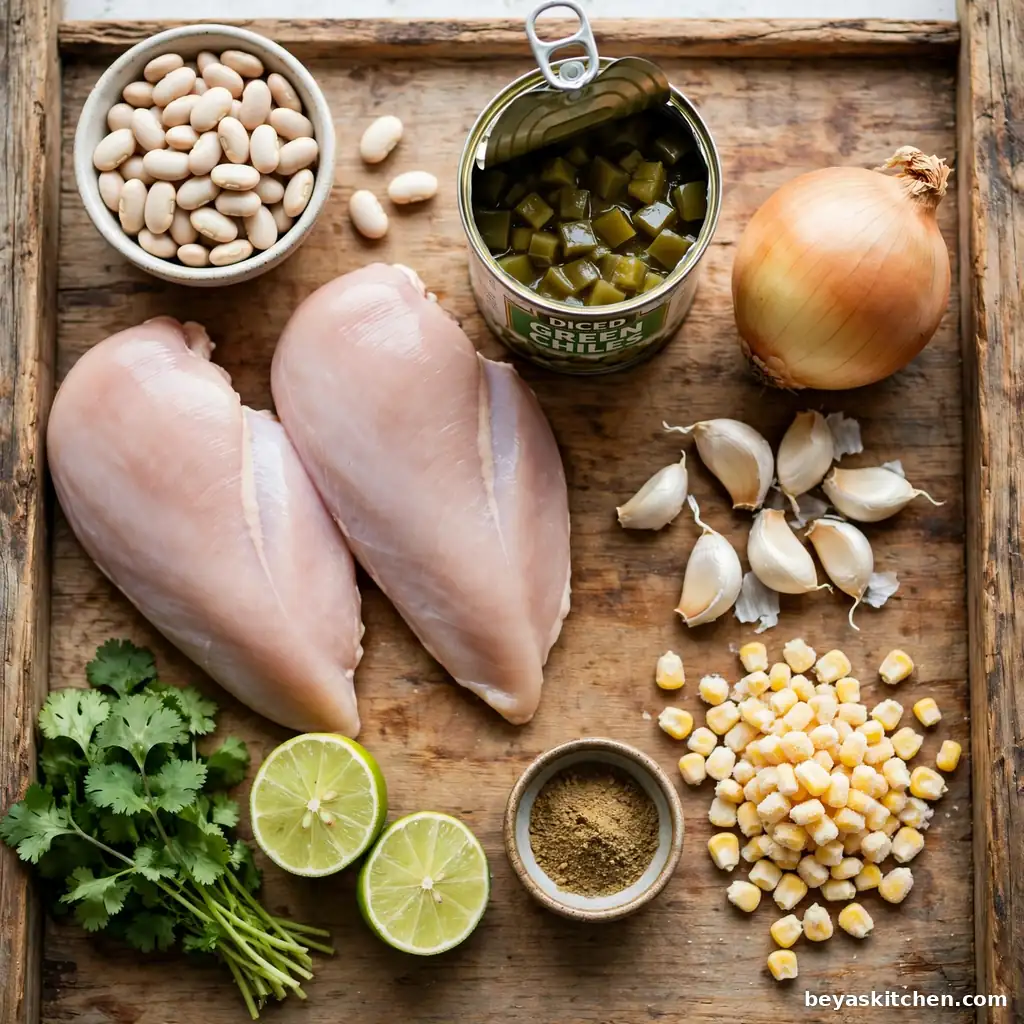
- 1 tablespoon olive oil
- 1 medium yellow onion, diced, about 1 cup
- 3 cloves garlic, minced (swap with 3/4 teaspoon garlic powder)
- 2 cans diced green chiles, 4 ounces each, with their juice (swap with 2 mild green bell peppers, diced fine)
- 2 teaspoons ground cumin
- 1 teaspoon dried oregano
- 1/2 teaspoon mild chili powder
- 1 1/2 pounds halal boneless skinless chicken breasts, about 2 large (swap with halal boneless skinless chicken thighs for a richer taste)
- 4 cups low sodium chicken broth (swap with homemade chicken stock)
- 2 cans white beans, 15 ounces each, drained and rinsed (Great Northern or cannellini both work well)
- 1 cup frozen corn (swap with canned corn, drained)
- 1 teaspoon Diamond Crystal kosher salt, plus more to taste (the flakes dissolve fast and season in an even way; use 3/4 teaspoon for fine table salt)
- 1/2 teaspoon black pepper, freshly ground
- 4 ounces cream cheese, cut into cubes and left out to soften (about 1/2 cup)
- 1 tablespoon fresh lime juice
- 1/4 cup fresh cilantro, chopped
For Serving:
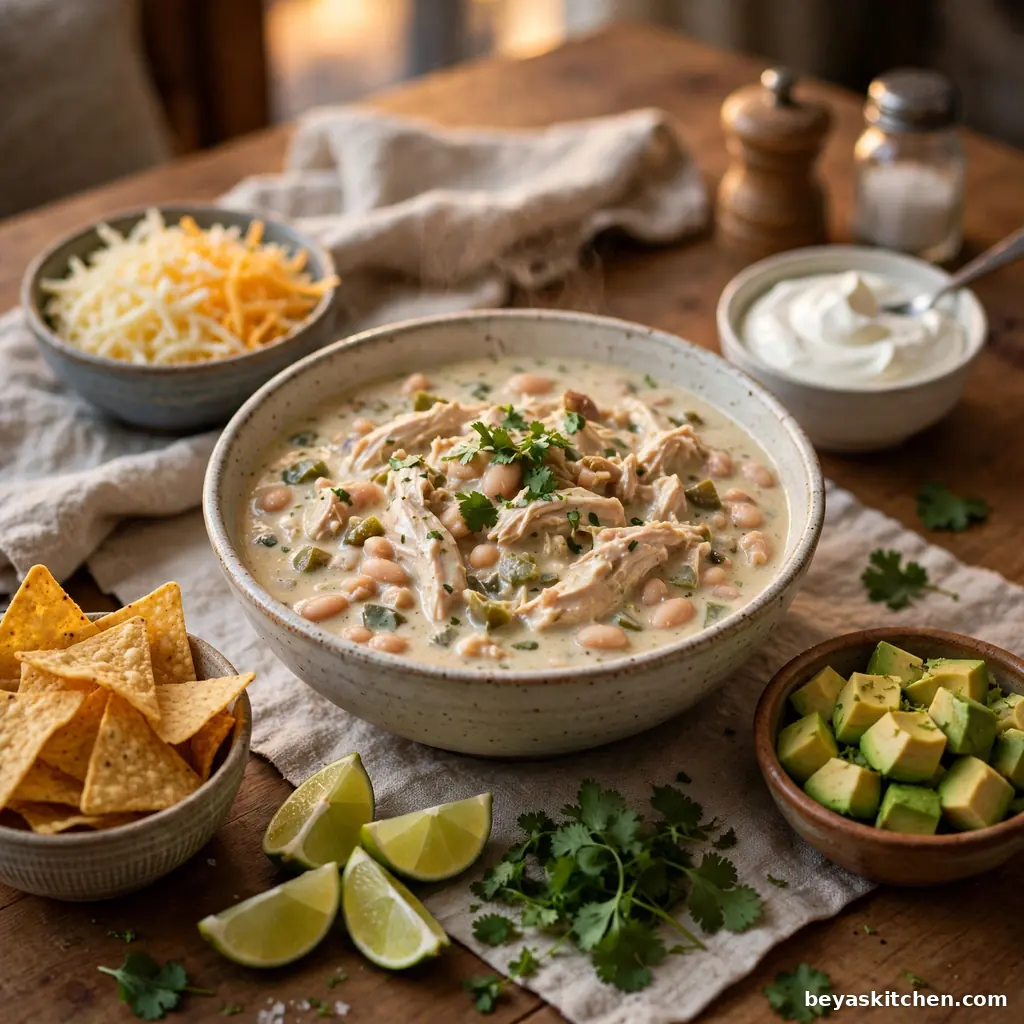
- Shredded Monterey Jack cheese
- Sour cream
- Diced avocado
- Warm tortilla chips or strips
- Extra cilantro and lime wedges
Allergen and Dietary Disclosure
Contains: Dairy (from the cream cheese in the chili, and from the cheese and sour cream served on top).
Gluten-Free Option: The chili as written has no gluten in it. Check the broth label before you buy, and pick certified gluten free tortilla chips for the table.
Dairy-Free Option: Leave the cream cheese out and mash one full cup of beans, so the broth still turns thick. Skip the cheese and sour cream on top, and use diced avocado for the cool, creamy bite.
Nut-Free: The base recipe has no nuts and no nut oils. Still check the broth label if nut allergies are strong, because some factories also work with nuts.
Egg-Free: The recipe has no egg in it at all, in the pot or on top.
Disclaimer: Always confirm ingredients with your specific brand labels, as formulations vary by manufacturer.
Step by Step Instructions
Step 1: Warm the olive oil in a large, heavy pot over medium heat. Add the diced onion. Cook for 4 to 5 minutes and stir now and then. The onion should turn soft and clear at the edges, with a sweet smell.
Chef’s Note: The onion is the base of the whole chili. A soft, slow start turns it sweet, and that sweetness holds up the broth from the first spoon to the last.
Step 2: Stir in the garlic, cumin, oregano, chili powder, and the green chiles with their juice. Cook for 1 minute. The spices should smell warm and deep.
Step 3: Pour in the chicken broth. Add the white beans, corn, salt, and black pepper. Lay the chicken breasts in the pot in one layer so the broth covers them. Bring the pot to a boil, then turn the heat down low. Simmer in a gentle way for 15 minutes, with small bubbles rising here and there. Cook chicken to an internal temperature of 165 degrees F, checked with a food thermometer in the thickest part.
Chef’s Note: Keep the simmer gentle. A hard boil beats chicken into a tough, dry bite. Small lazy bubbles give you tender meat that pulls apart with almost no work.
Step 4: Lift the chicken out onto a clean board with tongs. Let it rest for 5 minutes. Then pull it apart into bite size strands with two forks. Short strands are best, so the chicken rides up on the spoon with the beans.
Step 5: Scoop about 1 cup of beans and broth into a small bowl. Mash them with a fork until thick and smooth. Stir the mash back into the pot. The broth turns creamy and full at once, with no flour at all.
The Mashed Beans Do the Thickening
One cup of mashed beans gives this chili its thick, rich body. The mash melts into the broth and holds the chicken, corn, and whole beans in every spoon. It is the small step that makes a thin soup eat like a true chili.
Step 6: Put the shredded chicken back in the pot. Turn the heat down to low. Stir in the cream cheese cubes, a few at a time, until they melt smooth, about 2 to 3 minutes. The broth should turn pale and creamy with no lumps. Do not let the pot boil in this step.
Cream Cheese Melts Off the Boil
Cream cheese melts into silk on low heat, but it can split and turn grainy in a hard boil. Low heat and a slow stir are all it asks. Soft cubes from the counter melt faster than cold ones from the fridge.
Step 7: Stir in the lime juice and the chopped cilantro. Taste and add salt a little at a time until the flavor stands up tall. Ladle into warm bowls and set the toppings out for the table.
Chef’s Note: Lime juice always goes in at the end. Heat dulls its bright taste in a few short minutes. Added last, one small spoon of lime wakes up the whole pot.
Expert Tips and Tricks
- Rinse the canned beans well before they go in. The thick can liquid can turn the broth gray and add more salt than you want.
- Make ahead: the full chili keeps its taste for up to 4 days in the fridge and tastes deeper on day two. Add fresh toppings when you serve, never before you store.
- Let the cream cheese sit on the counter for 20 minutes before you cook. Soft cubes melt fast and smooth. Cold cubes can leave small white bits in the broth.
- Store the toppings apart from the chili. Avocado browns and chips go soft when they sit in stored chili.
- Warm your bowls with hot tap water while the chili rests. A warm bowl keeps the chili hot for the whole meal.
- If the chicken breasts are very thick, cut them in half the long way before they go in the pot. Thin pieces cook in the same time and stay juicy.
Allergen Specific Cooking Notes
The dairy free pot turns out a little less rich, and the mashed beans do more of the work. Give it one extra cup of mash and a spoon of olive oil at the end, and the broth still eats thick and smooth. Gluten free chips vary a lot by brand, so check the bag each time. Both swaps keep the cook time the same.
Storage Instructions
Room Temperature: Do not leave the chili out for more than 2 hours. It has chicken and cream cheese in it. Move leftovers to the fridge as soon as the pot stops steaming.
Refrigerator: Up to 4 days in a closed container. The beans keep drinking broth as they sit, so the chili grows thicker each day. A splash of broth when you warm it brings it back.
Freezer: Up to 3 months in a freezer safe container, with an inch of space left at the top. The cream cheese can split a bit as it thaws, but a hard stir as it warms puts the broth back in one piece. For the best texture, freeze the chili before the cream cheese goes in, and stir it in fresh when you reheat.
Reheating: Warm the chili on the stove over medium low heat for 8 to 10 minutes and stir now and then. Add broth or water a splash at a time until it pours like chili again. Warm only what you plan to eat.
Make-Ahead Notes: Dice the onion and mince the garlic up to 1 day early and keep them in a closed box in the fridge. The cooked chili, with no toppings, holds for up to 2 days before a party and tastes even deeper warmed back up.
Variations and Substitutions
Spicy: Add 1 fresh jalapeño, cut fine, with the onion, and stir in 1/4 teaspoon of cayenne with the spices. Hot sauce at the table lets each person set their own heat. The creamy broth cools the burn in a nice way.
Mild and Kid Friendly: Skip the chili powder and use only one can of green chiles. Let kids top their bowls with cheese and avocado only. The taste stays warm and full, with no heat at all.
Vegetarian: Swap the chicken broth for vegetable broth and leave the chicken out. Add one more can of white beans and 1 cup of diced zucchini with the corn. The cumin and oregano keep the deep, warm taste.
Gluten Free: The chili is gluten free as written. Check the broth and spice blends, since a few brands add wheat based fillers. Pick certified gluten free chips or serve warm corn tortillas on the side.
Slow Cooker: Put all the chili ingredients in the slow cooker except the cream cheese, lime, and cilantro. Cook on low for 4 to 5 hours. Shred the chicken, mash the beans, and stir it all back in with the cream cheese for the last 20 minutes.
What to Serve With This
Warm Cornbread: A soft square of cornbread soaks up the creamy broth at the bottom of the bowl. Its sweet crumb next to the mild chiles makes each bite feel round and full.
Tortilla Chips: Chips bring the crunch this soft chili needs. Crush a few over the top, or use them as spoons for the thick last bites.
Simple Green Salad: Cold greens with lime juice and olive oil cut through the rich broth. Serve it plain and crisp, next to the hot bowls, for a clean bite between spoons.
White Rice: A scoop of plain white rice under the chili stretches the meal for a big table. The rice drinks the broth and turns one pot into a very full dinner.
Baked Potatoes: Spoon the chili over a hot baked potato with cheese and sour cream on top. It turns leftovers into a whole new meal the next night.
Nutrition Information
| Calories per Serving | approximately 420 |
| Protein | 34g |
| Carbs | 33g |
| Fat | 17g |
| Fiber | 8g |
| Sugar | 5g |
| Sodium | approximately 680mg |
| Serving Size | about 1 1/2 cups |
| Servings per Recipe | 6 |
This chili brings strong protein from the chicken and the beans in the same bowl, with fiber that keeps you full for hours. The beans do most of the thick work, so the fat stays fair for a creamy pot. For a lighter bowl, skip the cheese on top and load up on avocado and cilantro.
Disclaimer: Nutrition values are approximate and calculated per serving using standard ingredient amounts. Values may vary based on brands used and portion sizes.
Follow on Pinterest for new updates at Beyaskitchen
Frequently Asked Questions
1. Can I make white chicken chili ahead of time?
Yes, and it tastes even better the next day. Cook the full pot, let it cool, and keep it in the fridge for up to 4 days. The taste grows deeper as it rests. Warm it slow on the stove and add a splash of broth, since the beans drink liquid as they sit. Add toppings fresh when you serve.
2. Why is my white chicken chili thin and watery?
Thin chili almost always means the beans did not get mashed, or the cream cheese went in at a hard boil and split. Mash a full cup of beans and broth and stir it back in. Then let the pot sit off the heat for 5 minutes. The broth thickens as it rests. If it still pours thin, mash one more half cup and stir again.
3. Can I use rotisserie chicken or chicken thighs instead of raw breasts?
Yes to both, as long as the meat is halal certified. Thighs swap in with no change at all and give a richer taste. For a cooked rotisserie chicken, skin it, pull the meat off the bones, and shred it. Skip the 15 minute simmer. Add the meat in Step 6 with the cream cheese and warm it through for about 5 minutes. Salt at the end, since rotisserie meat often comes seasoned.
4. How do I know the chicken in the chili is cooked and safe to eat?
Push a food thermometer into the thickest part of the breast while it rests on the board in Step 4. It should read 165 degrees F. The meat should look white all the way through, with no pink and no glassy shine, and it should pull apart with almost no force. Fifteen minutes at a gentle simmer gets an average breast there. Thick breasts may need 3 to 4 more minutes.
5. Why does my white chicken chili taste flat even with all the spices?
Flat chili is most often a salt or acid problem, not a spice problem. Low salt broth makes cumin and oregano taste dull, no matter how much you add. Add salt at the end, a little at a time, and taste after each pinch. Then stir in the lime juice. That small hit of acid lifts the whole pot at once. Old spices can taste flat too, so check the dates on your jars.
Conclusion
Keep this pot in mind for the next cold night, the next game day, the next week when dinner has to be warm and easy. The real skill is small. Soften the onion first. Simmer the chicken with a gentle hand. Mash a cup of beans, and melt the cream cheese in on low heat. Do those four things, and this white chicken chili comes out thick, creamy, and full of tender chicken each time. If you loved this recipe, save it to your chili Pinterest board so you can find it easily later!
Get more updates at: beyaskitchen
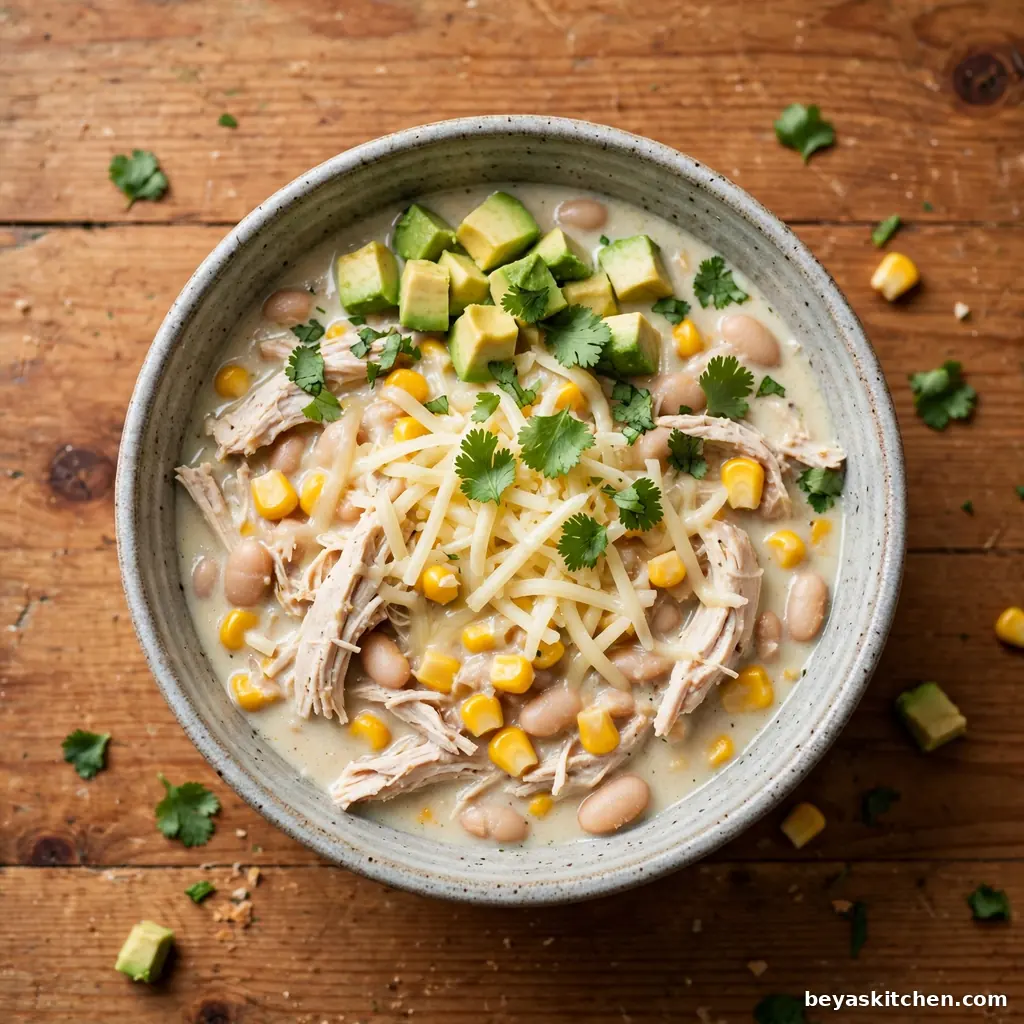
White Chicken Chili
Ingredients
Method
- Heat the olive oil in a large pot over medium heat and cook the onion for 4 to 5 minutes, stirring now and then, until soft and clear at the edges.
- Stir in the garlic, cumin, oregano, chili powder, and green chiles with their juice and cook for 1 minute, until the spices smell warm and deep.
- Pour in the broth, add the beans, corn, salt, and pepper, lay the chicken breasts in the pot, bring to a boil, then lower to a gentle simmer for 15 minutes, until the chicken reaches 165 degrees F inside.
- Lift the chicken onto a board, rest it for 5 minutes, and shred it into bite size strands with two forks.
- Mash about 1 cup of beans and broth in a small bowl until thick and smooth, then stir the mash back into the pot.
- Return the chicken to the pot, turn the heat to low, and stir in the cream cheese a few cubes at a time until melted and smooth, about 2 to 3 minutes. Do not let the pot boil.
- Stir in the lime juice and cilantro, taste and add salt a little at a time, then ladle into warm bowls and serve with the cheese, sour cream, avocado, chips, and lime wedges.