Easy Red Velvet Cake with Cream Cheese Frosting
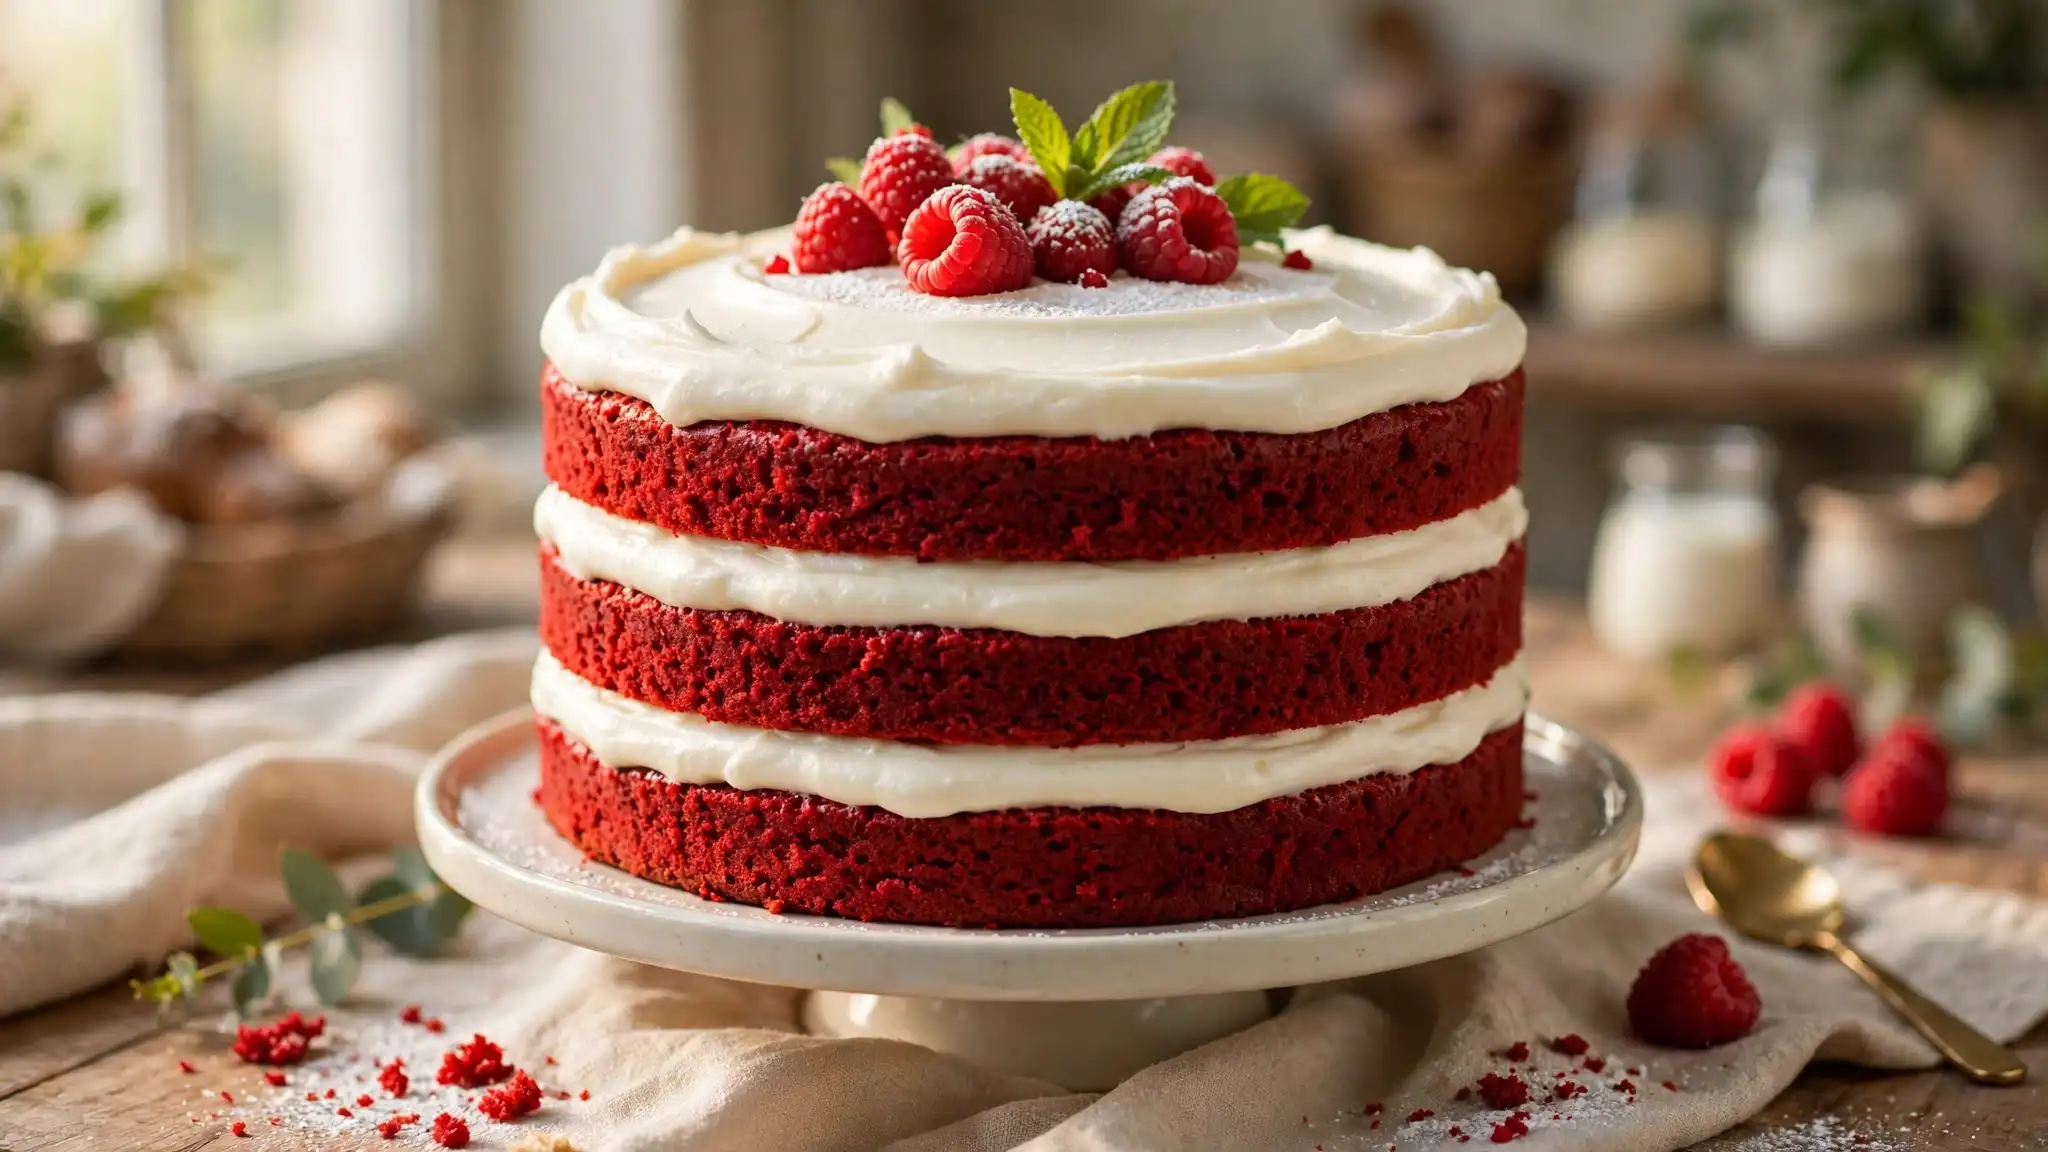
Red velvet cake stops people in their tracks before anyone even picks up a fork. That bold red color. The thick white frosting. The soft crumb hiding inside. It looks like something from a fancy cake shop window.
Here is the good news. You do not need a bakery. You do not need years of baking practice. You just need the right steps and a little patience.
This red velvet cake recipe gives you soft, moist layers with a tangy cream cheese frosting that is rich but never too heavy. The balance is just right. Follow the steps below and you will have a cake worth showing off.
Why You Will Love This Recipe
- The cake stays moist for three full days after slicing, even stored in the fridge
- Only simple ingredients that are easy to find at any grocery store
- The cream cheese frosting sets firm enough to stack and slice in clean pieces
- The bright red color makes kids excited before they even taste it
- Great for birthdays, holidays, or any weekend when you want to bake something beautiful
- You can bake the layers one day ahead and frost the next, which takes the pressure off
Ingredients
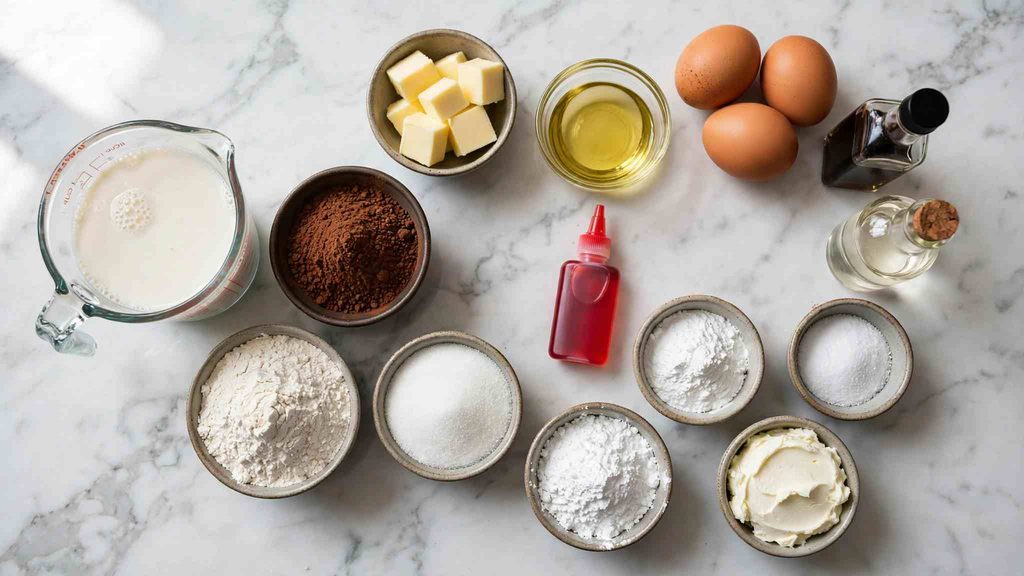
For the Cake Layers:
- 2 and a half cups (300g) all purpose flour
- 2 tablespoons natural unsweetened cocoa powder (do not use Dutch process cocoa, see tip below)
- 1 teaspoon baking soda
- 1 teaspoon baking powder
- 1 teaspoon fine salt
- 1 and a half cups (300g) granulated white sugar
- 1 cup (240ml) vegetable oil
- 2 large eggs, room temperature
- 1 cup (240ml) buttermilk, room temperature
- 2 teaspoons white distilled vinegar
- 2 teaspoons pure vanilla extract
- 2 tablespoons red gel food coloring (gel only, not liquid)
For the Cream Cheese Frosting
- 450g full fat block cream cheese, softened to room temperature
- 115g unsalted butter, softened to room temperature
- 3 cups (360g) powdered sugar, sifted
- 1 teaspoon pure vanilla extract
- 1 small pinch of fine salt
Allergen and Dietary Information
Contains: Gluten (all purpose flour), dairy (butter, cream cheese, buttermilk), eggs
Gluten-Free Option: Replace all purpose flour with a 1 to 1 gluten free baking flour blend such as Bob’s Red Mill Gluten Free 1 to 1 Baking Flour. The texture will be slightly denser but the flavor and color stay good. Make sure the blend contains xanthan gum or add half a teaspoon separately.
Dairy-Free Option: Replace buttermilk with full fat canned coconut milk mixed with 1 tablespoon vinegar. Use a firm dairy free block cream cheese and vegan butter for the frosting. Results will vary by brand, so test with a brand you trust.
Egg-Free Option: Replace each egg with a quarter cup of unsweetened applesauce. The cake will be a little denser but will still bake through properly.
Nut-Free: Yes. This recipe contains no nuts as written.
Disclaimer: Always read your ingredient labels before baking. Brands differ, and cross contamination can happen in manufacturing.
Equipment Needed
- Two 9 inch round cake pans: The standard size for this recipe. Line the bottoms with parchment paper so the layers release cleanly every time without sticking.
- Stand mixer or hand mixer: You need steady power to cream the frosting smoothly. A stand mixer makes the job easier, but a hand mixer works just as well if you keep it moving.
- Offset spatula: Spreading frosting evenly across cake layers is much easier with an offset spatula than a regular knife. The angled blade gives you control without your hand dragging through the frosting.
- Wire cooling rack: Setting the cake layers on a rack after baking lets air move under them. This stops the bottoms from going soggy while they cool.
- Kitchen scale: Flour in particular needs to be measured by weight for this recipe to come out right. King Arthur flour bags show both cups and grams on the side, which makes scaling easy.
Step-by-Step Instructions
Step 1: Set up your oven and pans
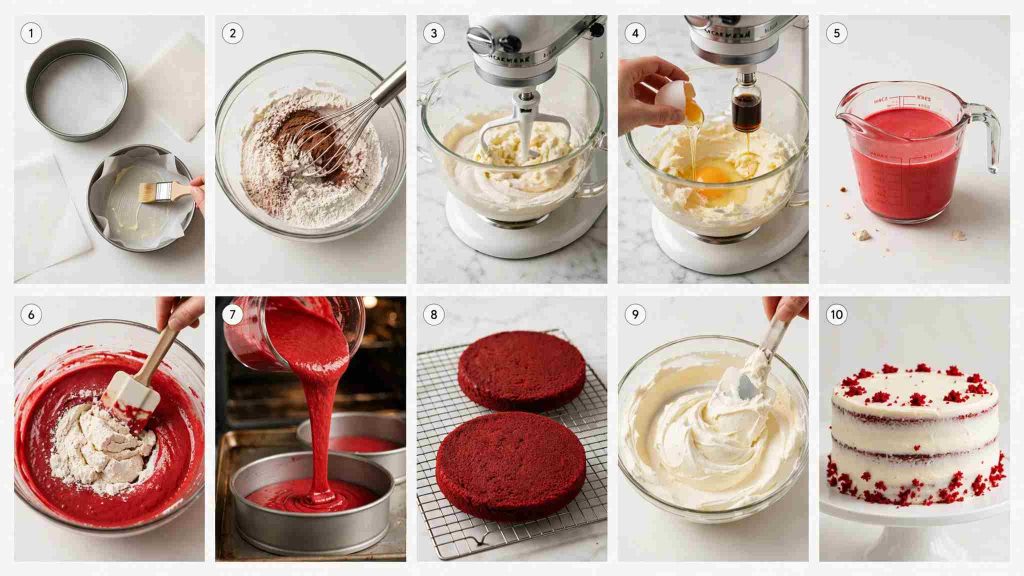
Heat your oven to 350F or 175C. Rub butter all over the inside of both 9 inch round cake pans. Cut a circle of parchment paper to fit the bottom of each pan, press it in, then rub a little butter on top of the paper too. Set the pans aside on a flat surface near your oven.
Step 2: Mix the dry ingredients
Sift the flour, cocoa powder, baking soda, baking powder, and salt into a medium bowl together. Whisk them for about 30 seconds until everything looks even and no cocoa clumps remain. Set the bowl to one side.
Chef’s Note: Cocoa powder clumps easily and those clumps leave dry pockets in the baked cake. Sifting takes 20 seconds and fixes that problem completely.
Step 3: Mix the wet ingredients
In a large bowl, whisk together the sugar, vegetable oil, eggs, buttermilk, white vinegar, vanilla extract, and red gel food coloring. Keep whisking until the color is fully even throughout. No clear streaks should remain. The batter will look a deep, bright red at this point.
Step 4: Bring wet and dry together
Add the dry ingredients to the wet ingredients in three separate additions. Fold gently with a silicone spatula after each one. Stop mixing the moment you see no more dry flour in the bowl. Overmixing at this point develops the gluten in the flour and makes the cake tough instead of tender.
Chef’s Note: The batter will look thinner than most cake batters you have made before. That is correct. The oil and buttermilk together create a looser batter, and that is exactly what gives red velvet cake its soft, moist crumb.
Step 5: Fill the pans and bake
Divide the batter as evenly as you can between the two prepared pans. Tap each filled pan firmly on the counter three times to pop any air bubbles hiding in the batter. Place both pans on the center rack of the oven side by side. Bake for 28 to 30 minutes.
How to Know When Your Red Velvet Cake Is Ready
Push a toothpick straight down into the center of one layer at the 28 minute mark. Pull it straight back out. If it comes out clean, or with one or two tiny dry crumbs, the cake is done. If it comes out with wet batter on it, bake for 3 more minutes and test again. Do not open the oven before 25 minutes or the heat loss can cause the layers to sink in the middle.
Step 6: Cool the layers
Take the pans out of the oven and set them on a wire rack. Leave them in the pans for 10 full minutes. Then run a butter knife gently around the inside edge of each pan. Flip each layer out onto the wire rack. Peel off the parchment paper. Let the layers sit and cool for 1 full hour before you touch them with frosting.
Chef’s Note: Warm cake melts cream cheese frosting on contact. The frosting slides right off and the whole cake becomes a mess. Waiting the full hour feels slow but it protects all the work you just did.
Step 7: Make the cream cheese frosting
Place the softened cream cheese and butter in your mixer bowl. Beat on medium speed for 2 minutes until the mixture looks smooth and fluffy. Add the sifted powdered sugar one cup at a time, mixing on low after each cup. Add the vanilla and the pinch of salt. Once all the sugar is in, turn the mixer to medium and beat for 1 more minute. The frosting should look thick, white, andeasy to spread.
Step 8: Frost the cake
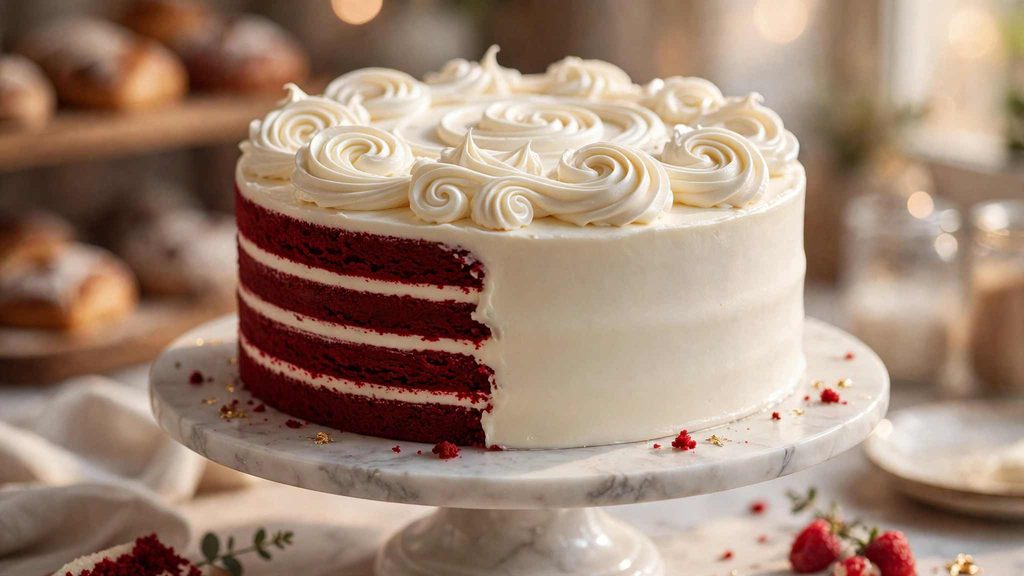
Put one cooled cake layer on your serving plate or cake stand. Scoop about one third of the frosting onto the top of that layer. Spread it all the way to the edges using your offset spatula. Carefully place the second layer on top, flat side facing up. Scoop the rest of the frosting on top and spread it across the top first, then work it down the sides. Smooth it with long, steady strokes going in one direction.
Step 9: Chill before slicing
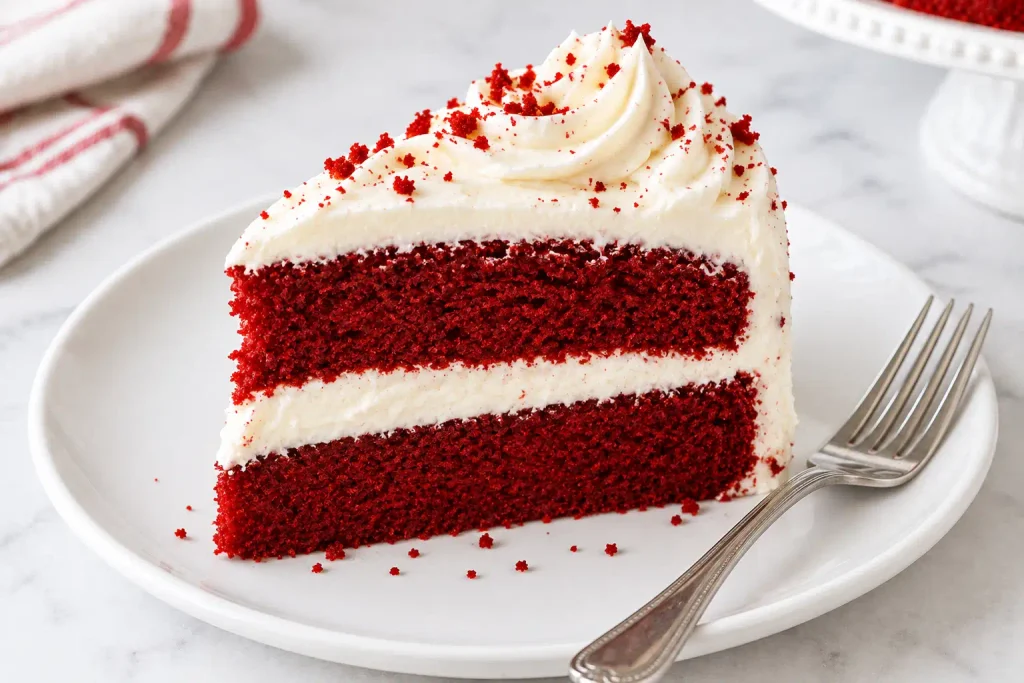
Put the fully frosted cake in the fridge for at least 30 minutes before you cut into it. The frosting firms up during that time. This is what gives you those clean, neat slices with the red layers clearly visible inside.
Expert Tips and Tricks
Room temperature matters more than you think. Cold eggs and cold buttermilk do not blend smoothly into the batter. They leave the texture uneven. Take them out of the fridge at least 30 minutes before you start.
Use gel food coloring, never liquid. Liquid coloring is mostly water. It thins the batter and gives a pale, dull red in the finished cake. Two tablespoons of gel gives you that bold, deep red color every time.
Use natural cocoa powder, not Dutch process. Dutch process cocoa has been treated with an alkali, which changes how it reacts in the batter. Natural cocoa keeps the acid balance that helps the red color stay bright.
Make-ahead tip: Bake both cake layers the day before. Wrap each cooled layer tightly in plastic wrap and leave them at room temperature overnight. Make the frosting fresh the next morning.
Storage tip: Once frosted, store the finished cake covered in the fridge for up to 4 days. Take slices out 20 minutes before eating so the crumb softens back to room temperature.
Do not skip the vinegar. White vinegar reacts with the baking soda to give the cake lift. It also helps the red color stay bright after baking. You will not taste it at all in the finished cake.
Storage Instructions
Room Temperature: Not safe for more than 2 hours once frosted. The cream cheese frosting needs refrigeration to stay safe to eat.
Refrigerator: Store the frosted cake in a covered cake box or under plastic wrap for up to 4 days. Individual slices store well in a sealed container.
Freezer: Wrap unfrosted cooled cake layers in two tight layers of plastic wrap and then one layer of foil. Freeze for up to 2 months. Thaw in the fridge overnight before frosting. The fully frosted cake can also be frozen for up to 1 month. The frosting texture may change slightly after thawing but the flavor stays good.
Reheating: Red velvet cake is served cold or at room temperature. Do not microwave it. Take slices out of the fridge 20 minutes before serving and let them come up to room temperature naturally.
Make-Ahead Notes: Bake the layers up to 2 days before you need the finished cake. Store the baked layers wrapped at room temperature. Make the frosting up to 1 day ahead and keep it in a sealed container in the fridge. Before frosting the cake, let the frosting sit out for 30 minutes and give it a quick beat with a spatula to bring it back to a spreadable texture.
Variations and Substitutions
Spicy Red Velvet: Add a quarter teaspoon of cayenne pepper and half a teaspoon of cinnamon to the dry ingredients before sifting. The heat is very quiet in the background but adds a warm edge that works well against the cool tangy frosting. This version tends to surprise adults who try it.
Kid-Friendly Red Velvet Cupcakes: Pour the same batter into a standard cupcake tray lined with paper cups. Fill each cup two thirds full. Bake at 350F for 18 to 20 minutes. Top with a swirl of cream cheese frosting using a star tip piping bag. The bright red and white color makes these a hit at school events and birthday parties.
Vegetarian Version: This recipe is already vegetarian as written. No changes are needed.
Gluten-Free Version: Replace the all purpose flour with Bob’s Red Mill Gluten Free 1 to 1 Baking Flour at the same weight (300g). Make sure the blend includes xanthan gum. The crumb will be slightly more tender and a little denser, but the red color and the cream cheese frosting stay exactly the same.

Nutrition Information
Calories per Serving: Approximately 480
Protein: 5g
Carbs: 58g
Fat: 26g
Fiber: 1g
Sugar: 42g
Sodium: 320mg
Serving Size: 1 slice
Servings per Recipe: 12
Nutrition values are approximate and calculated per serving using standard ingredient amounts. Values may vary based on brands used and portion sizes.
Frequently Asked Questions
Can I make red velvet cake the day before?
Yes, and many bakers say it tastes even better the next day. Bake both layers, let them cool fully, wrap each one tightly in plastic wrap, and leave them at room temperature overnight. Make the frosting fresh the next morning or store it in the fridge in a sealed container and beat it gently before using. The crumb settles and softens overnight, and the flavor deepens just enough to make day-two red velvet cake worth planning for.
Why did my red velvet cake turn out brown instead of red?
Two things cause this most often. The first is not using enough food coloring. Two full tablespoons of red gel is the minimum for a bold red result after baking. The second is using Dutch process cocoa instead of natural cocoa. Dutch process cocoa is treated with alkali, which stops the acid reaction that keeps the red color bright. Always buy natural unsweetened cocoa powder for red velvet cake. Check the label on your cocoa tin before you start.
Can I use liquid food coloring instead of gel?
You can, but the color will not be as deep or as bold. Liquid coloring is mostly water, so it thins the batter slightly. You would need about 3 tablespoons of liquid to get close to the same result as 2 tablespoons of gel. Gel coloring also holds its color better during baking. Liquid coloring can fade in the oven heat. Gel is the better choice here and most grocery stores carry it in the baking aisle.
How do I know when the cake is fully baked?
The toothpick test is the most reliable way to check. Push a toothpick straight down into the center of one layer at the 28 minute mark. A clean toothpick or one with a tiny dry crumb means the cake is done. You can also press the center of the cake gently with one finger. If it springs back quickly, it is ready. If it leaves a small dent, give it 2 to 3 more minutes and check again. Every oven is a little different, so watch for these signs rather than relying only on the timer.
Why is my cream cheese frosting too runny?
Three things usually cause this. The cream cheese or butter was too warm and soft when you started beating. You beat it on high speed too long, which breaks down the structure. Or you used spreadable cream cheese from a tub instead of firm block cream cheese. Always use full fat block cream cheese. Make sure it is just softened, not warm. Beat only on medium speed. If the frosting is already runny, put it in the fridge for 20 to 30 minutes and then beat it gently once more on low speed. It will firm up.
Follow on Pinterest for new updates at Beyaskitchen
Conclusion
Red velvet cake looks complicated but it really is not. Once you understand the cold rice rule (use cold ingredients and do not rush the cooling step), the rest of the steps fall into place on their own.
Bake it this weekend. Grab your red gel food coloring and your block cream cheese, and follow the steps above one at a time. The result is a cake that looks impressive and tastes even better than it looks.
If you loved this red velvet cake recipe, save it to your Red Velvet Desserts Pinterest board so you can find it easily later.
Get updates of new recipes visit: Beyas kitchen